Seeding Methodology: Essential Techniques and Best Practices
Updated On: October 26, 2025 by  Aaron Connolly
Understanding Seeding Methodology
Seeding methodology means you plant seeds at the right depths, spacing, and timing for better crop growth. It’s a step up from just tossing seeds out—here, you focus on details that really boost germination and coverage.
Defining Seeding Methodology
Seeding methodology is a scientific way of putting seeds in soil using set techniques, certain equipment, and good timing. We look at things like how deep the seeds go, the distance between them, and what’s happening in the soil.
It’s got a few main parts. Seed placement means dropping seeds at the right depth for each crop. Spacing control keeps seeds far enough apart so they don’t crowd each other. Timing coordination lines up seeding with the best weather and soil conditions.
Different crops? They need different tricks. Small seeds like lettuce sit near the surface, but big ones like beans go deeper. We also look at soil type, moisture, and what the weather’s doing.
These days, people use both old-school hand methods and high-tech machines. Air seeders push seeds into rows with air pressure. Drilling machines make neat lines and cover seeds automatically.
Importance in Agriculture and Research
Good seeding methodology can make or break your yield and profits. Studies have shown that getting seed placement right can boost germination by up to 30% compared to just scattering seeds.
Efficiency benefits pop up fast—less seed waste, better coverage. With a systematic approach, you don’t need as many seeds to get a full stand, so you save cash and help the environment.
Researchers depend on consistent seeding to get real results. Scientists need even spacing and timing to test new plant varieties or techniques. If you skip the standard methods, the data just doesn’t hold up.
Economic impacts are pretty clear for big farms. Bad seeding leads to patchy crops, lower yields, and more harvest costs. Farmers who nail their seeding see returns in just one season.
You also get environmental perks—less erosion, better water use. Well-spaced plants cover the ground and use nutrients more efficiently.
Differences Between Seeding and Planting
Seeding means putting seeds straight into the soil where they’ll grow up. Planting is a bigger category—it covers putting in seedlings, bulbs, or other plant materials too.
Seeding methods include broadcasting, drilling, and dibbling. You place seeds at certain depths and gaps, and they have to germinate right where they land.
Planting covers seeding and also moving seedlings or bulbs. If you move tomato seedlings from a greenhouse to a field, you’re planting, not seeding. The seed already sprouted somewhere else.
Timing is a big factor. Seeding usually happens early when the soil’s just right for sprouting. Planting can come later, especially when you move seedlings that started indoors.
Equipment changes too. Seeding uses tools like air seeders and drills. Planting might mean transplanting machines or just hand tools for bigger plants.
Types of Seeding Techniques
You’ll find three main types of seeding methods, each fitting different conditions and timing. Each one has its own perks for starting healthy plant growth.
Direct Seeding Methods
Direct seeding puts seeds right into their final spot. You’ve got a few techniques to pick from, depending on your field.
Drill seeding shines on flat ground. The drill drops seeds about 1/4 to 1/2 inch deep and gets good soil contact. It’s smart to calibrate the drill first and maybe set it a bit low, since real-world conditions usually bump up the actual rate.
Broadcast seeding spreads seeds across the surface with a spreader. This works best with clean, heavy seeds. Afterward, you need to pack the soil so seeds touch dirt and get moisture.
Hydroseeding sprays a mix of water, seeds, and sometimes fertilizer onto the ground. It’s great for slopes and keeps seeds from going too deep. You’ll want to bump up your seed rate by about 25% to make up for any seed damage from spraying.
Hand seeding gives you control for small patches. Mix seeds with sand or another carrier, scatter them, and rake the surface lightly.
Transplanting Versus Seeding
Transplanting starts seeds in controlled places, then moves the young plants outside. Seeding just puts the seeds where you want the plants to grow.
Seeding costs less and needs less work. Seeds get used to the local soil from the start. You can cover big areas fast with machines.
Transplanting gets you higher survival and faster crop establishment. You control the early growth stages, which helps in tough climates or poor soils.
Weather timing matters more for direct seeding. You have to wait for soil conditions that’ll let seeds sprout. Transplanting lets you get a jump by starting indoors.
Costs can really differ. Direct seeding needs less gear and supplies. Transplanting means you pay for growing trays, containers, and extra labor.
Broadcast Seeding
Broadcast seeding spreads seeds evenly over the soil without furrows. It’s handy when drills aren’t practical.
Equipment ranges from small hand spreaders to big tractor units. Little broadcasters fit tight spots and work around fences. Bigger ones cover wide fields fast.
You need to tweak rates for different seeds. Heavy, clean seeds spread easily. Fluffy or light ones need a wider setting and carriers to spread well.
Packing after broadcasting really helps germination. A cultipacker presses seeds into the soil for better moisture. This is key on slopes or in dry spots.
Seed depth is important here. Fine seeds barely need covering, but bigger ones like a light rake after spreading.
Seeding Rates and Their Determination
Getting the right number of seeds per area is huge—too few or too many, and you’re wasting time or money. The best seeding rate depends on seed size, crop, field conditions, and your plant density goals.
Factors Influencing Seeding Rates
A few big things determine how many seeds you need per square meter or hectare. Seed viability is huge—if your seeds germinate at 90%, you don’t need as many as if they’re at 70%.
Weather and soil matter a lot. Cool, wet soils mean you should plant more seeds since not all will come up. Dry conditions also call for extra seed to make up for poor sprouting.
Field conditions can push your rates up. If you’ve got rough soil, compaction, or lots of old plant material, you’ll need 10-20% more seed. Salty soils or lots of birds? Go even higher.
How you plant changes things too. Broadcasting seeds on top takes 25-50% more seed than drilling them in. Bad placement means patchy stands.
Calculating Optimal Rates
You can figure out seeding rates with a simple formula that uses seed quality and your field:
Seeding Rate = (Target Plants/m²) ÷ (Germination % × Field Factor)
The field factor usually sits between 0.7 and 0.9, depending on how good your conditions are. Go higher for good fields, lower for tough ones.
For instance, if you want 200 plants per square meter, have 85% germination, and your field factor is 0.8: 200 ÷ (0.85 × 0.8) = 294 seeds per square meter.
Most crops have their own targets. Wheat likes 150-250 plants/m². Canola needs 60-80 plants/m². These numbers change by variety and conditions.
Adjusting for Seed Size and Crop Type
Seed size really changes rates. Big seeds like beans need fewer per kilo than tiny ones like canola. We use thousand kernel weight (TKW) to measure this.
Different crops, different needs:
| Crop Type | Seeds per kg | Target Plants/m² | Typical Rate |
|---|---|---|---|
| Wheat | 25,000-35,000 | 150-250 | 100-150 kg/ha |
| Canola | 400,000-500,000 | 60-80 | 4-6 kg/ha |
| Barley | 22,000-28,000 | 200-300 | 120-180 kg/ha |
Native species and mixes need extra thought. Prairie restoration might use anywhere from 200 to 1400 seeds/m², depending on the mix. Each species gets its own rate, depending on its job in the final stand.
Cover crop mixes use either additive (full rate for each) or replacement (reduced rates but hit a target total). Replacement costs less but takes planning to balance the species.
Selecting and Preparing Equipment
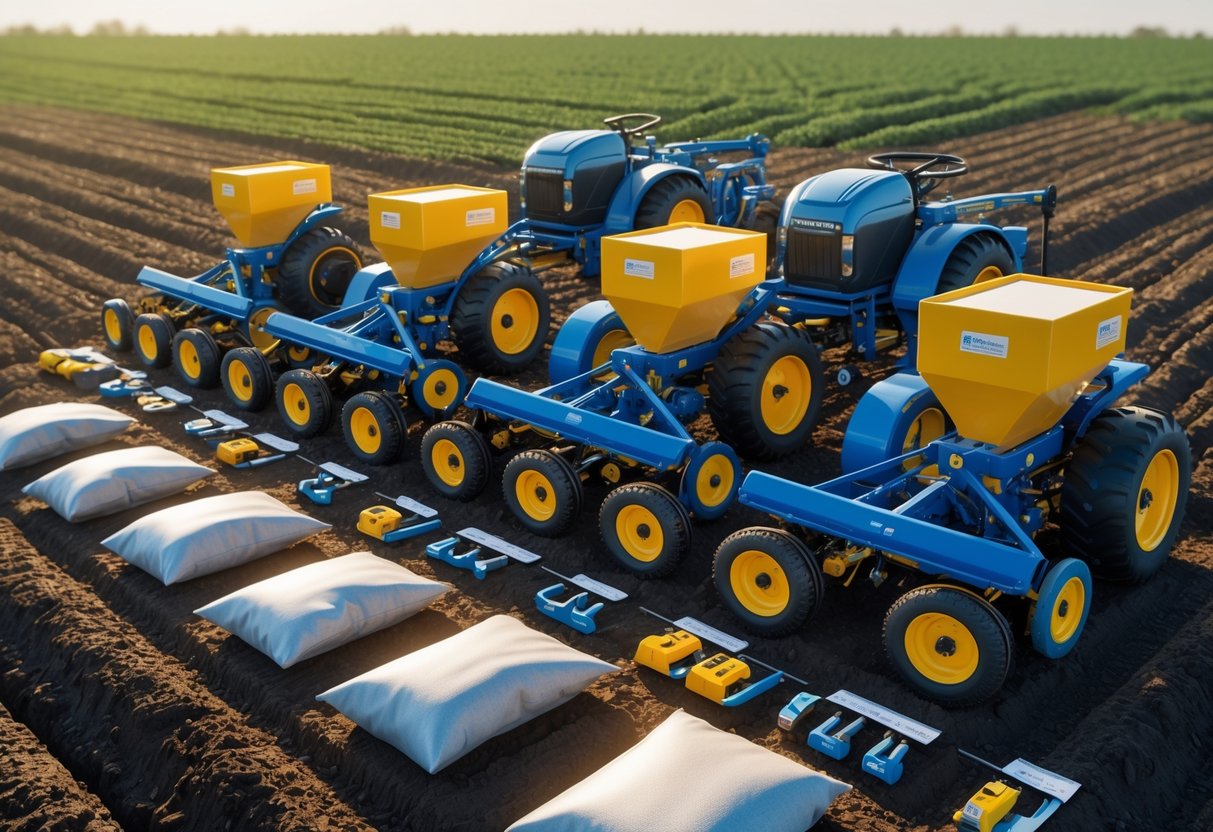
Picking the right seeding equipment can be the difference between a strong crop and a bust. You’ll mostly need drill seeders for precise planting, and cultipackers to make sure seeds touch soil.
Choosing the Right Drills
Drill seeders give you the best shot at even pastures and crops. They drop seeds at steady depths and spacing, and get good soil contact.
No-till drills shine for conservation seedings. They cut through grass or stubble and plant seeds right into the ground, no tilling first. These drills handle bumpy ground and keep soil structure intact.
Conventional drills need a smooth, prepared seedbed but cost less. They’re solid on fields where you’ve already cleared out weeds and debris.
Things to look for:
- Depth control (¼ to ½ inch for most)
- Calibrated meters for the right rate
- Proper row spacing (6-8 inches for most pasture grasses)
- Seed boxes that fit different sizes
Most drills need calibration before you start. Check the maker’s charts, set your rate, and double-check.
Cultipackers and Seeder Attachments
Cultipackers make a firm seedbed, which small seeds need to sprout well. These heavy rollers press seeds into the soil.
Standalone cultipackers work when you’re broadcasting by hand or spreader. One pass firms the soil, another presses seeds in after spreading.
Drill-mounted cultipackers attach right to your drill. They firm the soil as you plant, saving time and keeping things even. Most commercial drills come with these now.
Seeder attachments let you add broadcasting to your gear. Spinner spreaders can go on tractors or ATVs to cover big areas fast. They’re handy for overseeding pastures.
Weight matters. Light soils don’t need as much pressure as heavy clay. Most cultipackers let you add water or sand for extra weight.
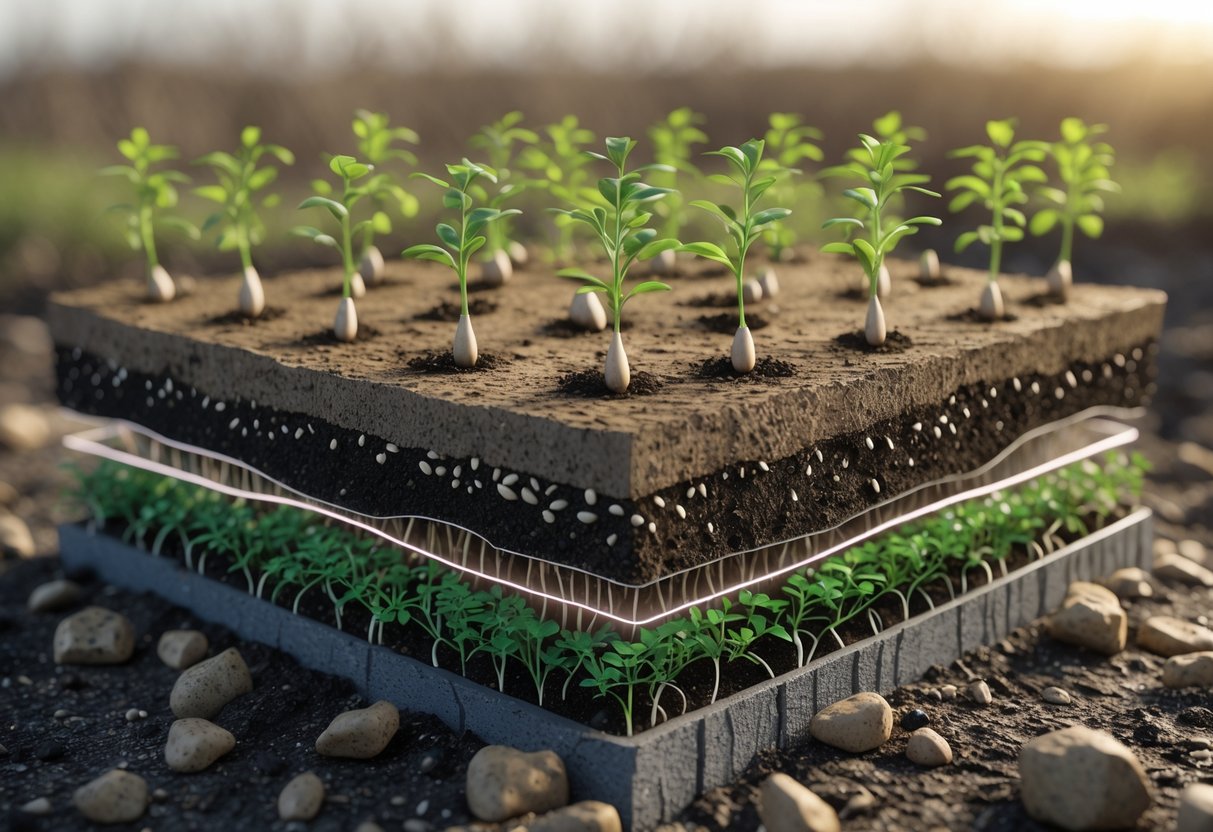
Seedbed Preparation
Getting your seedbed right really sets the stage for strong crops. We focus on building good soil structure with tillage and making sure there’s enough moisture for seeds to take off.
Soil Structure and Tillage
Good soil structure really begins with breaking up compacted ground that blocks roots from growing like they should. We rely on tillage to loosen up the soil, making it workable so seeds can actually touch the earth.
First, we clear out debris—rocks, weeds, all that stuff—from the planting area. After that, we check soil pH to see if it matches what our crops want.
Primary tillage tools look like this:
- Ploughs break up hard, compacted dirt
- Cultivators work through loose soil
- Disc harrows chop up crop leftovers
If the soil turns out too acidic, we’ll add lime. When it’s too alkaline, we throw in some sulphur. That way, seeds get the right chemical environment for germination.
The trick is to make a firm but not hard seedbed. Seeds need solid contact with soil to soak up moisture and nutrients. If it’s too loose, seeds can’t connect. Too firm? Roots can’t push through.
We wrap up by leveling the surface so seeds go in evenly at the right depth.
Moisture Level Requirements
Soil moisture really decides if seeds will sprout or just sit there. We need enough water in the soil for seeds to swell and kickstart growth.
The best moisture level feels like a wrung-out sponge when you squeeze a handful. It should stick together without being soggy or dripping.
We skip tilling when soil’s too wet because that just makes clods and compaction. Waiting until the soil crumbles in your hand helps avoid those headaches.
Moisture conservation techniques can help:
- Pulling weeds that steal water
- Making little dips to trap rain
- Using mulch or leftover crop bits to slow down evaporation
Different crops want different moisture levels. Some like it a little dry at planting, others need steady moisture to get going.
We plan our seedbed prep around weather forecasts and current soil conditions. That way, seeds hit the ground with enough moisture for those first crucial days.
Planting Depth and Spacing
Getting the depth and spacing right for your seeds might matter more than anything else for germination and healthy plants. Planting at the right depth gives seeds access to moisture and air, while proper spacing keeps plants from fighting over nutrients.
Best Practices for Depth Control
Generally, plant seeds about two to three times their diameter deep. Tiny seeds like lettuce only need ⅛ to ¼ inch, but bigger seeds like beans go 1½ to 2 inches down.
Measuring depth accurately really pays off. Try using a dibber or a ruler with depth marks. To keep things even, make little furrows at the right depth before dropping seeds in.
Soil type changes things too. In heavy clay, plant a bit shallower than usual. If you’re working with sandy soil, you can go a little deeper since it drains better.
Common mistakes? Planting too deep stops seeds from sprouting, while too shallow lets them dry out. Seeds like carrots and parsnips that need some light should barely get covered.
Always check the seed packet for details. Crops like onion sets need 1-2 inches, but onion seeds want just ¼-½ inch.
Row Spacing Techniques
Between-plant spacing keeps overcrowding and disease down. Radishes only need 1-2 inches, but big plants like Brussels sprouts want 18-24 inches.
Use string lines and measuring sticks to keep spacing consistent. Mark your stick with 6, 12, and 18 inches for quick measuring.
Row spacing depends on your tools. Hand tools fit in narrower paths (12-18 inches), but machines need 24-36 inches.
Think about companion planting too. Quick growers like lettuce can fill the gaps between slower crops like tomatoes, making the most of your space.
For succession planting, leave more room between rows. That way, you can add new crops every few weeks without messing up what’s already growing.
Establishing Small-Seeded Crops
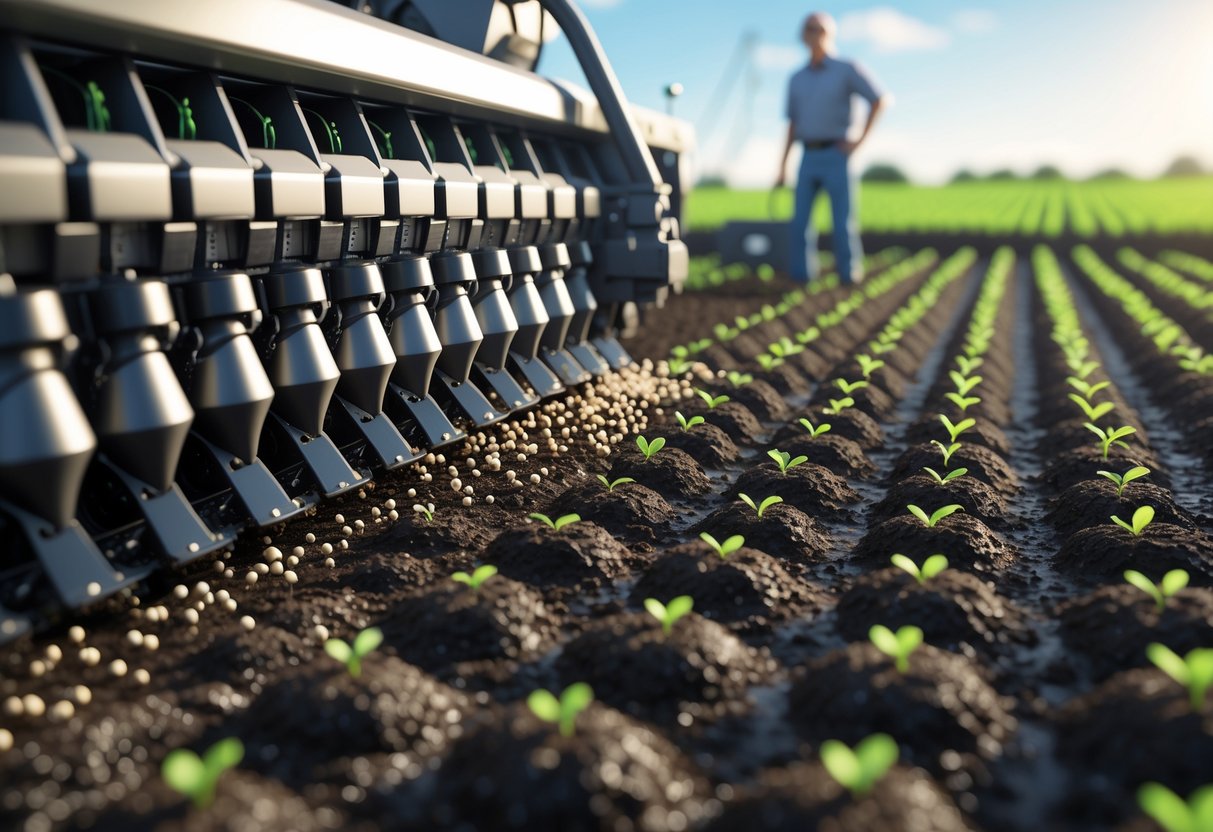
Small-seeded crops really need precise planting and careful seeding rates to get established. The biggest challenges are making sure seeds touch the soil well and handling those tiny seeds gently.
Techniques for Legumes
We like using a cultipacker-seeder for a prepared seedbed, or a no-till drill with a small-seed box for the best control over seeding rates. These methods give us the accuracy needed for small seeds like alfalfa and clover.
No-till drilling works especially well for legumes. The drill’s coulters disturb just enough soil to let seeds take hold but keep soil structure intact.
If you’re using conventional tillage, single disc drills can spread seed nicely on prepared ground. This takes more prep but lets us manage soil conditions better.
Seeding rates depend on the species but usually run 10-20 pounds per acre for most small legumes. We have to calibrate the equipment carefully because small seeds flow differently than bigger ones.
Winter seeding’s another option. We broadcast seeds over frozen ground to thicken stands or start crops in fall-seeded grains.
Challenges with Small Seeds
Small seeds really need excellent seed-to-soil contact at just the right depth to soak up moisture and sprout. If they don’t connect well, you get patchy stands or even total failure.
Seeding depth is critical—small seeds just don’t have the reserves to push up from deep. Most small-seeded crops need to be planted 6-13mm deep, tops.
Standard drills often struggle with small seeds. Many just can’t meter them right, so you end up with uneven stands and wasted seed.
Moisture management is huge since small seeds dry out fast. We need steady soil moisture for the first 2-3 weeks after planting.
Weather timing really matters. Strong winds can blow those light seeds away, and heavy rain might bury them too deep or crust the surface so seedlings can’t break through.
Direct Seeding Versus No-Till Approaches
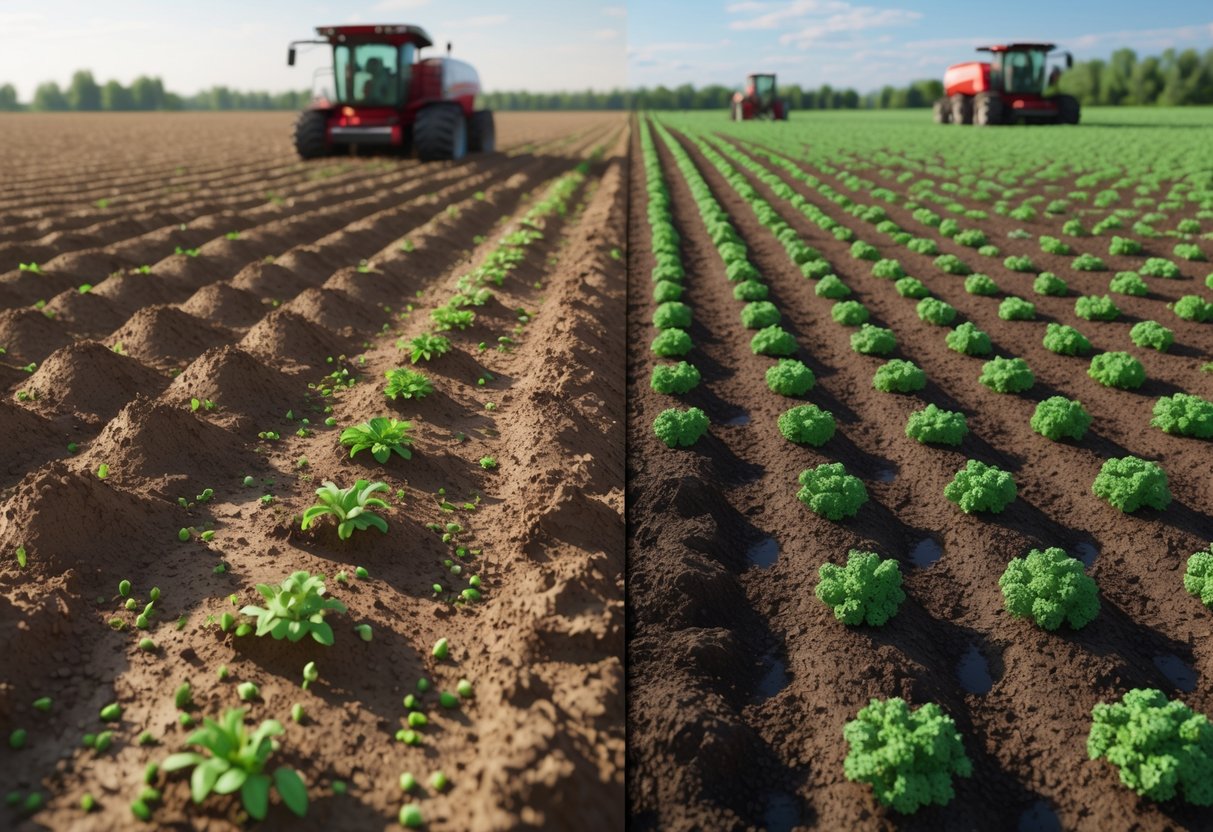
Direct seeding and no-till farming both aim for similar results, but they differ a lot in flexibility and soil disturbance. The real difference comes down to equipment and long-term soil health.
Soil Health Impact
Direct seeding gives farmers more flexibility than strict no-till. It lets us use some tillage for weed control or tough clay soils.
No-till systems really shine for soil health over time. Research near Pendleton, Oregon found water infiltration rates at just 0.04 inches per hour with regular tillage, but after 16 years of no-till, that jumped to 5.1 inches per hour.
Continuous direct seeding builds up soil organic matter faster than mixing tillage methods. Any tillage breaks down those improvements that take years to build. When we till, even occasionally, we break up soil pores and lose organic matter.
Direct seeding still beats conventional tillage for soil health. But it just can’t match the long-term gains of true no-till. Carbon sequestration drops off with any soil disturbance.
Equipment Adaptations for No-Till
No-till systems need special drills made for minimal disturbance. These drills use narrow knives or discs that only cut strips up to a third of the row width.
Low-disturbance direct seeding uses the same drills as regular no-till. These keep most crop residue on top while making narrow seed slots.
High-disturbance direct seeding uses hoe or sweep openers. They disturb more soil between rows but still leave a lot of residue on the surface. Some sweep blades even undercut soil layers with hardly any surface mess.
Farmers can go with one-pass or two-pass systems. One-pass drills put down fertiliser and seed in one go. Two-pass systems split the jobs but skip traditional tillage.
Modern direct seeding drills handle residue and seed placement way better than the old no-till gear. That’s helped a lot with getting more even germination and crop stands.
Seeding Methodology in Research and Industry

Research teams and lab professionals use specific seeding approaches to boost data collection and help with crystal formation. These methods lead to more consistent results and, honestly, better science.
Data-Driven Seeding Practices
The SEED Method lays out a structured way to get stakeholders involved in research. This framework mixes community input with systematic data collection.
Research teams use it to nail down key questions and set priorities. The process brings together different groups to tackle problems.
We’ve seen this approach scale up or down, depending on resources. Small teams can use it for local projects. Big organisations roll it out for complex, multi-site studies.
The method usually goes like this:
- Recruit and select stakeholders
- Hold sessions to develop questions
- Review literature to find knowledge gaps
- Set priorities through group chats
Participatory modelling sits at the heart of this. Stakeholders shape the research questions—not just hand over data.
Teams often take 4-6 weeks to finish the whole process. The timeline shifts based on how many questions they’re diving into.
Role in Crystallisation and Laboratory Settings
Seeding techniques really matter for crystal formation studies. Scientists add seed crystals to solutions to control how new crystals grow.
Microseed Matrix Seeding (MMS) is a common lab method. Researchers add seed crystals to crystallisation screens, step by step.
This helps create more uniform crystals. The seeds act as the starting points for new growth.
Lab teams pick seeding strategies based on their goals. Some want bigger crystals, others care more about purity.
Seeding success depends on a few things:
- Temperature control during the run
- Seed crystal quality and how you prep them
- Solution concentration levels
- Timing when adding seeds
Proper seed prep really makes a difference. Teams have to handle seed crystals carefully to keep them effective.
Different methods work better for different materials. Protein crystallisation often needs a different approach than metals or minerals.
Optimising Seeding for Environmental Conditions

Soil moisture and timing seriously affect how well seeds get established. Tweaking seeding techniques to fit field conditions can boost germination by 15-30% over the usual methods.
Seeding in Wet or Dry Soils
When soils are wet, we plant shallower and tweak equipment settings. We cut planting depth by 0.5-1 cm if moisture is above field capacity.
Heavy soils hold onto moisture but can crust over. Use wider row spacing (add 10-15%) to let air circulate around seedlings.
Dry soils need deeper planting to reach moisture. We plant seeds 1-2 cm deeper than normal, making sure they still touch the soil well.
Wet soil adjustments:
- Slow planting speed by 20-25%
- Lower seed meter pressure
- Use wider tyres to reduce compaction
Dry soil tweaks:
- Increase closing wheel pressure
- Try pre-irrigation if you can
- Plant in the cooler morning hours
Seasonal Adjustments in Practice
Early spring seeding needs warmer soil than the calendar might suggest. We check soil temperature at 5cm deep for three days straight before planting.
Cold soil (under 8°C) can really slow down germination. Wait for steady 10°C readings instead of going by the old dates.
Late season planting works better with higher seeding rates. We boost rates by 10-15% after the ideal window to make up for lost growing time.
Spring tips:
- Watch 7-day weather forecasts
- Don’t plant before heavy rains
- Test soil by squeezing it in your hand
Summer seeding needs moisture conservation. Plant right after rain if possible, or use no-till to keep soil moisture around.
Troubleshooting Common Seeding Challenges

Even the most seasoned growers run into problems when starting seeds. Usually, inconsistent conditions or finicky equipment cause the biggest headaches.
If you spot and fix these issues early, you can save your whole crop. It’s a bit of a scramble sometimes, but it’s worth it.
Achieving Uniform Germination
Getting seeds to pop up together takes a sharp eye and patience. Three things matter most: temperature, moisture, and planting depth.
Temperature swings cause patchy trays more often than you’d think.
Temperature Control Issues
Seeds want steady soil temps between 18-24°C for most crops. Honestly, guessing from room temperature just doesn’t cut it.
Grab a soil thermometer and check a few spots in your trays. Heating mats work best for steady bottom heat, but make sure you’re not overheating one end and freezing the other.
Moisture Management
If you water unevenly, you’ll see dry patches and soggy corners. That’s a recipe for uneven germination.
Try using a spray bottle or a misting system for gentle, even watering. Cover trays with clear plastic or humidity domes at first, but take them off once you see green shoots—otherwise you might get fungus.
Depth and Spacing Problems
Planting seeds at random depths means they’ll sprout at different times. Always check the packet—most seeds like to go in at about twice their diameter.
Tiny seeds like petunias? They actually need light, so just press them onto the surface and skip the covering.
Overcoming Equipment Limitations
You don’t need fancy gear to get good results. With a little creativity, you can make do.
Lighting Challenges
If you don’t have grow lights, put your trays by a south-facing window for the best light you can get. Rotate them every day so the seedlings don’t all lean one way.
A mirror or some foil behind the trays bounces more light onto the plants. It’s a simple trick, but it really helps keep seedlings sturdy.
Container and Space Solutions
No seed trays? No problem. Clean yoghurt pots, egg cartons, and takeaway boxes work if you poke some drainage holes.
You can roll up toilet paper tubes or fold newspaper into pots for individual seedlings. It makes transplanting easier and the roots stay happier.
Soil Mix Alternatives
Standard potting compost feels heavy for seeds. Mix in some perlite or vermiculite to lighten it up and help with drainage.
If you’re stuck with garden soil, bake it at 180°C for half an hour to kill off nasties. It’s not glamorous, but it works in a pinch.
Future Trends in Seeding Methodology

Technology is shaking up how we plant seeds—and honestly, it’s kind of wild. Smart machines now tweak planting as they go, and data-driven systems tell us the best time and place to plant.
Emerging Technologies
Smart sensors let us watch soil conditions in real time. These gadgets adjust planting depth on the fly and track how many seeds go in each spot.
Robotic seeders are popping up on big farms. They don’t need drivers and can work for hours, following GPS lines so they don’t double up or miss patches.
3D imaging systems scan seeds before planting. They spot damaged ones and pull them out, which means fewer empty spots in the field later.
Machine learning crunches weather and soil data to suggest the best planting times. Some systems even learn from last year’s results to get better every season.
Drone technology helps reach tricky spots. Drones drop seed pods on steep hills or soggy ground where tractors can’t go.
Precision Agriculture Innovations
Variable rate seeding changes how many seeds get planted based on soil quality. Rich spots get more seeds, poor patches get less.
GPS-guided machines lay down super-straight rows. Seeders can follow the same tracks year after year—almost down to the centimetre.
Real-time monitoring systems keep tabs on every seed. If the seeder runs low or jams, farmers get a phone alert right away.
Soil analysis tools measure moisture and nutrients as you plant. The machine tweaks depth and spacing based on what it finds, giving each seed the best shot.
Connected machinery shares planting data with other farm equipment. Later, sprayers and spreaders know exactly where to work, so you don’t waste fertiliser or chemicals.
Frequently Asked Questions

People ask a lot about seeding—whether it’s for crops, sports, or even chemistry. Here are some answers that might clear things up (or at least point you in the right direction).
What are the main techniques used for planting seeds in agriculture?
Farmers use drill seeding, broadcasting, and precision planting as their main methods. Each one fits different crops and field setups.
Drill seeding drops seeds at set depths and spaces—great for wheat, oats, or barley.
Broadcasting scatters seeds fast across big areas. We usually do this for pastures, cover crops, or rice.
Precision seeding uses GPS and sensors for super-accurate planting. It can cut seed waste by up to 30% compared to old-school methods.
Manual seeding still comes in handy for small plots or special crops, but machines give better control over how many seeds go where.
Variable-rate seeding changes how thickly you plant based on the soil. That way, each part of the field gets what it needs.
How does drill seeding differ from other planting methods?
Drill seeding puts seeds right where you want them—at the right depth and spacing. Unlike broadcasting, the drill makes a furrow and covers the seed straight away.
You get better seed-to-soil contact this way, which means more even germination.
Drill seeders work well in no-till systems, planting through leftover crop bits without messing up the soil.
Broadcasting covers a lot of ground fast but uses more seed and can be pretty uneven. Manual broadcasting especially ends up patchy.
Precision planters are the most accurate, but they cost more. They’re worth it for high-value crops like maize or soybeans.
Could you explain the concept of seeding in relation to chemistry experiments?
In chemistry, seeding means adding small crystals to start crystallisation. Chemists drop seed crystals into supersaturated solutions to control how crystals grow.
This helps get purer compounds with better structure. Seeding stops random crystal formation, which can trap impurities.
The seed crystals need to match the compound you’re trying to make. Usually, you use a tiny bit of the pure substance as your seed.
Temperature matters a lot when seeding. If you cool things too fast without seeds, you end up with a mess of tiny, impure crystals.
Pharmaceutical companies use seeding for consistent medications. It keeps drug batches even in strength and how they dissolve.
What considerations are taken into account when seeding teams in sports tournaments?
Tournament organisers rank teams by performance, ratings, or past results. The top teams get the highest seeds so they don’t knock each other out early.
Usually, organisers put the best teams in different parts of the bracket. That way, the strongest only meet in the later rounds.
Current season records mostly decide seeds, but head-to-head results and schedule strength matter too.
Sometimes geography comes into play for big tournaments. Organisers might tweak brackets to keep travel costs down for teams and fans.
Seeding committees weigh a bunch of factors before finalising brackets—recent form, injuries, and past tournament results.
Wild card entries make things a bit trickier. Committees have to balance fair seeding with automatic spots.
How does the weather impact the process of sowing and growing plants?
Weather has a direct effect on germination and early growth. Soil temperature and moisture decide when you can plant.
Cool, wet conditions can push planting back and lower germination. Seeds might rot in soggy soil before they even sprout.
Hot, dry spells bring different troubles. Without enough moisture, seeds just sit there.
Wind can blow away surface-sown seeds before they settle. Mulch or gently firming the soil helps keep them in place.
Frost is a big risk for new seedlings. Most growers keep an eye on the forecast during these stages.
Rainfall timing can shift planting for whole regions. Too much or too little rain can move seeding dates by weeks.
What are the top methods for seeding in the chocolate-making process?
Seeding in chocolate-making means tossing in tempered chocolate crystals to guide crystallisation. When you get this right, the chocolate ends up with the texture and look you want.
With the tempering method, you use a bit of solid chocolate as seeds. You add these crystals to melted chocolate, but you’ve got to watch the temperature closely.
Table seeding? That’s where you spread melted chocolate on a marble surface to cool it down. It’s an old-school approach, and honestly, it takes some practice to master the crystal formation.
If you’re working on a bigger scale, machine tempering steps in. These machines keep the chocolate at just the right temperature through the whole crystallisation process.
When you seed chocolate well, you get stable beta crystals—those are the ones responsible for that classic snap and the shiny finish.
Temperature control is everything here. Even a tiny mistake can leave you with chocolate that blooms or just doesn’t feel right.
