Player Union Formation: Strategies and Structure in Rugby
Updated On: October 23, 2025 by  Aaron Connolly
Core Principles of Player Union Formation

Athletes usually realise they need collective strength when they want to protect their interests or improve their working conditions. Player unions come together by setting clear goals, showing their value to teams, and tweaking their structure as the industry shifts.
Purpose and Objectives
Player unions exist to give athletes a real voice in decisions that directly impact their careers. You can see this in organisations like FIFPRO, which represents professional footballers all over the world.
The main idea is collective representation. An individual player rarely has enough power to negotiate a fair contract or push back against unfair treatment. When they unite, though, they gain leverage over team owners and league officials.
Workplace protection is another big goal. Players deal with risks like sudden injuries, salary arguments, and random contract changes. Unions set up safety nets, including salary protection and standardised contracts.
Unions also push for human rights advancement in sports. They fight discrimination, work for equal opportunities, and protect players from abuse or exploitation.
Many unions look at sustainable industry growth. They know healthy leagues help everyone. So, they push for policies that mean stable jobs and profitable markets.
Benefits for Team Performance
Strong player unions actually help teams perform better by tackling issues that distract athletes. When players feel secure and respected, they focus more on their sport.
Contract stability gets rid of a lot of distractions. If players worry about unpaid wages or sketchy contract terms, their performance drops. Unions negotiate standard contracts that protect both sides and cut down on conflicts.
Unions set up dispute resolution systems. Instead of dragging things through courts, they create arbitration processes. Players and teams can sort things out fast and get back to the game.
Injury protection programmes give players peace of mind. When they know they’ll get medical care and rehab support, they’re more likely to report injuries early and recover well.
Unions also push for better training conditions and facilities. They want improved practice spaces, nutrition, and recovery resources—stuff that helps teams reach higher standards.
Evolution of Formation Structures
Early player unions started as informal groups during a specific crisis. Maybe a team refused to play until owners fixed a problem, then the group faded away once things settled.
Now, unions have turned into permanent professional organisations. They hire full-time staff, run legal departments, and keep programmes going year-round. This setup lets them deal with issues before they explode.
Federated models are common now. Local unions link up with national ones, and those connect to international bodies. This creates support networks from amateur leagues all the way to the pros.
Technology has changed how unions work. Digital platforms make it easy for members to talk, vote online, and track trends or contract terms.
Unions have specialised divisions for different needs. Some focus on women’s sports, youth development, retired players, or international transfers.
The best modern unions try to work with leagues and teams. Instead of just fighting, they act as partners—growing the sport and protecting players at the same time.
Player Roles and Rugby Positions
In rugby union, you’ve got 15 positions split into two main groups: 8 forwards (numbers 1-8) and 7 backs (numbers 9-15). Each position comes with its own physical demands and tactical responsibilities, shaping how teams organise themselves.
Forwards and Backs Distinctions
The forwards make up the pack and handle the tough physical battles. They fight in scrums and lineouts to win the ball.
Props (1 and 3) push in scrums and help lift jumpers in lineouts. The hooker (2) throws the ball in and hooks it back during scrums.
Locks (4 and 5) are usually the tallest. They jump in lineouts and push in the scrum’s second row.
The back row has two flankers (6 and 7) plus the number 8. They’re first to breakdowns and link up with the backs.
The backs rely on speed and skill. They play behind the forwards and move the ball across the field.
The scrum-half (9) gets the ball from the forwards and passes it on. The fly-half (10) calls the shots and decides what the backline does.
Centres (12 and 13) break through defences and make space for wingers. Wings (11 and 14) finish off moves and score tries.
The fullback (15) covers the back and often joins the attack as an extra player.
Specialised Responsibilities
Each position has its own job depending on what’s going on in the game. These roles decide where players stand and what they focus on.
Set piece specialists include hookers who throw lineouts and locks who jump. Props need to be strong in the scrum.
Breakdown experts like flankers get to rucks and mauls first. The openside flanker (7) tries to win turnovers. The blindside flanker (6) brings more muscle.
Playmakers set the pace. The scrum-half connects forwards and backs with quick passes. The fly-half chooses whether to kick, pass, or run.
Strike runners are centres and wingers who beat defenders and score tries. They need speed and good footwork.
Last line defenders like the fullback catch high kicks and stop any runners who break through. They’re also key for counter-attacks.
Impact of Individual Skills
Player abilities shape team formations and game plans. Teams adjust strategies to fit their players’ strengths.
A fly-half with a powerful kick might lead a territory-focused game. Teams with quick wingers try to get the ball wide as fast as possible.
Physical traits matter for each spot. Tall locks are great for lineouts. Heavy props dominate in scrums.
Skill sets open up tactical options. A scrum-half with a long pass creates more attacking chances. Centres who defend well allow for aggressive defence.
Teams often have utility players who can fill in at different positions. That flexibility helps with subs and tactical tweaks during games.
Modern rugby values versatility. Forwards need better ball skills and backs need to defend better. Teams pick and train players with that in mind.
Influence of Set Pieces on Formation
Set pieces bring unique formation challenges that shape how teams organise scrums and run mauls. These moments need careful positioning to create scoring chances and keep defensive stability.
Scrum Structure
The scrum formation really matters during defensive set pieces. Teams usually tighten up their formation to build a compact defensive wall.
Front row positioning sets the foundation. The hooker and props anchor the structure, deciding how well the team can handle pressure from corners and free kicks.
Most teams switch to a zonal marking system for defensive set pieces. Players stop marking individuals and instead cover specific areas of the penalty box.
Key structural changes include:
- Centre-backs move wider to cover the far post.
- Full-backs tuck inside and form a five-man line.
- Midfielders drop deeper as an extra shield.
For attacking set pieces, the formation stretches vertically. Players stack up in certain zones to confuse defenders and create space.
Height advantages play a big role. Teams put their tallest players where they can do the most damage, while shorter players focus on picking up loose balls or covering defensively.
Mauls Execution
Maul execution calls for tight formation changes, different from open play. Teams overload certain areas to create scoring chances.
Attacking mauls bunch players around the penalty spot or near post. The formation gets really narrow, sometimes with six players squeezed into five square metres.
Players run set patterns during mauls. They curve in from deep, timing their arrival just as the ball comes in.
Defensive maul responses force teams to match the attacking shape, at least for a moment. This can open up gaps elsewhere for the opposition to exploit with quick corners or recycled play.
Common maul formations include:
- Near post stack – three players block the goalkeeper’s view.
- Far post cluster – target the back post with height.
- Central overload – pack the six-yard box with bodies.
Maul success comes down to timing and communication. Teams that nail these formation changes gain a real edge over opponents who can’t adjust fast enough.
Lineouts and Tactical Player Spacing
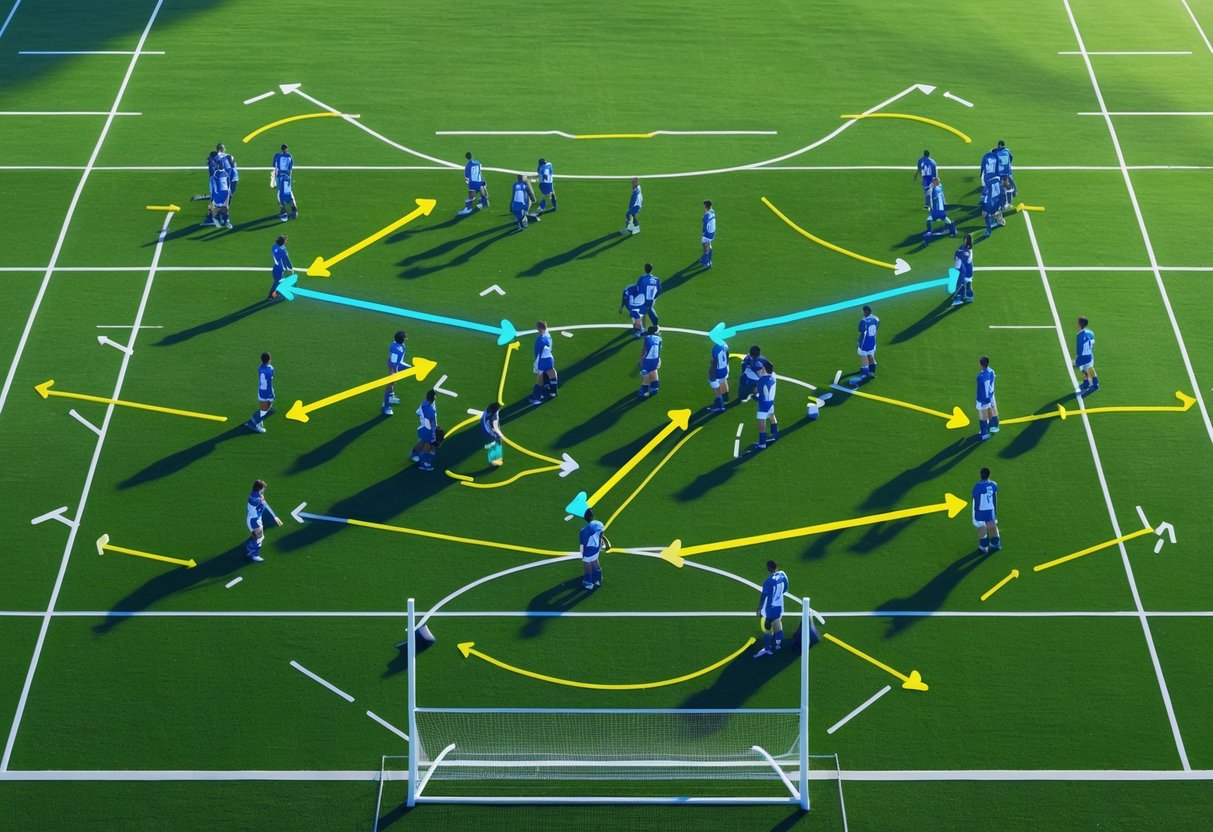
Lineout spacing decides how players spread out along the 15-metre line to create attacks or contest the ball. Teams use formations like 3-3-1 or 3-2-2 to find gaps in the defence.
Player Placement in Lineouts
The basic lineout starts with the hooker throwing in from the touchline. Players from both teams line up at right angles to the sideline, forming a corridor.
Forward positions usually include:
- Front jumper (2 metres from touch)
- Middle jumper (4-6 metres out)
- Back jumper (8-10 metres out)
Each jumper gets two lifters next to them. The lifters grab the jumper’s thighs and hips to help them get up for the catch.
Most teams put a scrum-half two metres behind the lineout to grab the ball. This player connects the forwards and backs.
The opposition copies this setup to contest every throw. They put their jumpers opposite the targets.
Strategic Variations
Teams change their lineout formations depending on field position and tactics. Shortened lineouts use fewer players, opening up space for surprise moves.
Some common spacing patterns:
| Formation | Players | Purpose |
|---|---|---|
| 3-3-1 | 7 players | Balanced attack/defence |
| 3-2-2 | 7 players | Strong middle option |
| 2-2 | 4 players | Quick ball movement |
Attacking variations often use decoy movements. Players shift around before the throw to keep defenders guessing.
Teams also run driving mauls by throwing to the back jumper. All the forwards bind together and drive as a unit toward the try line.
Defensive spacing tries to contest every throw. Teams can’t cover all 15 metres, so they pick which spots to focus on based on what the opposition likes to do.
Understanding the Blindside and Open Play
The blindside is the narrow part of the field between the play and the touchline. Open play covers the wider area with more space. Teams use different tactics for each—blindside needs power and close support, while open play is all about speed and spreading out.
Defensive Formation on the Blindside
Blindside defence calls for tight formations since space is limited. The blindside flanker (number 6) usually covers this area with the wing.
Key defensive positions include:
- Blindside flanker stays tight to the ruck.
- Wing hugs the touchline.
- Scrum-half drops behind for cover.
The main goal is stopping breaks down the narrow channel. Defenders have to talk constantly to avoid leaving gaps.
Common blindside defensive tactics:
- Rush up to close space fast.
- Tackle towards the touchline.
- Go for quick turnovers at the breakdown.
Teams often set up with two or three defenders on the blindside. If the attack sends more players, it can create overlaps.
The blindside wing needs to stay disciplined. If they drift too far infield, it leaves space for the opposition winger right by the sideline.
Creating Attacking Opportunities in Open Play
Open play attacks stretch defenses by using the wider areas of the field. Most teams throw 4-6 players into these open side attacks.
Effective open play strategies include:
- Wide passing to create overlaps
- Loop moves between centers and wings
- Fullback joining the attacking line
The openside flanker (number 7) plays a vital support role. They link the forward pack with the backline and offer quick ball at breakdowns.
Key principles for open play attacks:
| Tactic | Purpose | Players Involved |
|---|---|---|
| Overlap | Outnumber defenders | 3-4 backs |
| Switch | Change direction | Centers/Wings |
| Loop | Create extra player | Any back position |
Teams try to keep the field wide while still having support players close. This balance helps create space but also keeps the ball moving quickly.
The fullback often jumps into the line as the extra attacker. When they time it right, their positioning can break through a defensive line.
Key Roles: Scrum-Half and Fly-Half in Formations
The scrum-half acts as the link between forwards and backs, deciding when and where the ball goes. The fly-half runs the show, making split-second calls to pass, kick, or run and shaping every attack.
Scrum-Half Coordination
The scrum-half, wearing number 9, controls the tempo from behind the forwards. You’ll spot them at scrums, rucks, and mauls, picking the exact moment to release the ball to the backs.
Key coordination duties include:
- Quick distribution – Fast, accurate passing to keep the attack sharp
- Communication – Directing forwards and calling the shots
- Field positioning – Reading the game and picking the right time to attack or clear
Scrum-halves need excellent passing skills in both directions. Delivering the ball at the right height and speed can make all the difference.
Good scrum-halves aren’t always the biggest, but they make up for it with big personalities. They talk nonstop, often bossing around much bigger forwards, and they’re not shy about chatting with referees.
Their decision-making shapes the team’s formation. One slow or off-target pass can kill a promising attack.
Playmaking from Fly-Half
The fly-half wears number 10 and stands between the scrum-half and inside center. People sometimes call them rugby’s quarterback because they run most of the attacking plays.
Primary playmaking responsibilities:
- Decision-making – Passing, kicking, or running on the fly
- Tactical kicking – Using grubbers, chips, and punts to gain ground
- Attack coordination – Setting up backs and finding gaps in the defense
The fly-half gets the ball from the scrum-half and has to read the situation in a flash. They look for weaknesses or overlaps in the defensive line.
Physical requirements usually include:
- Height: 5’9″ to 6’0″ (175-183 cm)
- Weight: 170-200 pounds (77-91 kg)
- A good blend of speed and strength for contact
Effective fly-halves use smart kicks to control territory. Sometimes they clear the ball under pressure; other times, they kick behind the defense to create chances.
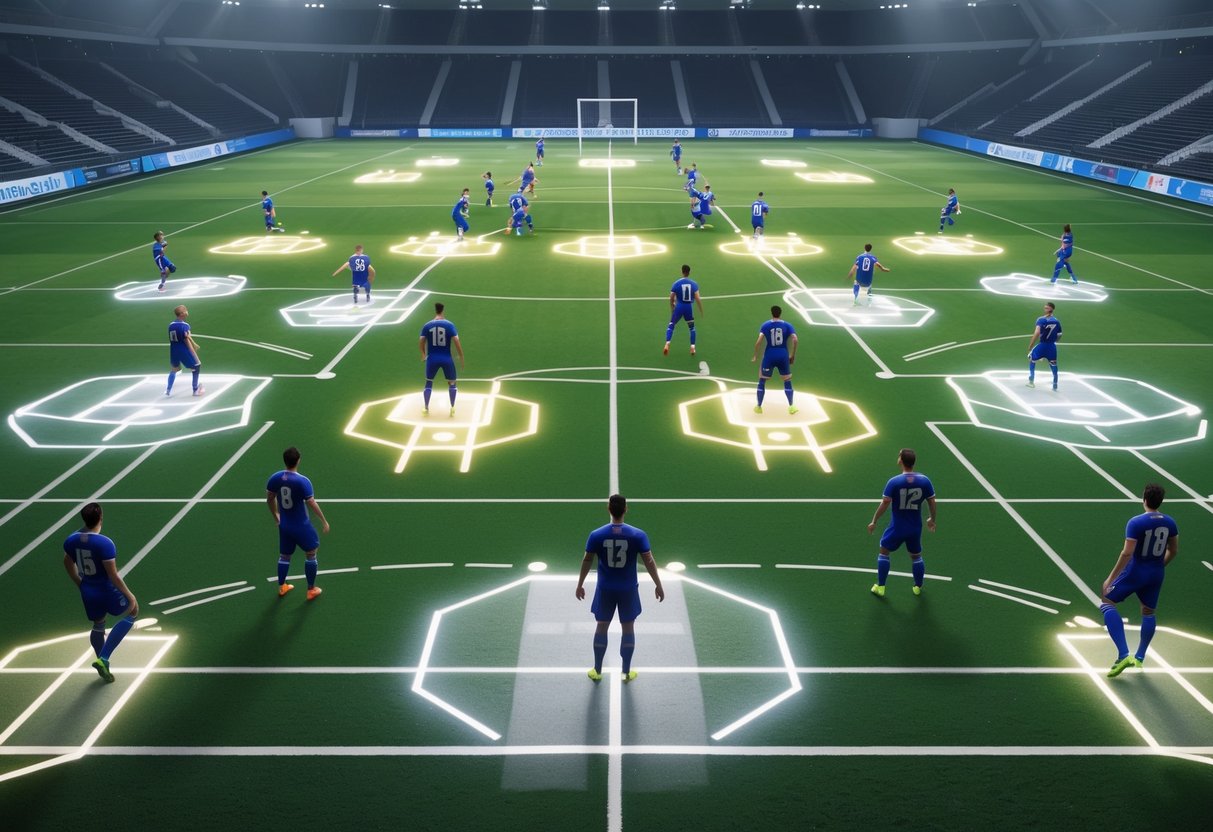
Popular Formation Types in Rugby Union
Rugby union teams rely mostly on two main formation patterns to organize their forwards: the 1-3-3-1 and the 2-4-2. These formations split the eight forwards into groups that cover the field and create tactical advantages.
1-3-3-1 Formation
The 1-3-3-1 formation puts one forward on each sideline and two groups of three in the middle. Most modern teams use this setup.
The central pods line up in a V-shape. Each pod usually has a back just behind the middle forward, giving the ball carrier a few options: run, pass short, or offload to the back.
Key advantages include:
- Punch power through the middle
- Quick ball generation at breakdowns
- Flexible options left and right
- Simple reset after each phase
Flankers work the outer channels as strong runners and breakdown experts. They keep possession clean and the attack moving. Forwards have to work hard between breakdowns, but the roles stay pretty clear.
Players can swap in or out of positions as needed. Sometimes, you just need to take the ball up and reset for the next phase.
2-4-2 Formation
The 2-4-2 formation puts two pairs of forwards on the outside and four in the middle. It can take a few phases to set up after set pieces, but it really spreads the field.
Wingers line up with hookers and flankers in the 15-metre channels. On the other side, the wing pairs up with the number eight and another flanker. Props and locks make up the central pod.
Fly-halves and centers fill the spaces between pods, linking the attack with passing instead of having forwards chase the ball all over.
Benefits of the 2-4-2:
- Better ball security in groups of three
- More space for forwards to create chances
- Less running for forwards off the ball
- Structured field coverage
This system works best with skilled, athletic forwards. When it clicks, it gives forwards more room to create, not just bash forward.
Challenges and Adaptability
Both formations run into trouble when the defense disrupts pod structures or players get pulled out of position. Teams need to reorganize fast if they lose or win possession unexpectedly.
Weather plays a big part. Wet days favor tight pods; dry pitches let teams spread wider. Teams often switch formations mid-match depending on where they are on the field and what’s happening.
Common adaptation scenarios:
- Red zone attacks – tighter pods near the try line
- Exit plays – wider setup from deep in your own half
- Scrum advantage – quick switches to exploit space
Modern teams drill several formation options. Players have to know their roles in each system and switch between patterns smoothly. The best sides make these changes look easy during live play.
Zone Systems and Spatial Awareness
Zone systems ask players to control certain field areas while staying aware of teammates and opponents. This way, teams balance territorial control with flexible positioning for both attack and defense.
Optimising Territory
Zone systems split the field into specific areas, and each player takes charge of their space instead of marking a single opponent.
This setup leads to better field coverage. Players can block passing lanes and slow down opponents trying to move through their zones.
Key zone principles include:
- Keeping good spacing between players
- Knowing when to hold your ground or go support
- Reading the opposition to spot threats
Players talk constantly about who’s covering which zone. If one steps up to press, the others shift to keep the defensive shape.
The system works best when players know their overlapping zones—those areas where two teammates can back each other up.
Teams often use a 2-1-2 or 1-3-1 zone setup. The numbers show how many players cover each horizontal line across the field.
Balancing Defence and Attack
Zone systems help teams switch smoothly between defense and attack. Players set up to win the ball back and then counter right away.
In defense, zones create compact shapes that are tough to crack. Players stay disciplined but still cover for each other.
Attacking transitions need:
- Fast ball movement through the zones
- Players moving into supporting positions
- Creating extra numbers in key spots
The system shines when players read the game and know when to stick to their zone or break formation to attack.
Modern zone systems use spatial triggers—certain spots or situations on the field that tell players to move together.
Players have to balance their own zone duties with the team’s movement. That way, they don’t leave gaps but still keep the attack dangerous.
Formations in Phase Play and Open Field
Phase play uses different formations than set pieces. Teams need to switch quickly and stay flexible. It’s a constant juggle—keeping forwards close for support, backs wide for attack, and always ready to defend if the ball turns over.
Transition Between Phases
The 1-3-2-2 and 2-4-2 are the go-to formations for phase play. These setups give teams lots of attacking options while keeping forwards near the breakdown.
In the 1-3-2-2, one forward stays near the scrum-half, three form the first pod, and the rest split into two pods of two. This keeps the attack wide but still supported.
Quick tip: Watch how pros use color-coded zones. Red is packed with defenders, yellow marks the edges, and green means go—space to attack.
The pod system lines up three forwards after each ruck. The fly-half calls the shots, steering the play based on defensive positioning. When the defense leaves space out wide, those two-forward pods can swing it quickly.
Key transition principles:
- First three forwards hit the breakdown right away
- Others fill their spots fast
- Backs stay wide but ready to jump in
Counter-Attacking Structures
Counter-attacks call for a different shape since teams react to broken play, not a set structure. The best approach uses a sweeper system with the full-back organizing the defense.
The counter-attacking shape puts two forwards near the breakdown and spreads the rest out. This keeps the ball moving fast and gives runners space in every channel.
Heads up: Some teams crowd too many players near the breakdown on counter, which just kills the attack.
The fly-half takes charge, calling plays based on where the space is. Teams use simple codes like “Rob Red” for tight channels or “Liam Green” for wide attacks, changing them up based on field position.
Effective counter-attacking structure:
- Full-back sets the shape from deep
- Two forwards secure the ball
- Others spread out across the field
- Backs keep their spacing for passing lanes
Counter-attacks work best when teams spot mismatches or extra numbers. Moving the ball before the defense resets is everything.
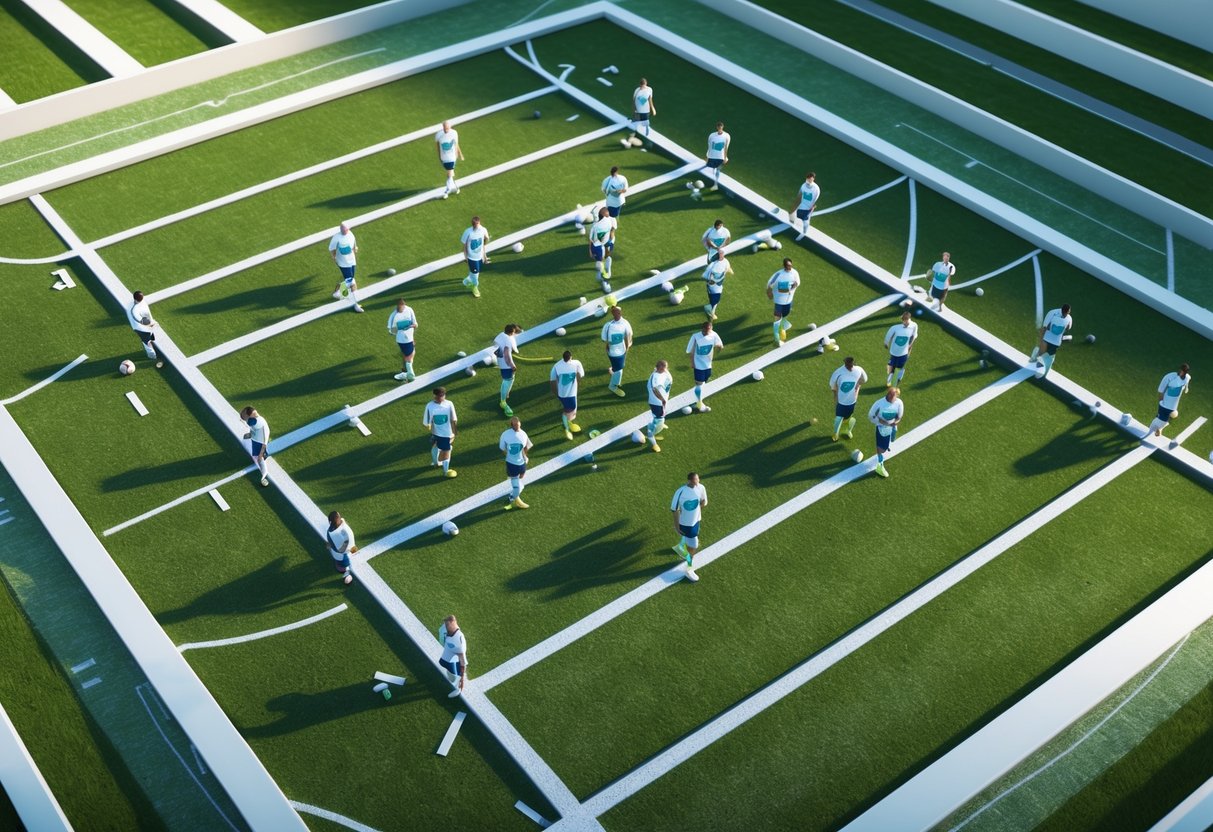
Training Formations and Coaching Techniques
The right training methods help teams master formations and build the tactical flexibility they need. Good coaching focuses on strong team bonds and teaches players how to adapt to different opponents.
Drills for Team Cohesion
Team cohesion drills get players working together inside their chosen formation. Starting with position-specific training helps a lot—players practice in their match-day spots for every drill.
Formation-based small-sided games make a real difference. Set up 7v7 or 9v9 games using your actual team shape. It’s way more effective than traditional drills for teaching roles.
Key drills include:
- Shape holding: Players keep formation while moving up and down the field
- Passing triangles: Quick passes between teammates in formation
- Defensive shifting: The team moves as a unit when the ball swings side to side
Progressive sessions start simple—passing, positioning—and build up to full scrimmages. This helps players nail the basics before adding pressure.
A lot of coaches swear by the “minute system.” Players spend most of training in their main positions instead of constantly swapping around.
Adapting to Opponents
Adapting formations means players have to know a couple of systems and actually switch between them on the fly. We usually stick to teaching just two or three formations, otherwise things get messy fast.
We run transition drills so teams can change shape at speed. Practice flipping from your main formation into a defensive one in about 10-15 seconds. Use a whistle or a hand wave—whatever works—to signal the change.
Here are some common tweaks:
- Drop deeper if you’re up against a strong attacking side.
- Push higher when the other team sits back.
- Widen the play to pull apart those packed defenses.
We run opposition analysis sessions and show players video clips of upcoming opponents. We look for weak spots and then drill specific tactics in training.
Flexibility training helps players cover more than one position. Sometimes your central midfielder needs to drop into defense or charge forward, depending on what’s happening.
Set up training that feels like real matches. Try a 2-0 lead, play a man down, or throw in last-minute pressure to see how the team adapts.
Impact of Player Union Formation on Scoring Opportunities
Player union formation shapes how teams create scoring chances with attacking patterns and set piece plays. Where the forwards and backs move and stand is what lets teams break defensive lines for tries or take advantage of penalties and conversions.
Creating Space for Tries
The 1-3-3-1 formation really opens up space by spreading forwards across the field. Teams can stretch defenses side-to-side and still keep support runners close for quick ball recycling.
When teams switch to the 2-4-2, wingers suddenly have room to run. The four central forwards pull defenders in, leaving gaps on the outside for backs to attack.
Here’s what works well for spacing:
- Pod systems that get defenders isolated one-on-one
- Decoy runners who drag defenders out of position
- Fast ball movement between phases
The 1-3-2-2 setup is all about speed. Two support players stay ready to clear the ruck, which keeps defenses from resetting.
Teams sometimes change formations mid-attack just to mess with defenders. Moving from 1-3-3-1 to 2-4-2 can overload the wide areas, and defenders often can’t keep up.
Set Piece Influence on Points
Set pieces are where teams get the most structured scoring chances in rugby. The 0-8-0 stack formation puts all eight forwards together for maximum power near the try line.
Some perks of the scrum formation:
- More pushing strength for penalty tries
- Better control at the base
- Extra options for pick-and-drive moves
Lineout formations matter too. Teams put their best jumpers in the right spots to win clean ball. After that, a strong maul can drive over from 5-10 meters out.
Penalty situations call for different tactics. Teams often use the 1-3-3-1 for quick tap penalties, spreading players wide to attack straight away.
For conversions, where players stand really matters. The kicker needs a clear line, and the forwards protect against charging defenders. Good formation work here can be the difference between just a try and the full points.
Modern Trends in Player Union Formation

Player unions have started using new tech to analyze team setups and focus on athlete wellbeing in ways that just didn’t exist before. It’s honestly changing how unions form and work, both in esports and traditional sports.
Technology in Formation Analysis
These days, player unions rely on data analytics and digital tools to study formations and player movement. We see unions gathering performance stats to figure out how tactical setups affect workload and injury risk.
Digital tracking systems follow player movements during games. Unions spot which formations put too much strain on certain roles. For example, the data might show that some midfield setups make players run 15% farther.
Esports orgs use similar tech. They track:
- Click rates and hand strain in different games
- Screen time across tournaments
- Stress levels during intense matches
Union reps now bring hard evidence to management about player welfare. Instead of just complaining, they show data on which strategies actually harm health.
Real-time monitoring in training helps unions spot issues early. Wearables track heart rate, fatigue, and movement quality in different tactics.
Adapting Formations for Player Welfare
Player unions care more about long-term health than just performance these days. We’re seeing more unions push for tactical changes that lower injury risk and mental stress.
Physical wellness now affects formation choices. Unions argue for rotating players out of high-intensity spots to avoid overuse. They also want formations that share the workload more evenly.
In esports, unions tackle other issues:
- Eye strain from staring at screens too long
- Repetitive stress injuries from nonstop clicking and typing
- Mental health struggles from constant pressure
Modern unions negotiate mandatory rest periods between matches, no matter what tactics require. They also push for better gear and regular health checks.
Some organizations push back against these changes, claiming it could hurt short-term results.
Unions now hire sports scientists and health experts as advisors. These specialists help decide if certain tactics or formations are just too risky for players over time.
Frequently Asked Questions

Players usually have a lot of questions about forming unions, what it takes to join, and what benefits they’ll actually get. Concerns range from getting started with representation to understanding the long-term support unions offer.
How can players form a union within their sports league?
Players start by getting their teammates on board. Most labor laws say at least 40% of players need to sign union membership cards before things can move forward.
The group should reach out to an existing labor organization for help. These unions know the ropes and can guide you through the process.
Players then file paperwork with their local labor board. If the majority backs the union, employers usually can’t stop it from forming.
What are the typical responsibilities of a players’ union president?
The president acts as the go-between for players and management. They bring up player concerns and complaints with club officials.
They set up regular meetings with union members to talk about workplace stuff. The president also passes along important news and updates from union leaders.
During negotiations, the president helps lead the union’s bargaining team. They work with lawyers to get fair deals for everyone.
Who can become a member of a players’ association in professional sports?
All current league players usually qualify for union membership. That covers both veterans and rookies.
Some unions let recently retired players stay members for a while. Each union decides its own rules.
Players pay membership fees to stay in. These fees cover legal help, grievance support, and other union services.
What support do players’ associations offer to retired athletes?
Many unions offer pension plans for players who meet service requirements. These benefits help retired athletes stay financially stable after their careers.
Some unions provide health coverage that lasts past active playing years. That’s a big deal for handling injuries from their career.
Career transition programs help retired players learn new skills for jobs outside sports. These usually include job placement and education options.
In what ways do players’ unions contribute to the well-being of their members?
Unions negotiate contracts that set minimum pay and working conditions. These deals create rules that protect all players from unfair treatment.
They offer legal help during disputes with management or league officials. Players get professional support for disciplinary issues or contract fights.
A lot of unions also run group licensing programs to bring in extra money for members. Players can earn from merchandise and promotional deals this way.
How are layoffs handled within players’ unions, and what impact do they have?
In pro sports, people usually say “releases” or “cuts” instead of layoffs. Unions step in and negotiate the steps teams have to take when they want to remove players from the roster.
Collective bargaining agreements usually spell out that teams need to give some severance pay if they release a player. That way, athletes get a bit of financial support when their contracts suddenly end.
Union reps fight to protect players’ rights, especially when teams go through big changes or ownership swaps. They try their best to soften the blow for members who are facing tough transitions.