Green Screen Alternatives: Top Chroma Key Solutions Explained
Updated On: November 13, 2025 by  Aaron Connolly
Understanding Green Screen Alternatives
Green screen alternatives give you different ways to swap backgrounds or add effects to your videos. Sometimes you use a different colored screen, other times you skip the special backdrop and handle everything in post.
What Is a Green Screen Alternative
A green screen alternative is any method that lets you replace backgrounds or add effects without that classic bright green sheet. You might use a blue screen, a white or black backdrop, or even digital tricks in editing.
Blue screens come in handy when your subject wears green. White and black screens fit certain lighting setups or subject colors.
Digital options like rotoscoping let editors cut out subjects by hand, frame by frame. Split-screen? That’s another trick—just section off your footage and get creative.
The latest thing is LED wall technology. These curved LED panels display backgrounds live while you film, so you don’t have to swap anything in post.
No matter what, you still need contrast between your subject and the background. Chroma key software picks out the background color and swaps it for whatever image or video you want.
Why Consider Alternatives to Green Screens
Green screens aren’t always the best fit. Sometimes, the cost alone is just too much for a small project. Buying a decent green screen, getting good lights, and then editing—it adds up fast.
Space is an issue too. You need enough room for the screen, to keep your subject far enough away, and to set up lights. If you’re filming in your bedroom or outside, a green screen can feel impossible.
Clothing can be a pain. If someone wears green, parts of them just vanish with the background. Blue screens help dodge that problem, so you don’t have to tell everyone what not to wear.
Lighting is another headache. You need even, flat lighting or you’ll get weird green glows on your subject. Shadows or color spill make it tough to get a clean cut-out.
If you’re in a hurry, green screen setups can eat up time. Setting up the screen, getting the lights right, checking for wrinkles—it’s a lot. Some alternatives just let you get rolling faster.
Common Issues with Green Screens
Uneven lighting causes the most headaches with green screens. Shadows, wrinkles, or patches of bad light make it tough to remove the background cleanly.
Green spill happens when green light bounces onto your subject’s skin or clothes. Chroma key software struggles with this, and you end up with a weird green edge.
Motion blur makes things even harder. If your subject moves quickly, their edges blur into the green and you get messy results. Fixing this in post can be a nightmare.
| Common Issue | Cause | Alternative Solution |
|---|---|---|
| Green spill | Poor lighting setup | Use blue screen or LED walls |
| Clothing conflicts | Green garments | Switch to black/white screens |
| Space constraints | Large setup requirements | Try rotoscoping or split-screen |
| Uneven keying | Wrinkled or shadowed screen | Consider post-production alternatives |
If your green screen gets wrinkled, torn, or dirty, the edges around your subject will look rough and pixelated. It’s just more work to fix later.
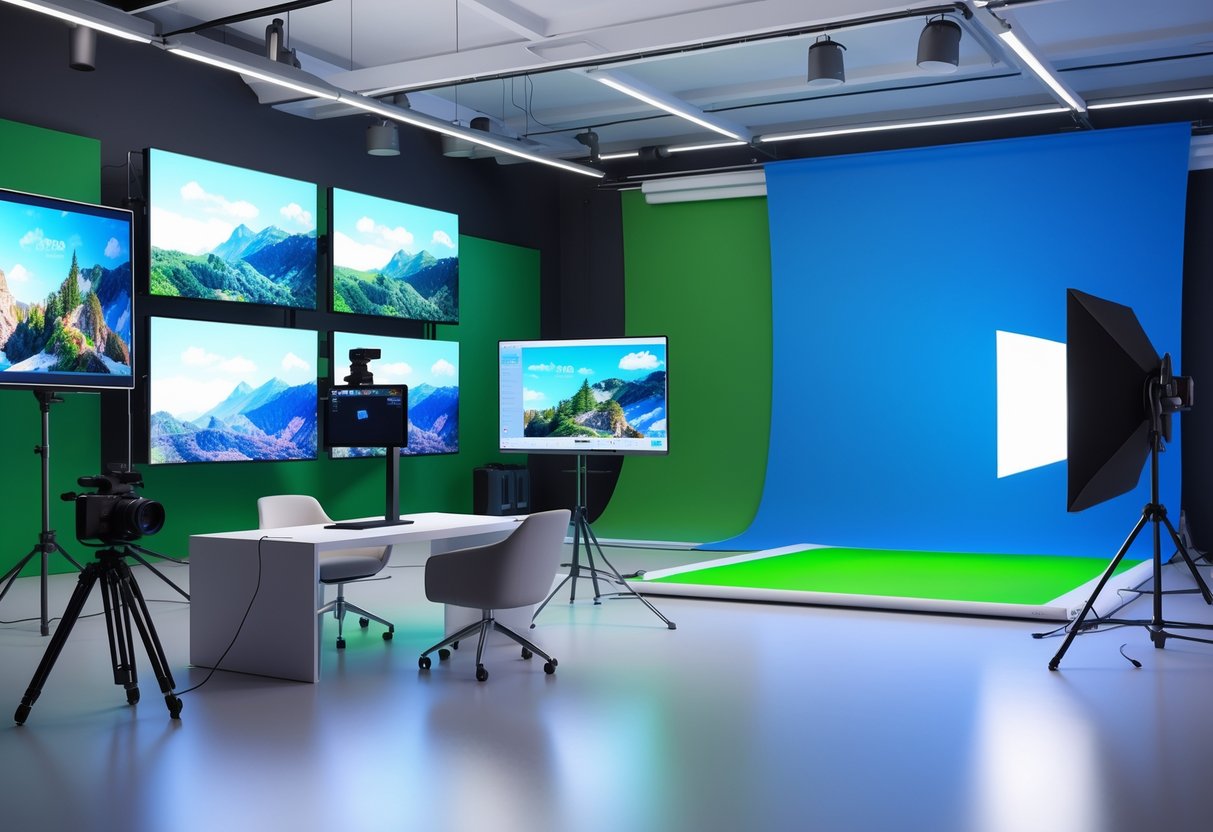
Black, White, and Grey Backdrops as Chroma Key Alternatives
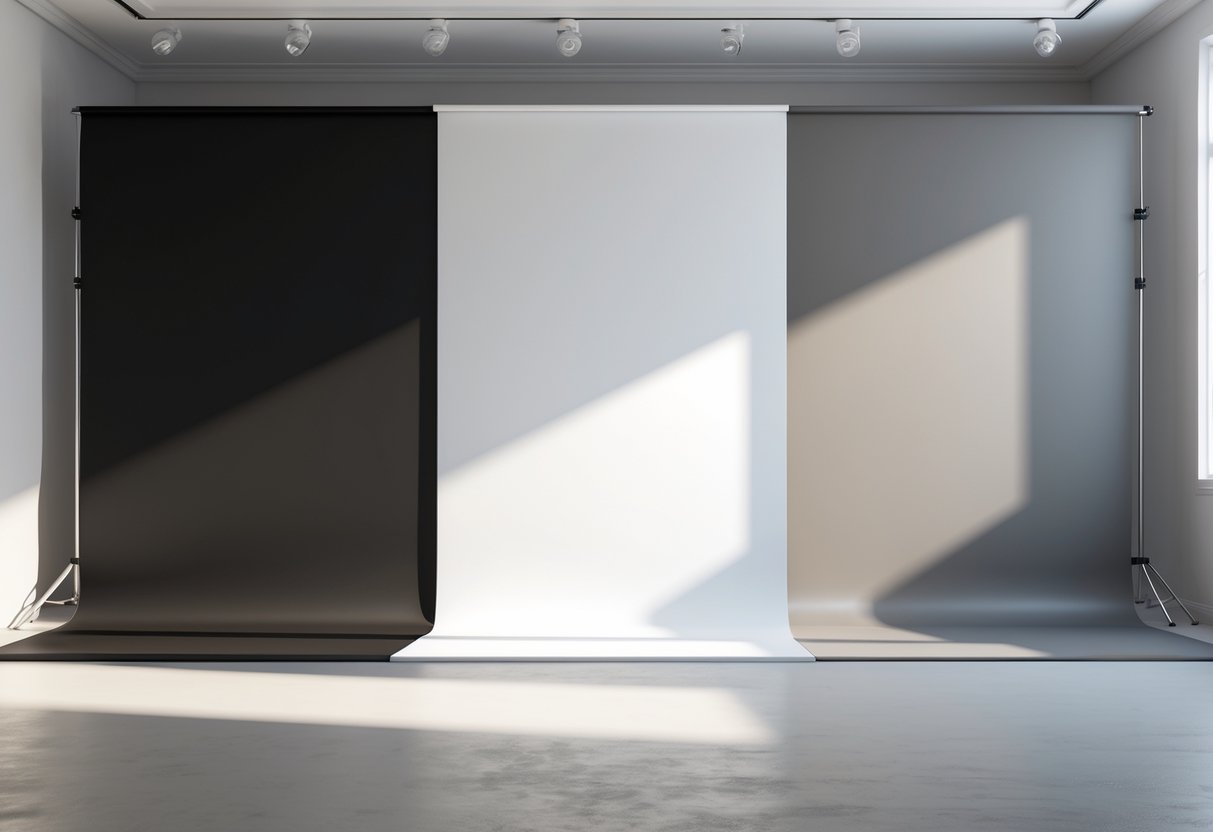
You don’t have to use green for pro-looking chroma key effects. Black, white, and grey backgrounds can work just as well if you’re careful with lighting and contrast.
Black Background Techniques
Black backgrounds are the budget pick for streamers and creators. You don’t need as much lighting gear as you do with other colors.
Black soaks up light, which means you get fewer hotspots and it’s easier to cut out the background later.
Try using a black bedsheet or a cheap backdrop stand—less than £20 can do the trick. Stand about 8-10 feet from the background for best results.
Hair lighting matters here. Put a rim light behind and a bit to the side of your subject to help separate them from the dark backdrop.
| Lighting Setup | Equipment Needed | Approximate Cost |
|---|---|---|
| Basic | One key light, black backdrop | £30-50 |
| Professional | Key light, fill light, rim light | £150-300 |
Skip black clothes or accessories. Even dark blues and greys can mess things up when you try to remove the background.
If you’re in a bright room, black backgrounds might let you down. You need to control the lighting to keep things clean.
White Background Usage
White backdrops are great for still photography and corporate videos. They give you flat, even light and help cut down on shadows.
Lighting is simpler with white. The background bounces light evenly, so your subject gets soft, even illumination.
Don’t go overboard with your lights, though. Too much and you’ll get white spill on your subject’s edges, which makes keying tough.
When it comes to clothes:
- Avoid pure white outfits
- Light greys and pastels are safe
- Darker colors make for good contrast
Use soft, diffused lighting for hair with white backgrounds. That way, you avoid harsh shadows but still separate your subject.
Photographers love white backdrops for product shots. It makes editing faster and less of a headache.
Set your camera for the subject, not the background. A slightly grey backdrop is easier to remove than a blown-out white one.
Grey Background Methods
Grey backgrounds might be the most flexible chroma key solution. They handle mixed lighting well and work with most clothing colors.
Mid-grey (about 18% grey) is the sweet spot. It’s dark enough to separate from light clothes but light enough that you don’t need a ton of lights.
Grey gives you a good contrast ratio, which makes it forgiving if you’re new to chroma keying.
Here’s what you need:
- Light the backdrop evenly
- Keep 8-10 feet between you and the background
- Angle your key light at 45 degrees to your subject
Grey is a solid choice for still photos, especially if you want a neutral background that won’t mess with your subject’s colors.
Don’t use fabric with texture or patterns. Smooth, matte grey is way easier to key out than something with a weave or shine.
Try out your grey backdrop with different clothes before a big shoot. Some greys look better with warm tones, others with cool.
Blue Screen and Other Colour-Based Options
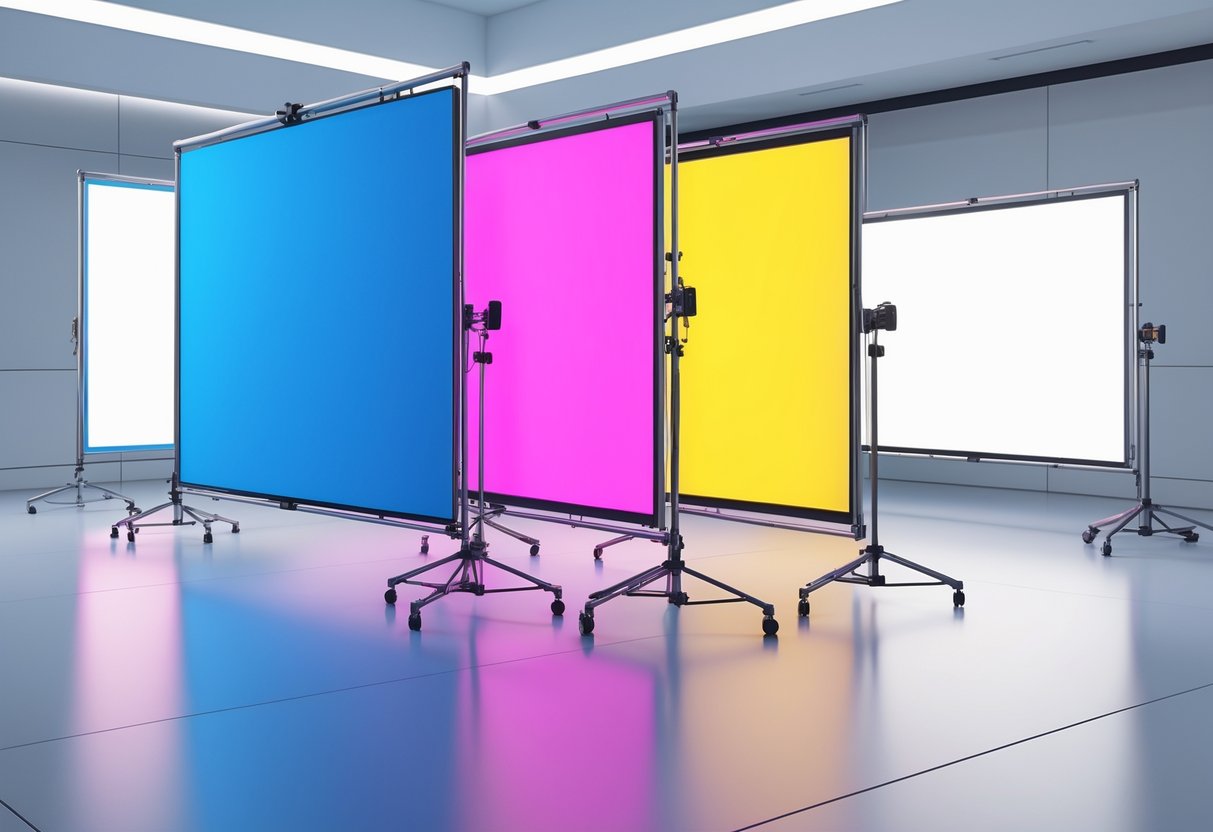
Blue screens work just like green screens, but you’re removing blue from your footage instead. You can use any solid color—pink, red, whatever—just don’t pick a color that’s on your subject.
Advantages of Blue Screens
Blue screens save the day when your subject has green in their clothes or props.
Use blue when:
- Your subject wears green
- You’ve got green props (plants, logos, etc.)
- Lighting in your space works better with blue
Digital cameras pick up blue a bit differently than green. You’ll need more light for blue screens, so it can cost a bit more, but sometimes it’s worth it.
Blue screens help avoid that ugly green spill, especially for close-ups or shiny stuff.
You could try pink or red screens if your scene has both green and blue. The rule? Never use a backdrop color that’s on your subject.
Comparing Blue and Green Screen Results
Green screens usually give you cleaner results with today’s cameras, and you don’t need as much light.
Green screens:
- Work better with most cameras
- Need less lighting
- Cost less for most projects
- Are the industry standard, so software just handles them well
Blue screens:
- Are better if you’ve got green in your scene
- Cut down on color spill in some lighting
- Used to be the go-to for film
Most editing software can handle both. What matters most is what’s in your shot and how you light it.
If you’re just starting, go green. Switch to blue if you run into green clothing or props. Pink is a last resort if you can’t avoid both colors.
Physical Materials for Alternative Backgrounds
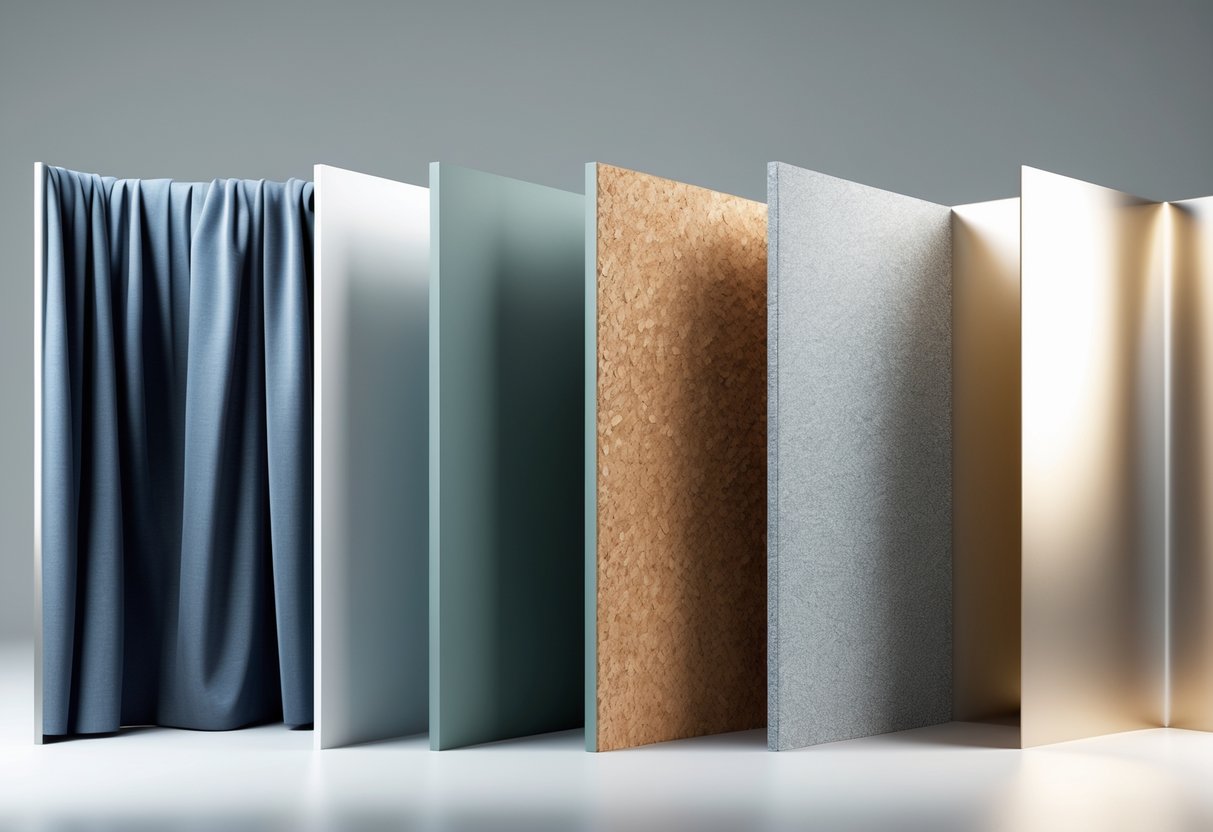
You’ve got options beyond just colored fabric. Musou cloth, seamless paper, and painted walls can all work for chroma key.
Musou Cloth and Super-Black Fabrics
Musou cloth is crazy black—it absorbs almost all light, so you get super clean keying with no reflections. It’s not cheap (maybe £30-50 per metre), but it solves a ton of lighting problems.
Super-black fabrics are ideal for still photos where you need to cut out your subject perfectly. They don’t bounce light back, so you avoid color spill.
Try out your fabric before you commit. Some cheaper “black” cloths reflect more than you’d think. Real super-black fabrics feel velvety and just suck up the light.
Main perks:
- No color spill
- Works in tight spaces
- Needs less precise lighting
- You can use it over and over
Seamless Paper and Painted Walls
Seamless paper rolls—white, grey, or black—make great backdrops for photos and video. A 2.7-meter roll usually runs £25-40 and covers most setups.
White paper is perfect for bright, clean backgrounds. Grey is neutral and separates from most clothes easily.
Painted walls are a permanent fix for studios. Go for matte paint to avoid reflections. Always test the color with your camera—some paints look fine to the eye but turn patchy on camera.
A few tips:
- Sand the wall smooth
- Use primer first
- Pick pro studio paints if you can
- Light the wall evenly to avoid shadows
Lighting and Contrast Considerations
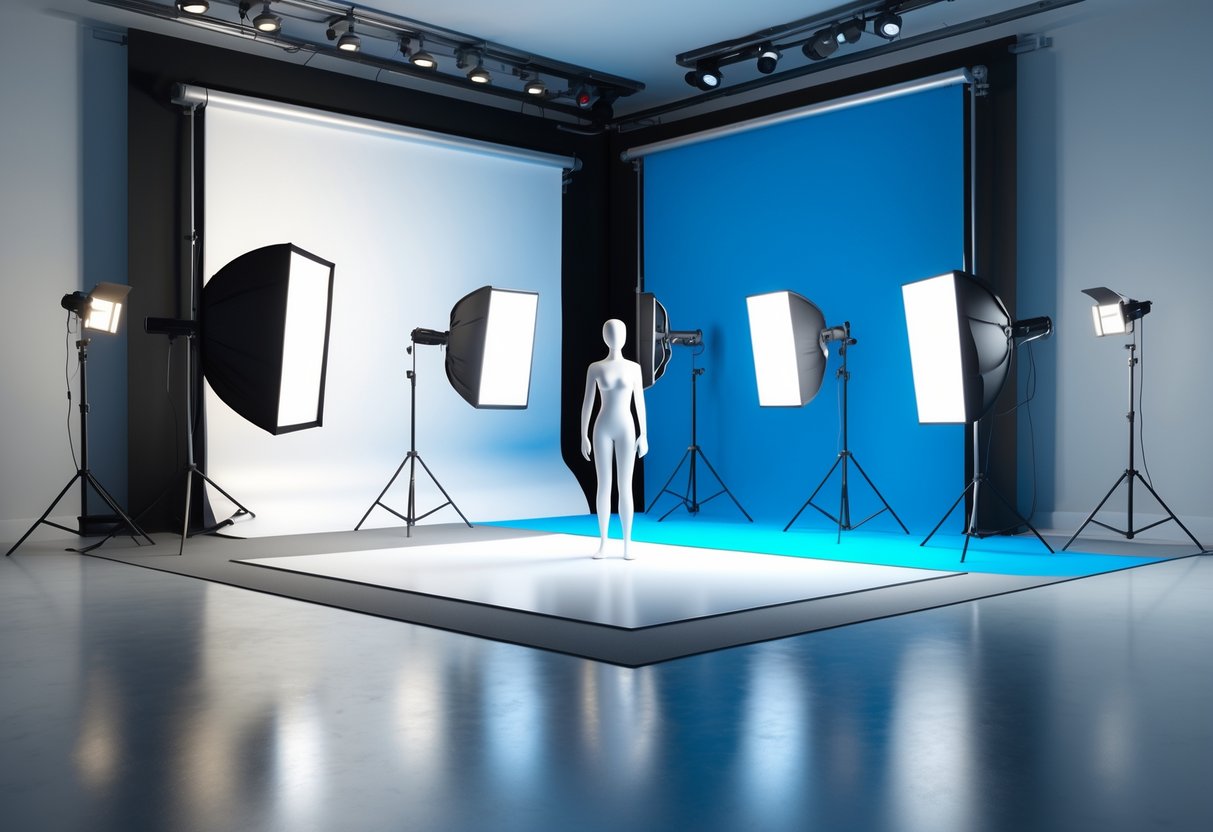
Getting the lighting and contrast right is everything when you use green screen alternatives. You need enough separation between your subject and the background, but you also want to avoid color spill.
Optimal Lighting Setup
You’ll want three lights: key, fill, and something for background separation. The key light goes in front at a 45-degree angle.
Put the fill light on the other side to soften shadows. Keep it gentler than the key.
Hair lighting is a must with black or grey backgrounds. Use a rim light behind and above your subject to help their hair stand out.
LED panels with adjustable color temp are handy. You can match the warmth or coolness to your virtual background.
Cameras react differently to various colors. Test your setup with your gear before you shoot something important.
Managing Colour Spill
Color spill happens when your backdrop reflects onto your subject. It leaves weird tints that are hard to fix later.
Green screens give you green edges, blue screens can tint skin or clothes blue.
Keep your subject at least 6 feet from the backdrop if you can. That space helps a lot.
Use flags or barn doors to direct your lights and keep backdrop light off your subject.
Black and white backgrounds don’t cause color spill, but you’ll need to be careful with your lighting to keep the contrast just right.
Subject-Background Separation
Put some space between your subject and the backdrop. This gives you more control over depth of field and helps keep the background from interfering with your shot.
Open up your camera’s aperture to add a bit of blur behind your subject. This trick works especially well if you’re using LED walls or projected backgrounds.
Be careful with clothing. Don’t wear colours that match your backdrop. If you’re in front of a white background, pale grey shirts just vanish. With black backgrounds, dark clothes disappear too.
Set up separate lighting zones for your subject and the background. Light up your backdrop evenly, but keep it distinct from your subject’s lighting.
Try out your keying software with different contrast levels. Grey backgrounds, for example, need more precise luminance settings than the usual green screens.
Chromakey Software Options for Alternatives
Professional chromakey software handles just about any backdrop colour, whether it’s white, grey, or black. Top programs come with multiple keying engines and real-time processing for live streaming or post-production.
Overview of Leading Chroma Key Programmes
DaVinci Resolve really shines as a free choice for chromakey work. You get five keying plugins: Chroma, Delta, Difference, Luma, and Ultra-keyer.
You can tweak brightness and colour modes for all sorts of backgrounds. DaVinci Resolve works with white, grey, and black backdrops just as well as with green screens.
Adobe Premiere Pro gives you advanced chromakey tools with great depth and colour accuracy. The Ultra Key effect does a solid job with alternative backgrounds if you dial in the settings.
OBS Studio lets you do real-time chromakey for live streams with any background colour. You see your keying effects instantly and can tweak things on the fly.
Plenty of pros turn to After Effects for tricky chromakey work, especially when lighting is tough or the backdrop colours are all over the place.
Best Free and Paid Software Choices
| Software | Price | Best For | Alternative Colour Support |
|---|---|---|---|
| DaVinci Resolve | Free | Professional editing | Excellent |
| OBS Studio | Free | Live streaming | Good |
| Adobe Premiere Pro | £19.97/month | Industry standard | Excellent |
| HitFilm Express | Free | Beginners | Good |
| Filmora | £39.99/year | Simple editing | Basic |
Free options cover most alternative chromakey needs. DaVinci Resolve’s Luma keyer, for example, does a great job with white backgrounds.
Paid software gives you more control over edge softening and removing colour spill. That’s a big deal when you’re working with tough backdrop colours like grey or black.
Quick tip: Try DaVinci Resolve first since it’s free. Most people find its keying tools are more than enough for alternative backgrounds.
Tips for Effective Post-Production
Tweak your keying settings depending on your backdrop colour. White backgrounds need different tolerance than black ones.
Pick the exact backdrop shade from your footage using the colour picker tool. Preset values rarely work right with alternative backgrounds.
Stack multiple keying passes for complicated shots. Start rough, then clean up the edges with a second, more precise pass.
Watch your edge quality. Alternative backgrounds can give you softer edges that might need extra sharpening or feathering.
After you key, colour correct to match your subject and new background. White and grey backdrops change how your subject looks compared to a green screen.
Heads up: Always test your software’s support for alternative colours before a big shoot. Some basic programs only handle green reliably.
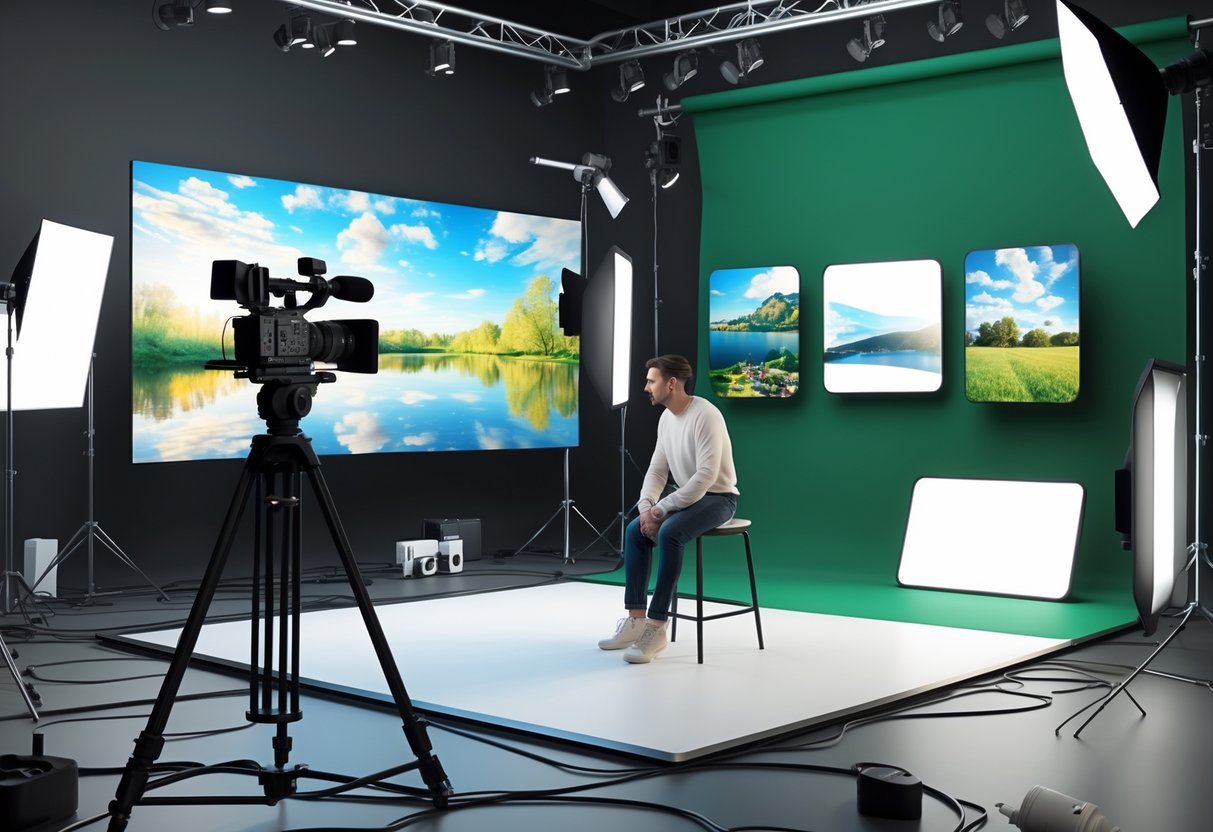
Virtual and Digital Alternatives to Physical Screens
These days, you don’t even need a physical green or blue screen. Projection systems and LED tech can create realistic backgrounds and cut down on post-production work quite a bit.
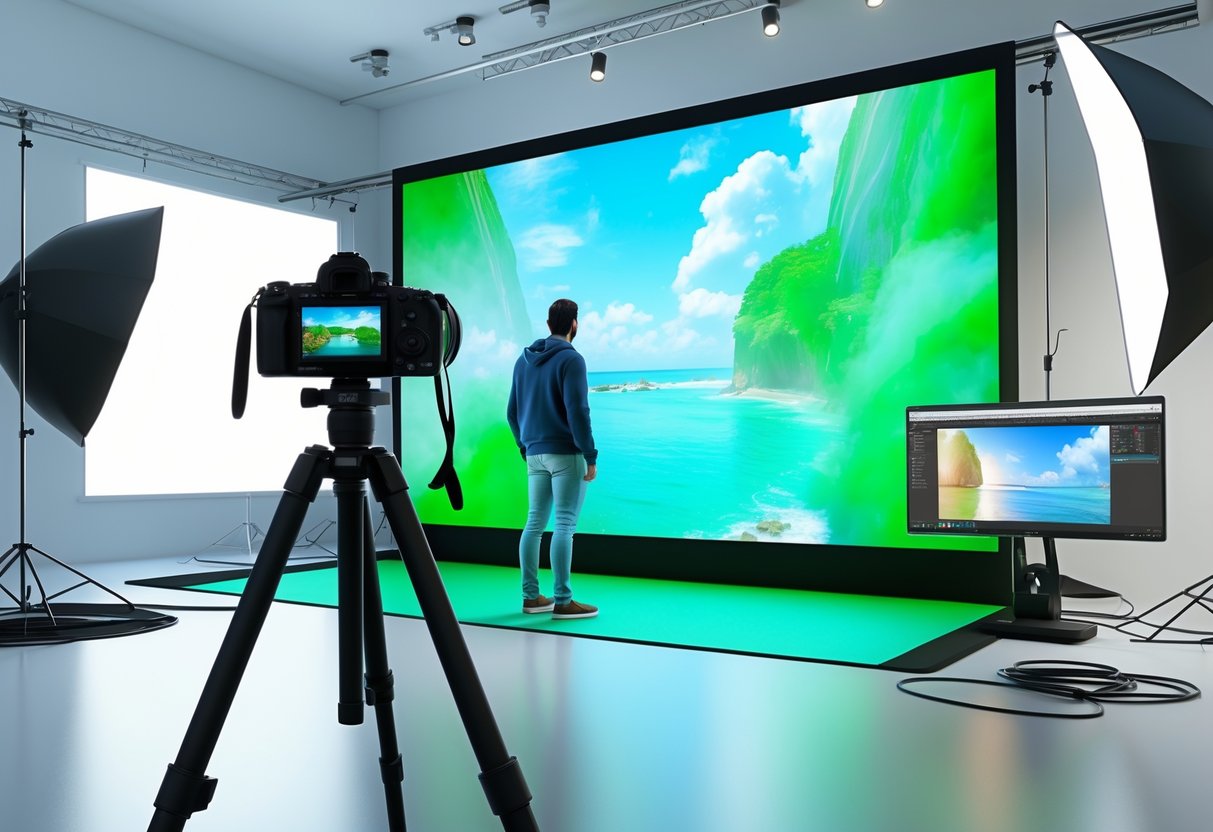
Projector Background Techniques
Projector backgrounds throw digital images behind your subject as you film. You get realistic lighting and reflections that a green screen just can’t match.
What you’ll need:
- A bright projector (3,000 lumens or more is best)
- Smooth white wall or screen
- Computer with video out
- Good control over room lighting
The best part is the natural lighting interaction. If you project a sunset, that warm glow actually lands on your subject’s face. You skip hours of colour correction later.
Costs can be as low as £300 for a basic setup, but pro gear can hit £2,000 or more. Consumer projectors like the Epson EH-TW7100 are fine for small shoots.
Projector backgrounds really shine with static or slow-moving scenes. Fast action or wild camera moves can show the limits of projection.
LED Walls and Virtual Sets
LED walls are the high end of green screen alternatives. These giant displays show photorealistic environments that sync with your camera in real-time.
Big studios now use LED volumes instead of green screens. The Mandalorian made this tech famous, building alien worlds on set with barely any post work.
Specs matter:
- Pixel pitch of 2.5mm or less
- Brightness above 1,500 nits
- At least 120Hz refresh rate
- Curved screens for smooth backgrounds
Costs start at about £50,000 for a small setup. Full studio LED volumes can run into the millions. Rentals are possible, though—they go for £2,000–5,000 a day.
LED walls wipe out green screen spill completely. Actors see their scene for real, which helps performances. Lighting teams can match real and virtual lighting right away.
Unreal Engine and similar real-time tools run these displays. They track the camera and shift the background perspective, so you get perfect parallax.
Practical Tips for Filming with Alternative Setups
To get good results without a green screen, pay attention to your backdrop, wardrobe, and lighting. Focus on keeping your subject and background cleanly separated, and watch out for colour spill and reflections.
Choosing Clothing and Props
Don’t wear colours that match your backdrop. If you’re using a blue screen, skip blue clothes. The same goes for white, black, or grey backgrounds.
Pick matte fabrics instead of shiny ones. Satin, leather, and metal reflect the background colour onto your subject, which is a pain to fix later.
Go for solid colours over patterns. Busy prints can flicker when the software tries to separate you from the background.
For props, avoid mirrors, glass, or shiny metal. Those just show your whole setup instead of the replacement background.
Test your clothes with your backdrop before filming. Take some test shots with your lighting to check for colour bleed or separation issues.
Bring backup clothes to set. Lighting changes can mess with how colours show up against your backdrop.
Ideal Studio Setup
Keep your subject 6–8 feet from the backdrop. This stops shadows falling on the background and cuts down on colour spill.
Use three-point lighting: key, fill, and background lights. Make sure the background light is separate from your subject lighting for even coverage.
For still photos, seamless paper backdrops are great green screen alternatives. White, black, and grey rolls are cheap and easy to find.
Make your backdrop bigger than your camera frame. You want extra space on all sides so you don’t see the edges.
Keep your camera at eye level with your subject. This usually gives you the cleanest separation.
Use a tripod for steady, repeatable shots—really handy if you’re matching takes in post.
Mitigating Reflections and Bleed
Angle your lights to avoid bright spots on the backdrop. Even lighting helps your keying software work better.
Use flags or barn doors to control where the light goes. This stops spill and keeps light focused.
Place fill lights just behind your subject’s shoulders. That way, the fill light doesn’t hit the backdrop and cause problems.
Pick LED lights over tungsten if you can. LEDs run cooler and keep a steady colour temperature, so you get fewer colour issues.
Watch your footage on a proper monitor while filming. Phone screens and tiny camera displays can miss subtle colour problems.
Shoot at the highest quality your camera allows. More image data makes background removal easier later.
Try negative fill (black flags) on the backdrop side of your subject. This cuts reflected light and sharpens the edges.
Applications in Still Photography and Videography
Green screen alternatives have really shaken up still photography and video. You can swap backgrounds flexibly, using chroma key with different colours and advanced post-production tricks for pro results.
Portrait and Fashion Photography
Portrait photographers often run into green spill on skin and clothes. Black, grey, and white seamless backdrops make great alternatives for stills.
Black backgrounds work wonders for dramatic portraits. It’s easy to separate subjects from dark backdrops in post, and you don’t get the colour mess that comes with green screens.
Grey backdrops are super versatile for lighting. Fashion shooters love medium grey—it takes coloured lights well and keeps separation clean.
White infinity backdrops are perfect for products and headshots. The chroma key process with white needs careful lighting, but the results look crisp and clean.
Some perks:
- No colour spill on people
- Any clothing colour works
- Lighting setups are simpler
- You keep natural shadows
Film and Broadcast Production
Video pros are using blue screens and digital backdrops more than ever. Blue screens help when your subject wears green or uses green props.
AI-powered background replacement has changed live broadcasting. News and streaming creators now use tools that cut out backgrounds without any physical screens.
Digital backdrops and virtual sets create dynamic environments that move with the camera. These systems track lighting changes and save tons of post time.
Projection mapping brings new options for live events and theatre. Instead of replacing backgrounds later, you project visuals onto surfaces during filming.
Some advanced alternatives:
- Depth sensors for automatic subject isolation
- 3D model integration
- Optical flow tracking
Benefits and Drawbacks of Green Screen Alternatives
Green screen alternatives change up both the cost and creative possibilities. Each choice comes with its own technical needs and accessibility factors.
Cost and Accessibility
LED walls are the priciest green screen alternative. High-end LED panels and processors can easily run tens of thousands of pounds.
On the other hand, they cut post-production costs a lot. Most of the visual effects happen before you shoot, not after. You end up shifting expenses from editing to pre-production.
Blue screens cost about the same as green. The fabric and lighting are identical, so you’re not really saving or spending more.
Projection mapping sits in the middle. Basic projectors start at £500, but low-end models don’t look great. Pro projectors for filming cost £2,000–5,000.
For stills, black and white backdrops are the cheapest. Seamless paper or fabric is usually under £100. No special lighting or software needed.
Smaller productions get the most out of these budget alternatives. Indie filmmakers can pull off pro results without splurging on expensive chromakey gear.
Technical and Creative Flexibility
LED screens give filmmakers more creative freedom than any other option. Directors can look through the camera and see the final composite right away. They can tweak things instantly as they shoot.
The tech picks up realistic reflections on its own. Shiny props and costumes reflect the LED world just as you’d expect. With green screens, you have to fight through tricky post-production to get similar results.
But LED walls aren’t perfect. Moiré patterns sometimes pop up if you get the camera too close to the screens. Frame sync issues can mess things up if you don’t have the right processing gear.
Blue screens come in handy with certain costumes and lighting. They’re great if actors wear green or use green props. The technical process matches what you’d do with green screens.
Projection alternatives have their own lighting headaches. You need the image bright enough to see, but still have to light your actors properly. This limits how creative you can get with lighting.
In a controlled studio, these alternatives really shine. If you’re shooting outdoors, though, you’ll probably stick with the classic green screen since outdoor lighting is so unpredictable.
Emerging Trends and The Future of Chroma Keying
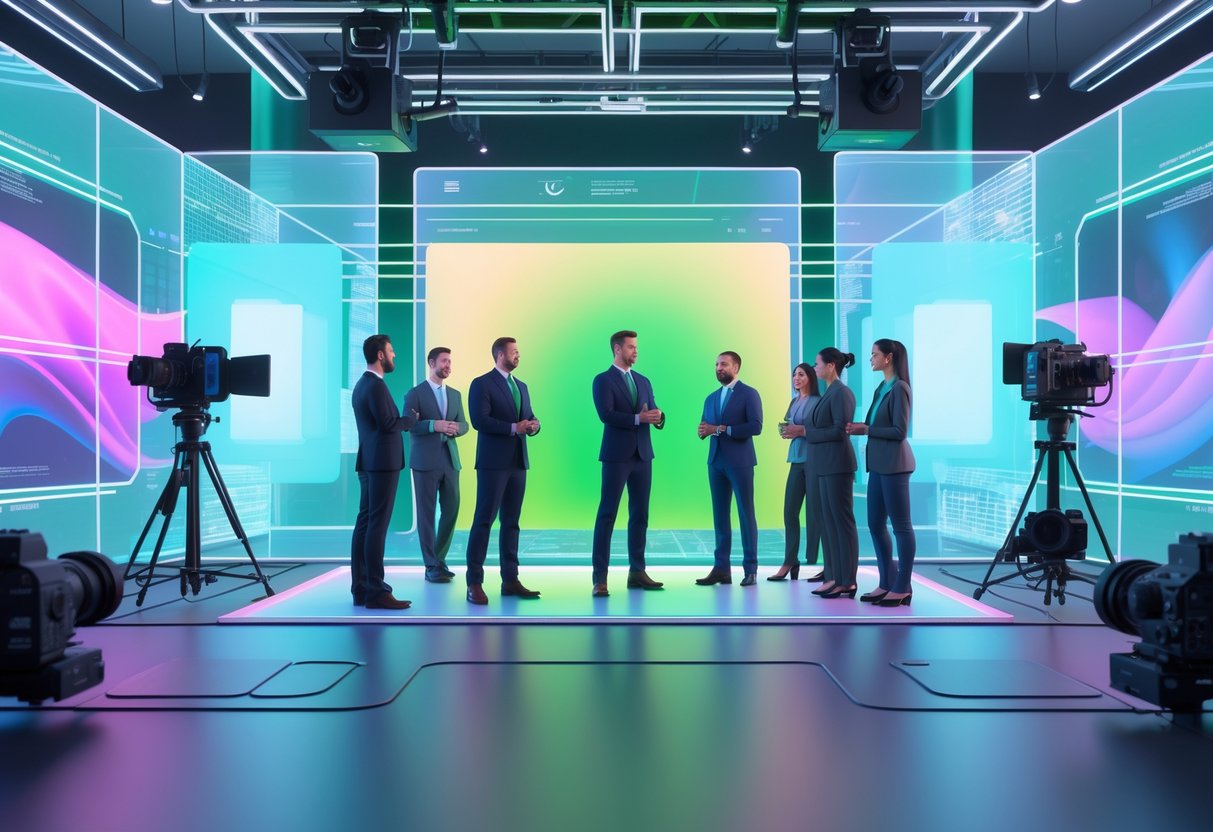
AI-powered neural keying systems are shaking up the game, removing backgrounds without any physical setup. Virtual production platforms now generate photorealistic environments in real-time. Suddenly, filmmakers can shoot anywhere and swap backgrounds in seconds—no pricey studio rentals, no color spill nightmares.
Integration with AI and Machine Learning
Neural networks now handle background removal without green screens at all. Companies like ReelMind.ai use semantic segmentation to spot people and objects by shape, not just color.
This tackles a bunch of chromakey headaches:
- Spill contamination from green light bouncing onto actors
- Edge artifacts when people move quickly
- Material issues with see-through stuff like glass
AI systems now hit 94.7% accuracy, way up from 78% with the old-school methods. They get depth, they separate hair from the background—it’s honestly impressive.
Directors can see final composites on set, in real time. Modern systems even make contextual backgrounds—type in “desert at sunset” and the AI builds a world that tracks with your camera, shadows and all.
The tech keeps things smooth, too. Early AI video flickered between frames, but now tools use optical flow and keyframe anchoring to keep shots looking consistent.
Forecast for Virtual Production
Virtual production costs are dropping fast. A standard green screen setup might run you £28,000 for five days—studio, lights, the works. AI alternatives? Maybe £200 in cloud credits.
Budget breakdown comparison:
| Expense | Traditional Setup | AI Virtual Production |
|---|---|---|
| Studio rental | £600/day | £0 (shoot anywhere) |
| Professional lighting | £12,000 | Natural light works |
| Post-production | £90/hour for 40 hours | Automated processing |
We’re seeing a lot of hybrid approaches. Filmmakers still use real props for actors to interact with, but let AI handle the environments. You get natural reflections and save a ton on locations.
The tech lets you pull off wild shots—360-degree moves that jump from jungle to city without a hitch. Now, creative freedom really outweighs technical hurdles, and indie creators can pull off Hollywood-level visuals with just a smartphone and a bit of imagination.
Frequently Asked Questions
Lots of creators run into the same snags when looking for green screen alternatives. Here are some common questions—from budget backgrounds to next-gen tech that could make chroma keying a thing of the past.
What are some affordable options for creating a virtual background setup?
Solid color bedsheets actually work great if you’re on a budget. You can grab blue or green sheets for under £15 at most stores.
A big piece of colored poster board costs about £5-10. It’s good for headshots or tighter shots.
Fabric shops sell muslin by the meter, which wrinkles less than bedsheets and runs about £8-12 per meter.
Quick win: Use whatever you’ve got. A plain wall, a big towel, even a closet door can do the trick in a pinch.
Can I use different coloured backdrops for chroma keying, and if so, which colours work best?
Blue screens work just as well as green. If you wear green clothes a lot or have green eyes, blue’s usually better.
Red backdrops are possible but need careful lighting. Most video editing software doesn’t handle red as smoothly.
Pure white or black backgrounds give sharp contrast and work well with newer AI-powered background removal tools.
Warning: Don’t pick colors that match your skin, hair, or clothes. You’ll disappear on camera—never a good look.
What software solutions are available for replacing a green screen in post-production?
OBS Studio can remove your background in real time, for free—no green screen needed.
DaVinci Resolve has AI background replacement in the free version. It covers basic chroma keying too.
Adobe Premiere Pro gives you advanced masking tools to cut out backgrounds, even if your lighting isn’t perfect.
Zoom and Teams both have built-in virtual backgrounds for live calls—no editing required.
How can I ensure good lighting for my video setup without using a green screen?
Put your main light in front of you. Sunlight from a window works wonders for even, natural lighting.
A ring light or desk lamp makes a solid key light. Aim it just above your eyes and angle it down a bit.
Add a second light behind you to pop you out from the background. It adds depth and makes background removal easier.
Quick win: Film facing a window on a cloudy day. Clouds act like a giant softbox—super flattering, super easy.
What materials can I use to create a DIY backdrop for video editing purposes?
Grab foam board from the craft shop for £3-5 a sheet. You can tape a few together for a bigger backdrop.
Painter’s canvas or art canvases work well if you want something permanent. Just paint them with a flat color.
Flatten out big cardboard boxes and paint them. You’ll get a foldable, lightweight backdrop for under £10.
Solid color shower curtains cost £8-15. They’re waterproof and easy to clean, which is always a bonus.
Are there any innovative technologies emerging that could serve as substitutes for traditional green screens?
AI-powered background removal is popping up everywhere in video software these days. These tools check out your outline and don’t need those weird green or blue backdrops anymore.
You’ll find depth cameras like Intel RealSense doing something different—they build 3D maps of your room. They figure out what’s in front and what’s behind you by measuring distance, not color.
LED walls, which film studios used to keep to themselves, are finally getting smaller and more affordable. Now, even streamers and content creators can get their hands on versions that actually fit in home setups.
Machine learning models keep getting better at picking out people from their backgrounds. Who knows, maybe the next wave of webcams will come with built-in AI chips that handle background replacement in real time.
