Fatal Fury City of the Wolves Guide: Master Every Mechanic & Mode
Updated On: November 12, 2025 by Aaron Connolly
Getting Started in Fatal Fury: City of the Wolves
Fatal Fury: City of the Wolves revives the legendary fighting game series after a 26-year break. The game blends classic fighting with some fresh mechanics, and it’s heavy on defense—Just Defends play a massive role.
You’ll notice three unique movement systems that really shake up how you approach combat. It’s not just about rushing in; you need to think on your feet.
Understanding the Core Gameplay
City of the Wolves separates itself from most fighters with a strong focus on defensive play. Instead of rewarding pure aggression, the game pays off for players who can block and counter at just the right moment.
Just Defends are at the center of the action. They’re basically parries—you block the instant an attack lands and gain the upper hand.
When you nail a Just Defend, you can immediately cancel into any Special Move. The timing’s tricky, but once you get it down, you’ll open up all kinds of nasty combos.
If you’ve got meter saved, you can even pull off Zero Frame attacks after a Just Defend. That’s a huge payoff for a risky move.
There are three distinct jump types here, and each one changes your approach. Standard jumps cover the most ground, while Short Hops are quick and low, making them hard to react to.
The REV System acts as your resource manager. You build up your REV Gauge by performing REV Arts, REV Blows, or just by blocking attacks.
If you hit 100%, you’ll Overheat and lose access to some of your best defensive options. Managing this gauge is crucial, especially in longer matches.
Just Defends actually slow down how fast your REV builds up, so there’s a real risk-reward dynamic to playing defensively.
Control Schemes Explained
Get your macros set up early—it’ll save you a lot of headaches. This game uses a bunch of button combos, and without macros, you’ll probably fumble under pressure.
Essential macros to set:
- REV Blow (HP+HK)
- REV Guard (LP+HP or LK+HK)
- Tech Rolls (LP/HP + Forward/Backward)
The default layout works fine for most, but customizing your controls helps avoid finger fatigue. Lots of players map frequent combos to single buttons for speed.
Basic inputs are what you’d expect: Light and Heavy punches and kicks for normals, with quarter-circle and half-circle motions for Specials.
Feints and Brakes mix things up. Feint moves (marked ‘FE’) can be cancelled during startup, while Brakes (marked ‘BR’) can be cancelled mid-animation.
These open up advanced combos and mind games. You might feint a Heavy Attack to bait out a response, then punish when your opponent whiffs.
Character Selection Overview
City of the Wolves launches with 24 characters, each with their own style and quirks. If you’re just starting out, stick with the basics before diving into the more technical fighters.
Terry Bogard and Rock Howard are solid picks for beginners. Their moves are straightforward, so you can focus on learning the game without getting lost in complicated inputs.
Terry controls space with his Burning Knuckle and Power Wave. His toolkit makes it easier to understand spacing and timing.
Try out the Episodes of South Town mode for some hands-on training. This RPG-inspired mode gives every character a story and teaches you advanced techniques as you go.
Each fighter interacts with the SPG System in their own way. You can set your SPG Zone at the start (Accel Ratio), middle (Flux Ratio), or end (Final Ratio) of your health bar to set up for comebacks.
Most veterans choose Flux or Final Ratios for better meter management and stronger comeback options.
Pick a character that fits your style—don’t be afraid to experiment in Training Mode before you commit to hours of practice.
The REV System Fundamentals
The REV system ditches traditional meters in favor of a risk-reward setup. As you use abilities, the gauge fills up, but if you overdo it, you’ll overheat and lose access to those moves for a while.
You’ll juggle four main REV actions: Arts, Accel, Blows, and Guard. It’s all about balancing aggression with the risk of losing your best tools if you max out the meter.
How the REV Meter Works
Your REV meter starts empty every round. It fills up as you block or use REV-based abilities.
Here’s the gist:
- Use REV Arts, Accel, Blows, or Guard, and your meter climbs.
- Every action pushes you closer to Overheat.
- When it’s full, you hit Overheat and lose access to REV abilities.
The meter feels like a pressure cooker. If you spam REV moves, you’ll lock yourself out and have to wait for it to cool off.
You’re always torn between using your best stuff and playing it safe. Unlike other fighters, building meter here doesn’t always mean more options—it’s more about rationing your power.
Quick tip: Stick to one REV move per combo. That way, you keep your meter in check and still get those enhanced moves.
REV System Actions
REV Arts are powered-up specials. They hit harder and have better properties than regular attacks.
Most combos get a boost from sneaking in a REV Art, so don’t sleep on them.
REV Accel speeds you up, both in movement and attack recovery. It’s perfect for keeping up pressure or closing gaps.
Pop REV Accel when you need to stay on your opponent or follow up after a knockdown.
REV Blows are a blend of offense and defense. They’ve got armor, so you can take a hit and dish one out at the same time.
You can use them on the ground or in the air. During S.P.G. state, REV Blows get even scarier.
REV Guard is your pushblock. It creates space and completely stops chip damage. Since chip can actually kill in this game, don’t ignore REV Guard.
Break it out when you’re under fire or your health is low.
Overheat and Recovery Mechanisms
You hit Overheat when your REV meter maxes out. At that point, you can’t use any REV abilities until it cools off.
During Overheat, your guard gauge gets exposed. Normally, blocking keeps you safe, but now, your guard can break under pressure.
If your guard shatters, you’re wide open for big damage. It’s a rough spot to be in.
The meter cools down on its own. There’s nothing you can do to speed it up, so you just have to wait it out.
Heads up: If you Overheat in the corner with low health, you’re probably toast. No REV options and a breakable guard is a recipe for disaster.
Managing Overheat:
- Track how many REV moves you use in combos.
- Don’t spam REV Guard when you’re under pressure.
- Save your strongest moves for when your meter’s low.
- Use normals and basics as you get close to Overheat.
Think of the REV meter like ammo. Don’t blow it all at once—pace yourself and fall back on fundamentals while you recharge.
Mastering S.P.G. and Health Strategies
The S.P.G. system lets you decide when to unlock your strongest moves in a match. Where you set your S.P.G. zone on the health bar totally changes your game plan and controls when you can use REV Blows and Hidden Gear attacks.
Positioning the S.P.G.
You choose your S.P.G. spot before the fight. That decision shapes your whole approach for the next round.
Early S.P.G. (top of health) gives you power right away. You get REV Blows from the start, which suits players who love to go on the offensive.
Middle S.P.G. offers a mix of offense and defense. It activates after you take some hits, but you still have room to recover. Beginners usually find this the easiest to manage.
Late S.P.G. (bottom of health) is all about big comebacks. The lower you set it, the stronger the benefits. REV cancels also cost less meter when your health’s low.
Where you place S.P.G. affects meter gain too. Lower placements give bigger discounts on specials, so a full-meter combo at high health might cost half as much when you’re almost down.
Benefits of Active S.P.G.
When your health enters the S.P.G. zone, you get a bunch of buffs automatically.
Your damage goes up—all your attacks hit harder, and your combos pack a punch. This lasts as long as you’re in the zone.
REV Blows unlock while S.P.G. is active. These armored attacks cut through enemy moves and can be canceled from other specials. They’re some of the nastiest tools you’ve got.
Your power gauge builds faster during S.P.G., so you’ll have more meter for EX and super moves. The REV meter fills up slower, which helps you avoid Overheat.
Hidden Gear supers are available when both meters are full during S.P.G. These can flip a match on its head.
Lower S.P.G. placements mean bigger meter discounts. If you like saving resources for clutch moments, late-game S.P.G. is your friend.
Health Recovery Opportunities
S.P.G. gives you slow health regen while it’s active. It’s not fast, but every little bit helps.
Standing back extends your S.P.G. time. You’ll heal more by playing it safe instead of rushing in.
Early S.P.G. means you get a longer window to recover health. If you want to play it safe, that’s the way to go.
You only recover health while you’re in the S.P.G. zone. If you take too much damage and leave the zone, the healing stops.
Smart players back off after S.P.G. activates to max out their healing before going on the attack.
Late S.P.G. gives you stronger regen, but you don’t have as much time to use it. It’s a trade-off—more power, less time.
Attacking Techniques and Combos
To master combos in Fatal Fury: City of the Wolves, you have to get comfortable with light confirms, meter management, and nailing the timing on your specials. Big punishes come from spotting your opponent’s mistakes and cashing out with heavy counters.
Executing Combos
Light confirms are your bread and butter for landing combos in this game. Try starting with crouching light kick, then crouching light punch, followed by standing light kick. This chain is reliable and leads straight into quarter-circle forward + light kick specials.
Basic Light Chain Example:
- Crouching LK → Crouching LP → Standing LK
- Chains right into specials
- Works even without counter hits
Standing light kick flows into standing heavy punch without much effort. That opens up heavier combos with more damage. After the heavy punch, cancel into quarter-circle forward + heavy kick.
Meter management can trip up a lot of players. EX moves chain well but burn through your meter fast.
A single EX fireball (quarter-circle back + double punch) into EX tackle can do over 3,700 damage off a light confirm. That’s impressive, but you’ll run dry if you overuse it.
Resource Tips:
- Save meter for guaranteed hits.
- Use the SPG system to extend combos without meter.
- Practice your basic cancels before adding EXs.
You activate the SPG system by pressing heavy punch and heavy kick together. This gives you combo extensions without spending meter and is key for high-level play.
Wild Punish Opportunities
Wild punish situations pop up when your opponent whiffs an attack or throws out something unsafe on block. That’s when you should go for your biggest combos—honestly, there’s no reason to hold back if they can’t defend.
Breakable moves? They’re gold for punishes. If you land quarter-circle forward + heavy kick, hit the “ref” button right after it connects. You’ll launch the opponent, which leaves them wide open for elbow specials or a super.
Common Punish Scenarios:
- Opponent whiffs heavy attacks up close
- Unsafe jump-ins that land badly
- Blocked special moves with long recovery
Frame advantage makes all the difference in your punish timing. After a good punish, you get extra frames, so your next attack is basically guaranteed. This lets you link into standing heavy punch or keep up the pressure safely.
Counter-hits really pump up your damage. If you land a hit while your opponent’s starting an attack, you get more hitstun and can stretch your combos out. Try to spot these moments during neutral exchanges.
Super moves hit the hardest but burn your whole meter. Don’t throw them out randomly—save them for those perfect, round-clinching openings.
Special Move Integration
Special moves cancel smoothly from normals, but only if you hit the timing window. Quarter-circle motions work best if you input them during your normal’s active frames, not after its recovery.
Essential Special Move Cancels:
- Standing LK → QCF + LK (super reliable)
- Heavy Punch → QCF + HK (breakable launcher)
- Crouching attacks → QCB + PP (EX fireball)
EX specials add more hits, better frame data, or let you extend combos. EX fireballs can juggle, and EX tackles give you multi-hits and better scaling.
Fainting changes up your special move game. Tap the ref button with heavy kick or heavy punch to cancel early. Heavy punch faints give you +4 frames, and heavy kick faints give +6.
Advanced Integration Techniques:
- Faint heavy punch → crouching LP → standing LK
- Faint heavy kick → standing HP → special cancel
- EX chains for big meter spend
You really need clean inputs for consistent cancels. Practice the motions while your normal attack is still happening, not after. That way, you won’t drop combos under pressure.
Super moves need some planning. Don’t just toss them out—use them to finish combos or punish when you know the damage is worth it.
Defensive Tactics and Blocking
Fatal Fury: City of the Wolves rewards smart defense with three mechanics that can flip blocking into a counterattack. Just Defense gives you health back and frame advantage. Hyper Defense gives you a bigger window for guard cancels during pressure.
Just Defense Timing
Just Defense kicks in when you block within eight frames before an attack lands. You’ll spot a blue shield flash and hear a unique sound.
The window’s tight, but not too strict once you get the feel for it. Tap back or down-back just before getting hit—don’t just hold block the whole time.
Key benefits include:
- No chip damage from specials or supers
- Small health recovery (5 HP per successful defense)
- REV Gauge goes down instead of up
- Opens up guard cancel options
If you’re blocking multi-hitting moves, you’ll need to tap block for every hit. If you mess up the timing, just switch to normal blocking.
Quick tip: You can Just Defense during jumps, so you can block anti-airs and projectiles in the air.
Hyper Defense Execution
Hyper Defense is a bit different—you can only use it if you’re already in blockstun from a previous hit. Press forward (6) or down-forward (1) right before the next hit lands.
The window’s stricter than Just Defense, but you get a longer guard cancel window that lasts until blockstun ends.
Important restrictions:
- Can’t use after Just Defense
- Only works during true blockstrings
- If you time it too early, you’ll get hit
Common situations for Hyper Defense:
- Hotaru’s 214AC pressure
- Rock’s 214AC second hit
- Billy’s 236AC into 4P
The forward input makes some cancels easier, especially dragon punch or 360 motions.
REV Guard Explained
REV Guard activates if you hold the REV button while standing or crouching. You’ll see a shield that stops chip damage and increases pushback when blocking.
REV Guard blocks attacks from both sides automatically. It’s great for shutting down crossups or weird mixups.
Trade-offs to consider:
- Fills your REV Gauge 65% faster
- Can’t use it during Overheat
- Eats up REV meter
You can REV Guard during wakeup rolls to mess with left-right mixups. The pushback might make your opponent’s pressure whiff, so you can sneak in a punish.
Warning: Throws still beat you during wakeup rolls—there’s only one frame of throw invincibility.
Guard Cancels and Feints

Guard cancels break you out of defense and let you hit back fast. Feints fake out your opponent by starting special move animations but stopping them early.
Performing a Guard Cancel
A guard cancel flips defense into offense in a split second. First, you need to land a Just Defense, then quickly input a special move.
The timing’s rough. Just Defense only gives you a tiny window. Most players miss it at first.
Here’s a trick that helps:
- Start your special move input while blocking
- Add a backward input in the motion
- Finish the special move input
This buffer method gives you more leeway. You’re basically prepping the move as you defend.
Hit up training mode. Set the dummy to attack nonstop. Nail the Just Defense timing, then add your special move cancel.
Watch out for these mistakes:
- Going too early or too late
- Picking slow specials
- Button mashing in a panic
Stick to fast specials for guard cancels. Quarter-circle punches usually come out quicker than anything fancy.
Using Feints to Confuse Opponents
Feints throw out fake animations to mess with your opponent. Hit Rev + Heavy Kick at the same time to feint.
Every character has a few options:
- Neutral feint: Rev + Heavy Kick
- Forward feint: Hold forward + Rev + Heavy Kick
- Down feint: Hold down + Rev + Heavy Kick
Timing is everything. Feint right after a normal, especially a heavy. This cancels the recovery and opens up new combos.
Wait for the feint animation to finish before pressing your next button. If you rush, you’ll mess up the sequence.
Feints are awesome for baiting. Fake a fireball to make them jump, then punish the landing. Or feint a heavy to freeze them for a grab.
Start small in training. Pick one normal you use a lot. Throw it out, feint right after, then add a light attack once the feint’s done.
Good feints keep you safe while turning up the heat. They’re not quite brake cancels, but they serve a similar purpose.
Super Moves: Gears and Specials
Fatal Fury City of the Wolves gives you three main gear types for supers: Ignition Gear, Redline Gear, and Hidden Gear. Each one’s got its own job—from safe damage to massive, match-turning finishers.
Ignition Gear Best Uses
Ignition Gear is your bread-and-butter super. It costs one power gauge segment and deals solid damage, but it’s pretty safe to throw out.
Best times to use Ignition Gear:
- Combo enders – Squeeze out extra damage after a good hit
- Punish whiffs – Catch opponents who overcommit
- Crack defense – Force action when things get slow
Try using Ignition Gear after a guard cancel. If you nail a Just Defense or Hyper Defense, canceling straight into Ignition Gear makes it come out faster than usual.
Terry Bogard’s Power Geyser is perfect for ending combos. Rock Howard’s Shine Knuckle punishes jump-ins nicely. Really, just grind the timing in training mode until it feels automatic.
Guard cancel timing is huge. Input your Ignition Gear right after a defensive action—your opponent won’t have time to react.
Redline Gear Strategies
Redline Gear is your heavy-hitter. It eats up two power gauge segments but hits way harder, usually with extra perks compared to Ignition.
When to use Redline Gear:
- Critical health – When you need a comeback
- Guaranteed punishes – After blocking something super unsafe
- Guard cancel setups – The speed boost makes these almost unblockable
Save Redline Gear for big moments. Two gauges is expensive, so make it count.
Redline vs Ignition comparison:
| Aspect | Ignition Gear | Redline Gear |
|---|---|---|
| Gauge Cost | 1 segment | 2 segments |
| Damage | Moderate | High |
| Risk | Low-Medium | Medium-High |
| Best Use | Combos/Punishes | Comebacks/Big Punishes |
Drill those guard cancel timings with Redline Gear in training mode. The faster startup after defense makes it really hard for your opponent to escape.
Unlocking and Mastering Hidden Gear
Hidden Gear is the big one—your ultimate move. You need specific conditions and all your meter to pull it off.
Hidden Gear requirements:
- Full power gauge (usually 3+ segments)
- Certain health or match conditions
- Some characters need setups or combos
Terry Bogard’s Triple Geyser only comes out at low health with a full gauge. Rock Howard’s Deadly Rave Neo is all about tight input timing. Every character’s Hidden Gear is different.
Start by learning the inputs in training mode. These are usually tricky, with odd motions or strict timing, so you’ll need muscle memory.
Hidden Gear tips:
- Save it for clutch moments – It burns your whole gauge
- Make sure it’ll hit – If you whiff, you’re probably done
- Use it when you’re ahead or desperate – It’s risky but rewarding
Practice setups that guarantee Hidden Gear connects. Don’t just throw it out raw—good players will see it coming.
REV Arts, Accel, and Combo Extensions
REV Arts are souped-up specials that use meter and deal more damage. REV Accel lets you chain these for wild combos. Both work with REV Blows to make Fatal Fury’s offense feel unique.
Triggering REV Arts
REV Arts turn your regular specials into beefier versions. Instead of just one button, you hit two together.
For Arcade Style, it’s simple:
- Punch specials: Press LP + HP
- Kick specials: Press LK + HK
Smart Style makes it even easier. Any direction plus Punch + Special Move together does the trick.
When you land a REV Art, your REV Meter fills up, and your opponent eats more damage than normal. It’s a straight-up trade: more power, more resource.
Quick win: Start with your most reliable specials. Don’t try crazy REV Art chains until you can nail the basic ones every time.
REV Accel for Advanced Players
REV Accel lets you chain REV Arts into other REV Arts or REV Blows. This opens up some wild combos that hit hard, but your REV Meter melts away if you overdo it.
The timing is tight—think super cancels from other fighters. You have to input the next REV Art or REV Blow while your current move’s still active.
Here’s how it goes in a real match:
- Launch your first REV Art
- While it’s animating, quickly input another REV Art or REV Blow
- Your meter drops more, and damage scaling kicks in
Heads up: REV Arts and REV Accel both apply heavy damage scaling. Those long combos might look cool, but they sometimes do less damage than a basic, quick sequence.
Finding balance is everything. Usually, two REV Arts is the sweet spot. Three? You’re probably just wasting meter for barely any extra damage.
REV Blows in Practice
REV Blows can extend combos or finish them off. They also double as defensive moves that soak up enemy attacks.
You only get to use REV Blows during S.P.G. (your low health state). You can trigger them on the ground or in the air, which changes their properties and your position.
In combos, REV Blows shine as:
- Finishers after REV Arts
- Extensions after Combination Attacks
- Anti-air tools that convert into ground combos
Arcade Style makes you use complex inputs, but Smart Style gives you a REV Blow button. The timing’s the same either way.
Try linking REV Blows after your most reliable REV Art chains. When you’re in S.P.G., the damage is worth the meter.
Modes and Challenges Overview
Fatal Fury City of the Wolves packs in a bunch of game modes. You can work on your skills or just see how far you can go. The Episodes of South Town mode offers story content with two difficulty settings. Survival and time attack modes push your endurance and speed.
EOST (Episodes of South Town) Tips
Episodes of South Town is the game’s story mode. You get to follow up on Terry, Rock, and the rest after a 26-year break.
There are two difficulty levels. Beat the regular South Town route, then South Town+ unlocks.
Progress tracking is separate for each difficulty. Your normal mode achievements don’t count toward the harder one.
Tizoc and others show up with updated stories. The mode links older Fatal Fury events to what’s going on now.
Use story fights to get your basic combos down. The AI is perfect for practice without the stress of real opponents.
Arcade and Survival Insights
Survival mode throws you into a 100-match gauntlet. That’s a serious test of stamina. No matter how far you get, the game records your results.
You can check your time and total wins. Leaderboards let you see how you stack up against everyone else.
Survival tips:
- Try to keep your health up between matches
- Stick to one character and learn them inside out
- Watch for AI patterns and learn to counter
- Use easy combos to avoid messing up under pressure
Each character gets five Arcade Style trials. These walk you through special moves and basic combos.
Practice mode is always there if you want to repeat tough sections. Use it between survival runs to tighten things up.
Time Attack and Training Mode
Time Attack challenges you to win 15 matches in a row as fast as you can. Only a clean sweep gets your time on the leaderboard.
Speed’s the name of the game. Go for safe, quick finishes—don’t bother with complicated stuff.
Every fighter also has three Smart Style trials. These use the simple controls, making them great for new players.
Training mode basics:
- Set up the dummy to record and replay moves
- Drill anti-air timing against jump-ins
- Learn your fastest ways to punish
- Test how much damage your combos actually do
The trials are great warm-ups before you go online. Finish them to really get a feel for your character.
Essential Tips and Tricks for Success
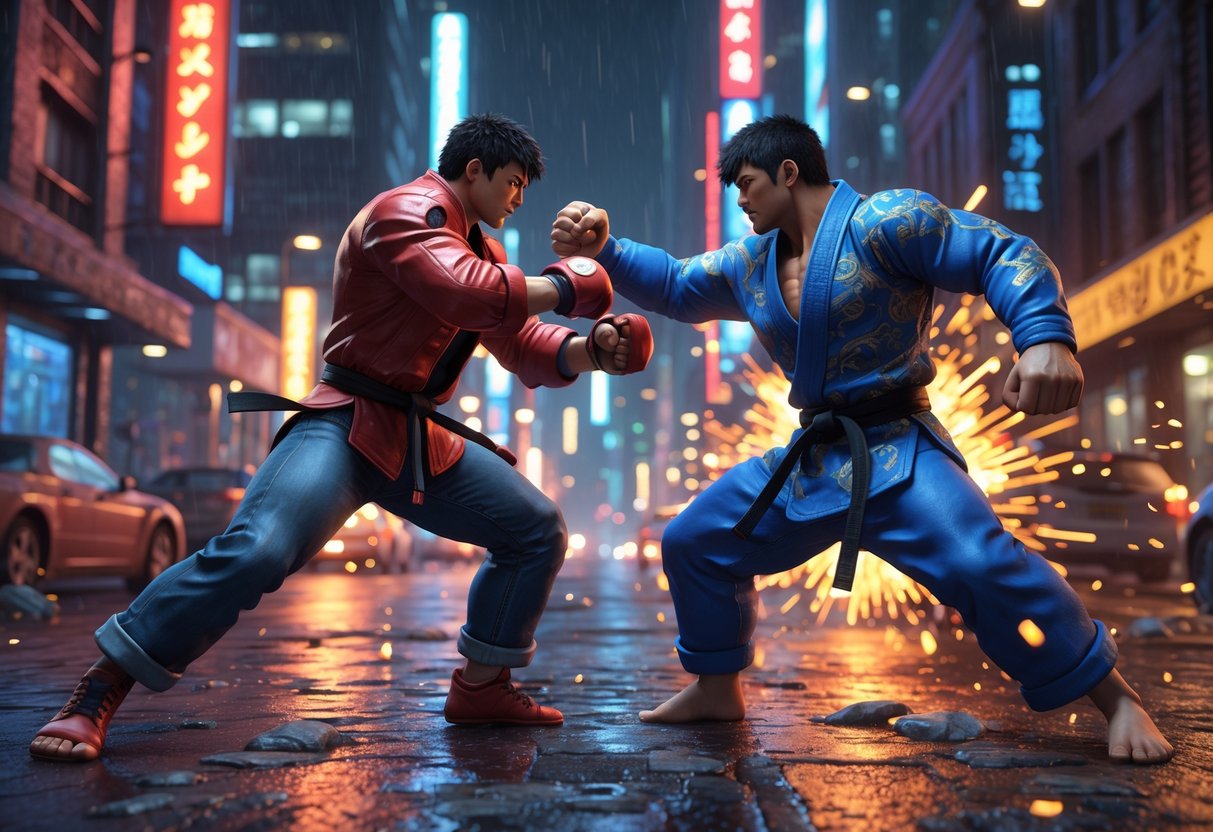
To really master Fatal Fury: City of the Wolves, you need to get a handle on its defensive tools and movement. Smart players rely on Just Defends, manage their REV gauge, and avoid the execution traps that hold others back.
General Advice for Newcomers
Start with Episodes of South Town to actually learn your character. The RPG-style structure teaches you the move list step by step, and the difficulty ramps up slowly. It’s a solid way to get comfortable with each fighter.
Set up macros right away. Map REV Blow, REV Guard, and Dodge to single buttons. No need for extra frustration when you’re just starting out. The game even encourages it.
Pick Flux or Final Ratio for your SPG system. These give you better combo options than Accel Ratio. Flux Ratio drops REV Arts to 19% gauge build-up, Final Ratio to 17%.
Learn all three jump types quickly. Standard jumps cover ground. Short hops throw off your opponent’s timing. Dash/Sprint jumps let you mix things up or escape.
Practice Just Defends all the time. Block right as an attack lands so you can counter with any Special Move. This is your best defensive tool and keeps your REV Gauge from overheating.
Developing Advanced Mind Games
Use Feints to bait people. Moves marked ‘FE’ in the command list can be cancelled right at the start. Start a heavy attack, then Feint—it’s perfect for punishing jumpy opponents.
Make unsafe moves safer with Brakes. Cancel ‘BR’ moves halfway through to stay plus on block. Suddenly, risky Heavy Specials become pressure tools.
Change up your jump timing constantly. Mix Standard jumps and Short hops so your opponent never knows what’s coming. If you keep switching angles, they can’t react fast enough.
Don’t always Tech Roll. Rolling away is usually safer, but sometimes rolling towards the opponent lets you punish throws with wake-up Gear Supers.
Manage your REV Gauge on purpose. Hit people and move forward to keep it down. Use Just Defends to drain it. If you overheat, you’re wide open for a long time.
Mistakes to Avoid
Don’t skip defensive options. City of the Wolves really rewards good defense. If you just rush down, you’ll get wrecked.
Don’t roll after every knockdown. Tech rolling removes your throw invincibility. Sometimes it’s smarter to just stay down.
Avoid Accel Ratio for SPG. The 25% REV Gauge increase kills your combo potential. Stick with Flux and Final for better results.
Don’t try Just Defends during Short hops. You’re too close to the ground for it to work. Save them for Standard and Dash jumps.
Stop mashing when overheated. You can’t do REV Arts, Just Defends, or Hyper Defence until you cool off. Stick to basics and move around until you’re back in business.
Notable Characters and Playstyles
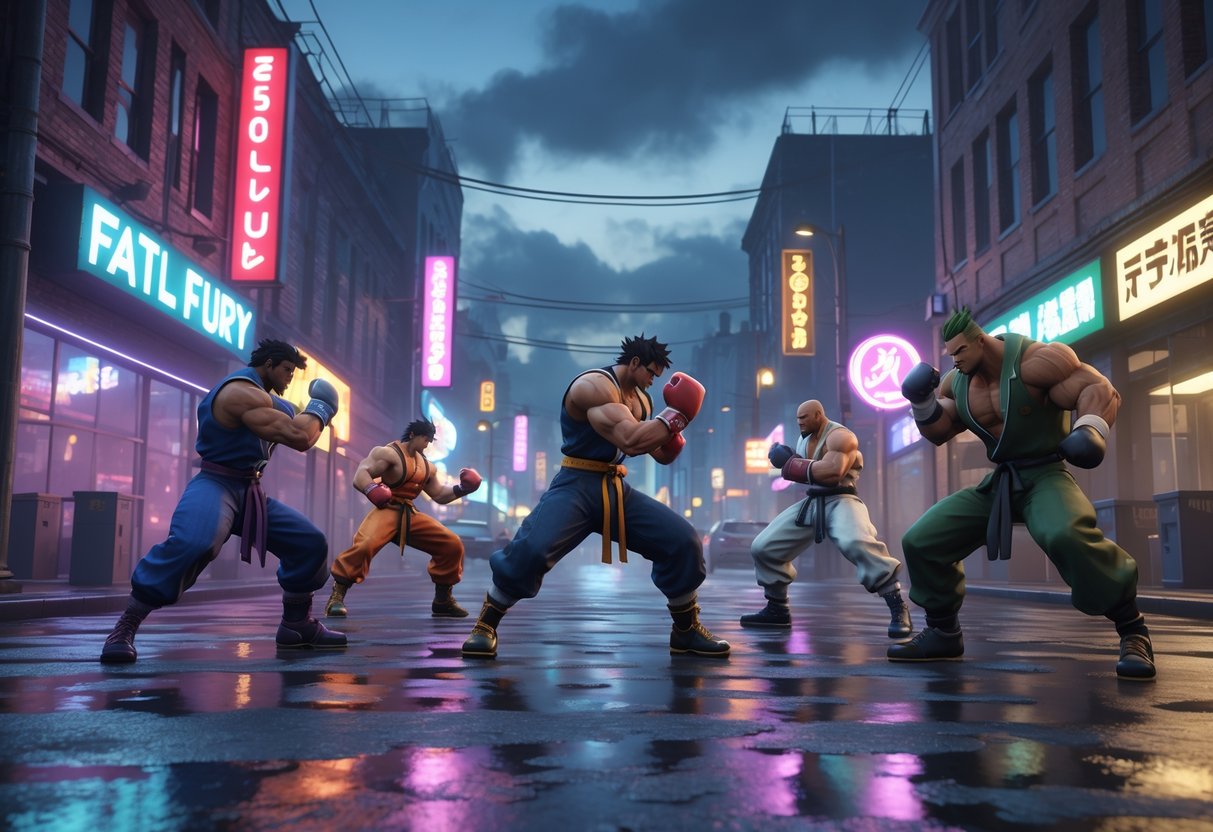
Fatal Fury: City of the Wolves has a wild roster. Each fighter brings their own mechanics and combo flow. Understanding how to play characters like Tizoc—and how to counter different playstyles—makes a huge difference.
Highlight: Tizoc
Tizoc is a standout grappler. His wrestling moves hit hard, and he’s got more mobility than you’d expect.
Strengths:
- Big damage with combo extensions
- Scary corner pressure and grab mixups
- Surprising range on normals
His combos revolve around his signature grabs. Open with light attacks to confirm, then cancel into specials for max damage. The REV system really powers up his grappling.
Combos worth learning:
- Light punch → Heavy punch → Big Fall Griffon
- Jump heavy kick → Crouching heavy punch → Justice Hurricane
You get the most out of Tizoc by controlling space and forcing close-range fights. He struggles against zoners, so you’ll need patience and smart movement.
Adapting to Different Fighters
Every character archetype needs a different plan. Rushdown types force you to play defense. Zoners make you push in aggressively.
Against Rushdown:
Use your best anti-airs and keep your spacing tight. The T.O.P system’s defensive perks help you survive. Block low first, then react to overheads.
Against Zoners:
Walk forward patiently instead of jumping. Use REV to get in safely. Most projectile users can’t handle pressure up close.
Against Grapplers:
Stay just outside their grab range. Quick pokes and hit-and-run tactics keep them out of their comfort zone. Always have an escape route if you’re near the corner.
Frequently Asked Questions
New players always want to know about unlocking characters, learning combos, and using power gauges. Here are answers to the questions everyone seems to ask.
How do I unlock all the characters in ‘Fatal Fury: City of the Wolves’?
Most characters unlock by playing through Episodes of South Town. If you finish the story mode, you’ll get access to most of the cast.
Some fighters need you to complete specific storylines or hit certain difficulty levels. Hidden characters usually pop up after you beat the game on higher settings. South Town+ unlocks after you clear the standard route.
Your save file keeps all your progress, so you won’t lose unlocked characters between sessions.
What are the best strategies for defeating each boss?
Bosses demand patience and solid defense. Blocking and waiting for an opening works way better than just charging in.
Use REV Guard to create space when bosses get aggressive. You’ll also block chip damage with it.
Bosses always have recovery frames after their big moves. If you learn these timings, you can counter-hit for extra damage.
Drill your Just Defence timing in training mode. The green aura means you nailed it, and you’ll even heal a bit while avoiding chip.
Can you provide tips on mastering the combo system?
Start simple. Get your basic punch and kick combos down before adding fancy stuff. Two or three-hit chains do good damage and aren’t hard to pull off.
Counter Hits and Wild Punish states open up longer combos. Counter Hits happen when you interrupt an opponent’s attack startup.
Wild Punish triggers when you hit them during recovery. That gives you a juggle state for your biggest combos.
REV Accel lets you cancel one REV Art into another. Time your input so the second command lands right as the first REV Art connects.
What is the most effective way to utilise the power gauge?
Put your S.P.G. at the start of your health bar for early access. That way, you get REV Blows and Hidden Gear right away.
REV Blows have invincibility frames and beat out pokes. Activate them by pressing heavy punch and heavy kick while in S.P.G.
Hidden Gear burns both your super meters but totally refreshes your REV gauge. Use it if you’re close to overheating and need a reset.
Save your meter for big moments. REV Arts are most valuable when you need a comeback.
Are there any secret areas or easter eggs I should look out for?
The backgrounds are full of nods to past Fatal Fury games. Watch for classic characters and locations in the stages.
Victory poses and dialogue often reference old story moments. Longtime fans will catch a lot of these.
Some character matchups have special intro animations. They’re a fun way to celebrate rivalries from earlier games.
The music includes remixes of classic Fatal Fury themes. Listen for those during matches—they’re a treat for fans.
Could you explain the different game modes and how to access them?
Episodes of South Town is the main story mode. You’ll play through a single-player experience that unlocks new characters and gives you some narrative context for the fights.
Training mode gives you a place to practice combos and mechanics. Here, you can mess around with timing for Just Defence and REV Arts against dummy opponents.
Versus mode is for local multiplayer battles. Pick this if you want to play matches against friends on the same console.
Online modes let you jump into fights with players all over the world. Ranked matches change your competitive standing, but casual matches let you play without worrying about your rank.

