Caster Camera Control: Streamlined Lighting & Video Management
Updated On: November 13, 2025 by Aaron Connolly
Understanding Caster Camera Control
Caster camera control lets tournament broadcasters decide what viewers see during live esports matches. With this system, pro observers guide the camera through key moments, but viewers can jump in and take manual control if they want.
Key Concepts of Caster Camera Integration
A central broadcasting system runs caster camera control. The tournament observer manages the main camera feed and sends it out to platforms like Twitch.
The system breaks down into three main components:
- Observer control: Camera operators run the primary broadcast feed.
- Viewer override: Spectators can turn off caster control and move the camera themselves.
- Audio integration: Commentary lines up with the controlled camera movements.
In Counter-Strike 2 and similar games, you can flip this feature on or off. If it’s on, the caster picks what action to follow. If it’s off, you get to control your own angle.
Most esports games handle these settings with console commands. For example, holding Tab during a match usually reveals camera control options in the settings menu.
Importance in Modern Production Environments
Professional esports broadcasts lean on caster camera control to create a smooth viewing experience. Without it, viewers might miss big moments while fumbling with the camera.
Broadcast teams get a lot out of this:
- Storytelling stays consistent thanks to coordinated camera work.
- Viewers don’t get lost during wild team fights.
- The broadcast looks polished, almost like traditional sports.
Newer esports fans especially benefit from caster control. Trying to follow the action and move the camera at the same time can be a headache.
Tournament organisers highlight the best plays, which keeps broadcasts lively. That usually means more viewers stick around, and sponsors like that too.
Typical User Scenarios
New viewers usually stick with caster control enabled. Honestly, it’s the best way to watch your first tournaments—observers know where the fun will happen.
Experienced fans bounce between modes. During big fights, caster control feels right. But if you want to break down a single player’s moves, manual control wins.
Content creators almost always turn off caster control when making tutorials or breakdowns. It helps them focus on specific players or tactics, not just the main broadcast.
Some viewers set up custom key binds so they can switch modes fast. That comes in handy during clutch moments when you want to track a particular player instead of whatever the caster picked.
Core Features of Caster Camera Control Systems
Modern caster camera control systems give broadcasters powerful tools for juggling multiple sources and making pro-level streams feel easy. They blend advanced switching capabilities with controls that don’t require a tech degree.
Multi-Source Switching Capabilities
Pro caster systems juggle several camera feeds at once. Most handle 4-8 inputs, but high-end models can manage up to 16.
Switching features you’ll find:
- Instant camera angle flips
- Picture-in-picture overlays
- Split-screen views
- Previewing sources before pushing them live
All this switching happens in real-time. You don’t lose frames, so transitions stay smooth during the broadcast.
You can mix input types, too. HDMI cameras, USB webcams, screen captures—they all play together in one production.
Heads up: Check your system’s bandwidth before piling on a bunch of high-res sources.
Scene and Layer Management
Scene presets let you save different camera setups for quick use. Pro systems store 20 or more scene layouts.
Each scene can have layers, like:
- The main camera feed
- Graphics overlays
- Lower thirds and titles
- Assigned audio sources
Layer controls let you tweak one thing without messing up the whole scene. Maybe you want to swap a graphic but keep the camera steady.
Quick tip: Set up scenes for common moments—player intros, gameplay, interviews—so you can switch fast.
Most systems give you scene transitions with effects you can tweak. Cuts, fades, wipes… pick your favorite.
Touchscreen and Encoder Interfaces
Modern caster systems come with touchscreen controls for fast access. Big color displays show you live previews of every source.
Physical encoders let you fine-tune audio and video settings. When you’re live, these knobs beat a touchscreen for accuracy.
Common interface bits:
- Source select buttons
- Audio sliders
- Scene shortcuts
- Recording controls
You can customize button layouts to fit your style. Some setups even expand with external control panels for bigger productions.
Pro broadcasters often use a dedicated mixing panel right next to the main touchscreen. It just feels more reliable.
Hardware Solutions for Caster Camera Control
Running caster camera control at a pro level means you need specialized hardware panels that move smoothly and don’t flake out mid-broadcast. The Sunnyxiao Caster Series brings dedicated solutions with sturdy mounting options, honestly not far off from what ARRI’s lighting control panels offer.
Overview of Sunnyxiao Caster Series Panels
The Sunnyxiao Caster Series builds hardware panels just for esports camera control. You get multi-axis joysticks for smooth pan, tilt, and zoom—crucial when you’re tracking fast action.
Each panel has programmable buttons for preset camera spots. You can jump to player close-ups, team shots, or crowd reactions with one tap.
The lineup includes:
- CS-100: Basic 3-axis with 8 preset buttons.
- CS-200: Advanced, 16 presets, customizable interface.
- CS-Pro: Dual joystick, pro-level unit.
All models plug in with USB and Ethernet. They work with popular software like OBS Studio and XSplit.
Tactile feedback helps you keep control, even when the pressure’s on. LED lights show which camera is active and whether you’re connected.
Comparison With ARRI SkyPanel S60-C
The ARRI SkyPanel S60-C mainly handles lighting, but its interface design inspired a lot of camera control systems. Sunnyxiao panels borrow those ergonomic layouts and tough build quality.
Here’s how they stack up:
| Feature | Sunnyxiao CS-Pro | ARRI SkyPanel Controller |
|---|---|---|
| Primary Use | Camera control | Lighting control |
| Price Range | £299-£599 | £800-£1,200 |
| Joystick Type | Hall effect sensors | Potentiometer-based |
| Build Material | Aluminium housing | Professional-grade plastic |
ARRI’s stuff feels a bit more heavy-duty, but you’ll pay a lot more. For most esports setups, Sunnyxiao panels hold up just fine and save you money.
Button layouts and controls feel familiar on both. If you’ve used one, you’ll pick up the other pretty quickly.
Integrated Support and Mounting Options
You need stable mounts to keep control panels right where you want them. Standard options include desk clamps, VESA mounts, and rack brackets.
Desk clamps suit smaller setups and adjust between 20mm and 60mm. Anti-slip pads keep things steady.
VESA mounts fit on monitor arms and studio desks. The 75x75mm and 100x100mm patterns cover most broadcast gear.
Big productions usually go with 19-inch rack mounts. That keeps everything organized and easy to reach.
Cable management matters. Velcro ties and cable trays keep cords tidy. USB extension cables up to 5 meters let you run things without losing signal.
Quick-release mounts let you swap panels fast if something goes wrong in the middle of a tournament.
Software and Remote Operation
Modern caster systems count on software that gives you precise camera control from pretty much anywhere. These platforms mix mobile apps with desktop tools, and they throw in automated switching and flexible connections.
Mobile and Desktop App Control
Pro casting software covers all your devices. NSCaster’s iPad app cuts down operator workload during live shows. Multiple people can run the same system from different devices.
Desktop apps like digiCamControl let you manage USB cameras right from your Windows PC. You can snap shots remotely or use camera buttons while checking everything on your monitor.
Canon’s PTZ software manages up to 20 cameras over IP. You see up to nine previews at once. Adjust focus, pan, zoom, tilt, and exposure in real time.
PTZOptics Hive gives you cloud-based control from anywhere. You get pro movement tools and can share camera access with team members all over the world.
Automated and Intelligent Switching
Some systems switch camera angles on their own. You can get dual UHD images from a single camera, with smart switching between close-ups and wide shots.
NSCaster’s automated backup kicks in if a device fails. The software flips to backup sources automatically. Delay broadcast features add up to 60 seconds of buffer for emergencies.
Presets let you save and instantly recall camera positions. That’s a lifesaver when you’ve got lots of cameras and need to jump between angles quickly.
Main automation perks:
- Automatic backup switching
- Preset camera positions
- Smart angle detection
- Emergency failover
Wireless & Wired Connectivity
Modern setups work with both wireless and wired connections. CamRanger lets you tether Canon, Fuji, Nikon, and Sony cameras wirelessly.
IP camera support means you can use network protocols. ONVIF compatibility covers a wide range of cameras. RS232/RS485 handles older PTZ cameras with Visca, Pelco-D, and Pelco-P.
Connection options:
- Wired: USB, SDI, HDMI, RS232/RS485
- Wireless: Wi-Fi, IP, Bluetooth
- Cloud: Remote access over the internet
- Hybrid: Mix and match connections
Network streaming brings in remote camera feeds from mobile devices. Even iOS and Android phones can act as extra cameras. Bonjour service helps you discover and manage cameras on your local network.
RGB and Colour Management
Modern caster camera systems use advanced RGB LED tech and tight colour management to deliver that pro broadcast look. You can tweak colour temperature, gel effects, and accuracy in real time.
RGBW LED Technology in Caster Systems
RGBW LED arrays power most pro caster lighting. The W (white) part adds brightness that you just can’t get from RGB alone.
Regular RGB LEDs try to make white by mixing red, green, and blue at full blast. It works, but the colour temperature can get weird and the light’s not as bright. Adding a dedicated white LED solves this.
Why RGBW is better:
- Brighter output
- More control over colour temperature
- Lower power draw
- Smoother colour blending
Most caster cameras sync up with RGBW controllers using DMX or their own systems. Popular lights include the ARRI SkyPanel and Aputure Nova lines.
White LEDs usually sit at 5600K for daylight balance. You can dim or boost them separately from the RGB channels. That helps keep skin tones looking natural, even under mixed lights.
Adjusting CCT, GEL, and HSI Modes
Professional caster systems give us three main colour control modes. Each one fits a different production need or lighting scenario.
CCT (Correlated Colour Temperature) mode lets us mimic classic tungsten and daylight sources. We can shift from a warm 2700K tungsten look to a cooler 6500K daylight feel. This mode really shines when we need to match whatever ambient light is already in the room.
GEL mode brings the flexibility of traditional lighting gels, but in digital form. Some popular choices:
- CTO (Colour Temperature Orange) warms up daylight sources
- CTB (Colour Temperature Blue) cools down tungsten sources
- Plus/Minus Green helps match fluorescent lighting
HSI mode hands us full creative control with hue, saturation, and intensity. Hue covers the entire 360-degree colour wheel. Saturation lets us slide from neutral white to full-on colour. Intensity just controls the brightness.
Most cameras let us store custom presets for quick access. We’ll usually set up common ones like “daylight interior,” “tungsten match,” or “creative accent” so we can switch fast.
Chromatic Accuracy and Colour Rendering
Getting colours right makes a huge difference in how our cameras capture the real world. Pro systems rely on CRI (Colour Rendering Index) ratings above 95.
High-end caster cameras come with built-in colour correction. They use standard colour charts like the 24-patch ColorChecker for calibration. The camera checks those known values and builds its own correction profiles.
Critical colour accuracy factors:
- CRI rating (95+ is the broadcast standard)
- TLCI (Television Lighting Consistency Index)
- Spectral power distribution
- Metamerism control
We calibrate with controlled lighting and reference charts. Good exposure helps the sensor capture colours accurately. Even lighting across the chart is key—shadows just mess everything up.
Systems like DaVinci Resolve integration let us do real-time colour correction right in the camera. We can tweak RGB curves, lift/gamma/gain, and colour wheels before the signal even leaves the device.
A lot of cameras now give us false colour displays and RGB parade monitoring. These features make it easier to keep exposure consistent and avoid colour clipping during live shows.
Integrating Audio With Video Control
Modern caster camera control systems blend professional audio mixing with video switching, making production workflows much smoother. The RODECaster Video stands out by combining real-time HDMI video switching and studio-grade audio processing in one unit.
On-Board Audio Mixing and Effects
The RODECaster Video packs built-in audio mixing that rivals standalone audio gear. We get pro-level preamps, real-time effects processing, and multi-channel mixing—no extra boxes or cables.
It automatically handles up to four HDMI audio inputs. Plug in cameras or other video sources, and their audio pops up as separate channels on the mixer. That means less cable chaos and a cleaner workspace.
Key mixing features:
- Real-time level tweaks for each input
- Built-in effects like compression and EQ
- Audio output meters to keep an eye on levels
- Headphone jacks for cueing and monitoring
The touchscreen makes it easy to adjust audio on the fly during a show. If your camera signals start clipping, you can switch between line and mic levels instantly.
Integration of Wireless Microphones
RODECaster Video connects with RODE wireless microphones right out of the box—no extra receivers needed. When a compatible wireless mic comes into range, the system finds and configures it automatically.
It can even switch camera feeds based on who’s talking. When someone speaks into their wireless mic, the system jumps to their camera, so transitions feel natural.
Wireless integration perks:
- No extra receiver units to deal with
- Automatic gain control keeps audio from clipping
- Interface shows battery levels at a glance
- Multiple presenters can each use their own wireless system
Antenna ports on the back make sure you get strong signal reception. Most folks find the range works great for small studios and live events.
Syncing Audio With Video Sources
Integrated systems like the RODECaster Video keep audio and video perfectly in sync. Since the device processes both together, you don’t get those annoying delays you see with separate gear.
Each HDMI input brings in both video and audio. Because it all goes through the same pipeline, sync just isn’t a problem. That’s a lifesaver for live streaming—viewers notice even tiny delays.
Sync advantages:
- Zero lag between audio and video
- Consistent timing on every input
- No fiddling with manual delay settings
- Reliable for long productions
The media player lets you add pre-recorded audio and video and keeps everything perfectly synced. It’s handy for intros, sponsor spots, or background music during a show.
Advanced Camera Control and Tiled Rendering
Modern caster setups shine when they can merge multiple camera outputs into a single, streamlined workflow. These tools cut down on rendering overhead and give us tight control over multi-angle broadcasts.
Tiled Rendering APIs and Scaling
Tiled rendering has changed how we manage camera feeds in pro casting. Instead of processing each feed separately, the system stitches outputs from several cameras into one big image.
This method slashes rendering time. We notice big performance boosts when juggling 4-8 camera angles at once during tournaments.
Key advantages:
- Fewer API calls for vision data
- Lower memory use per feed
- Easier workflow for multi-angle setups
- Smarter resource use across your hardware
RGB output streams work especially well with this approach. Each camera keeps its colour accuracy while feeding into the shared rendering pipeline.
Broadcasting software like OBS and XSplit now support tiled rendering for esports, making life a lot easier.
Configuration and Data Management
Setting up tiled camera systems means paying close attention to input specs and output formats. We have to match camera resolutions, frame rates, and colour profiles before combining them.
Essential setup steps:
- Align all camera RGB outputs to the same specs
- Match frame timing across every input
- Allocate enough memory for the combined image
- Set up failover protocols in case a feed drops
Managing all that data gets tricky with bigger tile arrays. Four cameras at 1080p pump out way more data than single streams, so storage and processing need to keep up.
Most systems let us reconfigure things on the fly. That flexibility is a lifesaver if a camera angle changes or a piece of gear fails mid-stream.
Performance Optimisation
Tuning tiled rendering performance means finding the right balance between image quality and system resources. We usually get the best results with 2-6 cameras for standard hardware.
Performance factors:
- GPU memory sets the max tile size
- CPU load climbs with more complex setups
- Network bandwidth matters for remote cameras
- Storage speed affects recording quality
RGB processing needs depend on colour depth and compression. Higher bit depths look better but eat up more power.
We always test different tile layouts before going live. Some setups just play nicer with certain hardware or streaming platforms.
Monitoring tools pinpoint bottlenecks in real time. Most modern systems show detailed stats on rendering performance and resource use across the camera array.
Lighting Performance and Efficiency
Professional lighting control systems juggle bright, accurate light with energy savings and heat control. The top setups keep colour consistent while keeping power bills from getting out of hand.
Luminous Output and Beam Angles
Peak luminous output tells us how much light the system can throw out when we need it. Pro LED panels usually range between 3,000 and 15,000 lumens per fixture.
Beam angles decide how the light spreads and how intense it feels. Narrow beams (15-30 degrees) focus on key subjects. Wider beams (60-120 degrees) cover bigger areas evenly.
Key beam angle ranges:
- Spot lighting: 10-25 degrees
- Medium throw: 30-50 degrees
- Flood lighting: 60+ degrees
Adjustable beam systems are a game changer. We can tweak coverage without moving lights or messing with power.
Consistent light output matters more than hitting max brightness. The best systems keep output steady no matter the power level or temperature.
CRI, TLCI, and Colour Fidelity
Colour Rendering Index (CRI) tells us how true colours look under the lights compared to sunlight. For pro work, we want CRI scores above 90.
Television Lighting Consistency Index (TLCI) checks how lights work with broadcast cameras. TLCI above 85 is solid for most pro setups.
Modern LEDs can score 95+ on both CRI and TLCI without losing brightness.
| Rating Level | CRI Score | TLCI Score | Best Use |
|---|---|---|---|
| Excellent | 95+ | 90+ | Broadcast, film |
| Professional | 90-94 | 85-89 | Corporate video |
| Acceptable | 80-89 | 75-84 | Basic recording |
Colour temperature stability keeps white balance from drifting as we dim the lights. Good systems hold steady from 10% to 100% output.
Power Consumption and Heat Management
LED efficiency usually sits between 100 and 180 lumens per watt in pro fixtures. Better efficiency means less heat and lower costs.
Power draw estimates:
- 200W LED panel costs about 20p per hour (UK average)
- 1000W tungsten uses roughly £1 per hour
- Modern LEDs use 60-80% less power than tungsten
Heat management really impacts performance and lifespan. Good fixtures use:
- Active cooling: Fans for high-output panels
- Passive cooling: Heat sinks for smaller units
- Thermal monitoring: Auto-dimming when things get too hot
Fan noise can be a deal-breaker in quiet spaces. Pro LED panels usually keep it under 35dB during normal cooling.
Dimming curves should be smooth and flicker-free. Bad dimming creates visible steps and can cause camera flicker at certain levels.
Scene Creation and Real-Time Production Tools
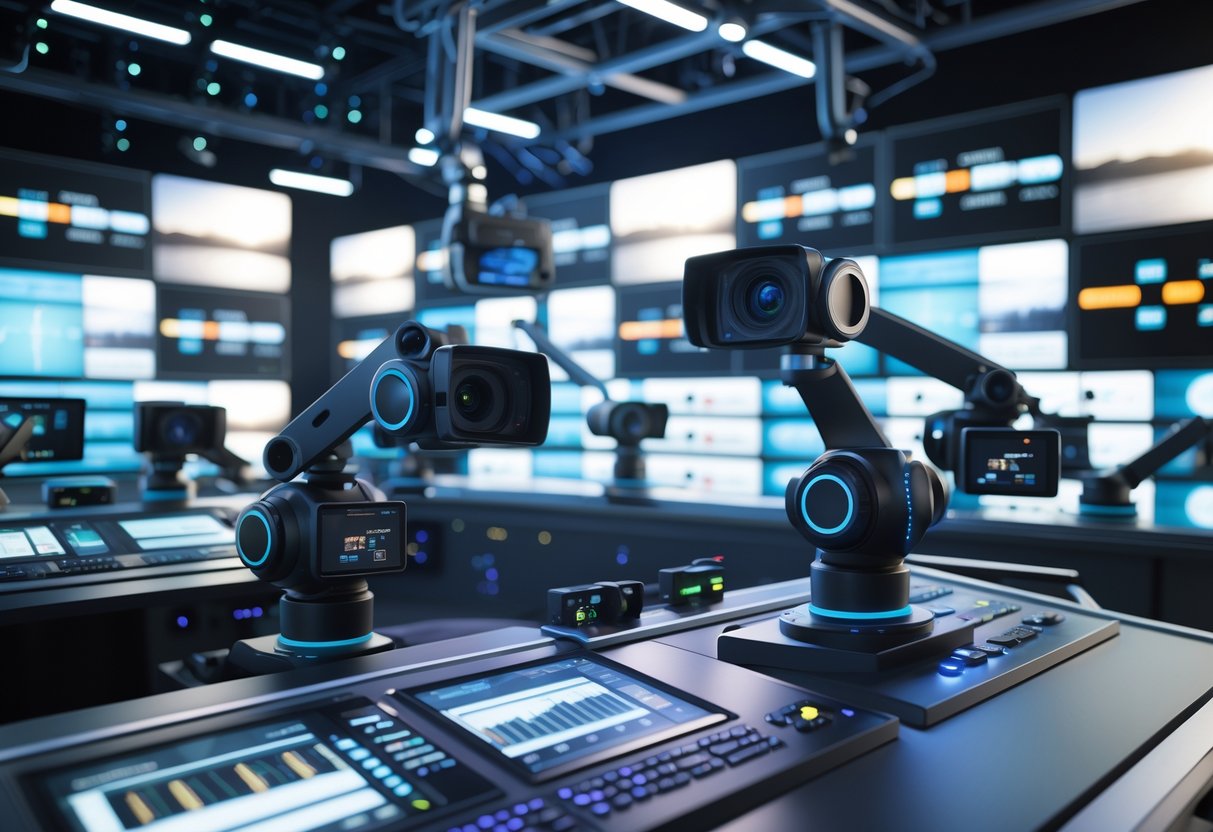
Scene creation and real-time production are at the heart of modern caster camera control. These tools let us build custom visual layouts, drop in media on the fly, and pull off smooth transitions that keep viewers locked in.
Creating and Triggering Custom Scenes
Custom scenes give us total control over what the audience sees at any moment. We can set up different scenes for pre-show, gameplay, interviews, or breaks.
Most caster control systems let us save templates with specific camera angles, graphics, and audio settings. When we trigger a scene, everything kicks in at once. That keeps things moving and avoids awkward pauses during live broadcasts.
Key scene types:
- Main gameplay with commentary overlay
- Picture-in-picture for reactions
- Full-screen interviews
- Sponsor graphics with background music
We assign hotkeys to jump between scenes fast. Advanced setups offer fade transitions for a pro look. Some platforms let us preview scenes before going live, which is a real confidence booster.
The RØDECaster Video makes scene switching a breeze, blending video and audio sources so you don’t need extra mixing gear.
Use of Media Playback and Graphic Overlays
Media playback tools let us drop in pre-recorded content during a show. We can run highlight reels, sponsor ads, or educational clips without breaking the broadcast flow.
Essential media elements:
- Lower thirds with player names
- Tournament brackets and scoreboards
- Sponsor logos and ads
- Background music and effects
Graphic overlays add context but don’t block the action. We place them around the screen edges or during natural pauses.
Modern systems handle multiple video formats and resolutions. We can queue up media clips and trigger them with a tap. Audio levels adjust automatically, so nothing gets too loud or quiet.
Quick tip: Always test your media files before going live to catch any formatting or quality issues.
Transition Effects and Keying Techniques
Keeping transitions smooth between scenes really helps your broadcast look professional. If you want fast-paced energy, go with cut transitions. For interviews or slower analysis, fades just feel right.
Common transition types:
- Cuts: Instantly switch scenes.
- Fades: Scene slowly appears or disappears.
- Wipes: One scene pushes the other off-screen.
- Dissolves: Two scenes blend together for a moment.
Keying techniques let you drop out backgrounds and add graphics on top. Green screens work best if you’ve got good lighting and a nice, even background.
You can key out specific colors or use alpha channels for transparent overlays. Chroma keying only really works if your lighting stays consistent—otherwise, you’ll get weird edges.
Set key sensitivity with some care. You want to remove the background cleanly, but not lose parts of your subject.
Doing keying in real time saves a ton of post-production hassle. You can flip between keyed and regular sources instantly during live streams.
Modern virtual production tools now use AI-powered edge detection, so you get even cleaner keys—pretty impressive stuff.
Installation, Setup, and User-Friendly Design
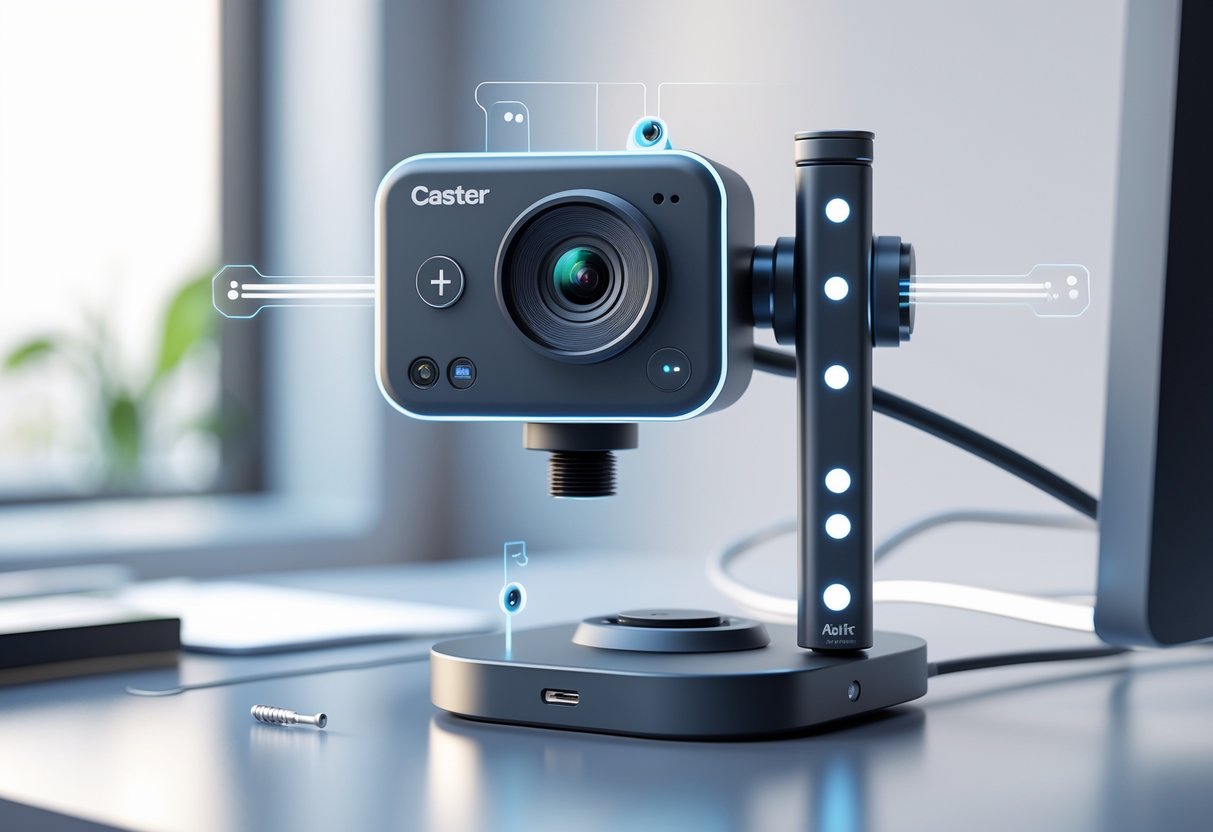
Modern caster camera systems really focus on easy setup and intuitive controls. Most of the time, you just plug them in, pick your power source, and use a simple interface that works in almost any filming environment.
Physical Setup and Power Supply Options
You can usually set up a caster camera system in 10-15 minutes if you’re prepared. Most units connect with USB-C or special cables that handle both video and power.
Power supply options include:
- Mains power adapters—best for studio work.
- Battery packs—a must for outdoor shoots.
- PoE (Power over Ethernet) for network setups.
- USB bus power for smaller rigs.
A lot of pro systems let you plug in two power sources. That way, you can swap from mains to battery without stopping your recording.
Cable management gets important fast. Use cable protectors and label everything. It’s a headache if you lose a connection during a live show.
Quick setup checklist:
- Plug in your power first.
- Connect your video output cables.
- Set up any network stuff if needed.
- Test pan, tilt, and zoom.
- Make sure your audio is in sync.
User Access Through Control Panels
Control panels really differ by brand, but the basics stay the same. The best ones have big, backlit buttons and joysticks that actually feel good for long sessions.
Standard control features include:
- 3-axis joysticks for pan, tilt, and zoom.
- Preset buttons (usually 8-12).
- Speed dials for movement styles.
- Focus and iris controls for manual tweaks.
A lot of pro controllers handle multiple cameras at once. You can run up to 7 cameras from one desk with VISCA protocols.
Many systems now let you control everything from a tablet or laptop. That’s great for backup, or if you want to run things from across the studio.
Warning: Cheap controllers often have joysticks that drift or laggy buttons. If you’ll be using this gear a lot, it’s worth paying for the good stuff.
Adaptation for On-Location and Studio Use
When you’re on location, you’ll face different challenges than in the studio. Battery life suddenly matters a lot, and you might need weatherproofing if you’re outside.
Studio adaptations include:
- Permanent mounting for precise camera placement.
- Tally lights for multi-camera jobs.
- Direct links to broadcast switchers.
- Central control room operation.
Location considerations:
- Portable tripods with quick-release plates.
- Weather covers for electronics.
- Bigger batteries or even a generator.
- Wireless controls to cut down on cables.
The best systems come with adapters for both fixed and portable setups. You can move your gear between studio and field without buying new cameras.
A lot of new caster cameras let you stream online and record locally at the same time. That’s super handy for post-production or backups.
Integration With Live Streaming and Post-Production
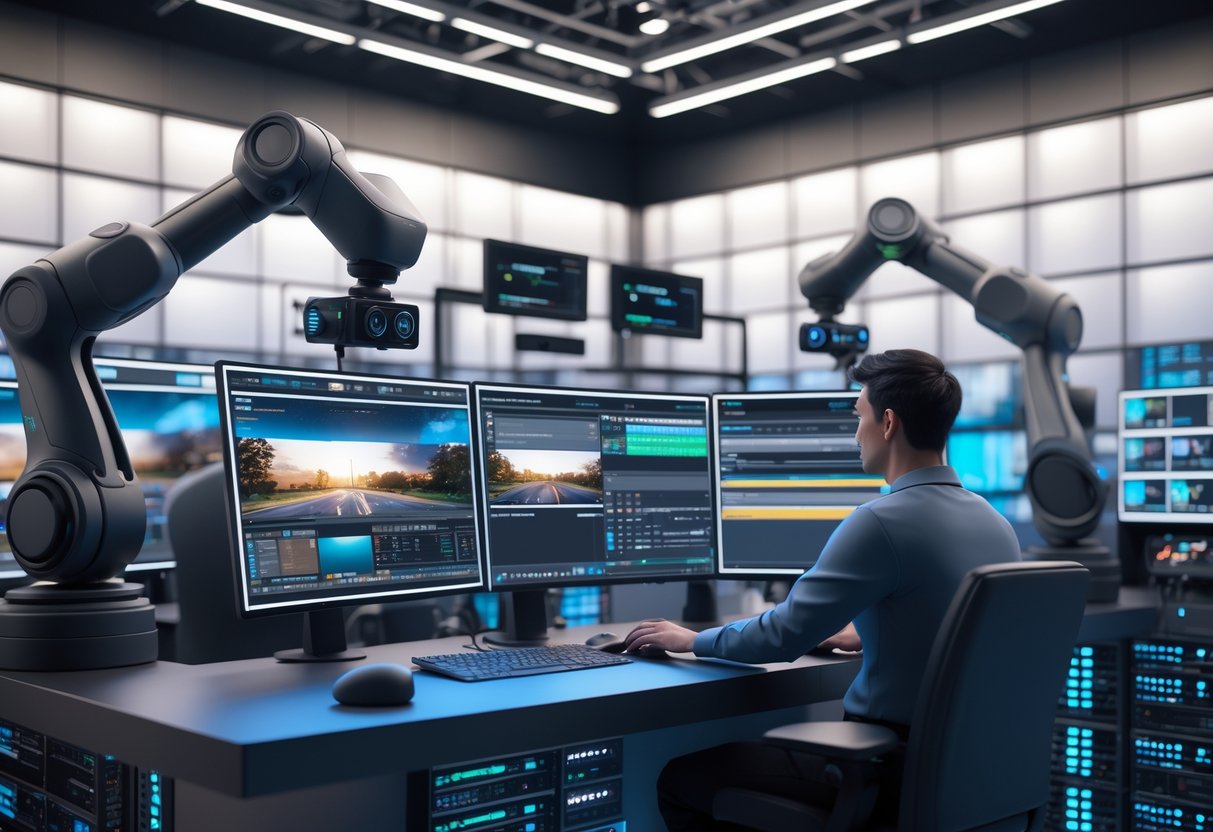
Modern caster camera control systems bridge the gap between live broadcast needs and post-production flexibility. You can stream directly to platforms while also saving isolated recordings for editing later.
Direct Streaming Workflows
Caster systems like Roland’s AeroCaster let you stream straight to YouTube Live, Facebook Live, or Twitch—no extra software needed. The system handles encoding, sending H.264 streams up to 10Mbps over Wi-Fi or even cellular.
Most pro casters support RTMP streaming protocols. You can broadcast to custom servers or multiple platforms at once. The RODECaster Video, for example, connects easily with streaming platforms using built-in RTMP.
Directors can switch cameras, add graphics, and tweak audio levels live while viewers watch. The AeroCaster LIVE app even shows viewer comments right in the interface, so you can interact on the fly.
Quick win: Test your streaming setup when fewer people are online. That way, you won’t hit bandwidth issues during your actual event.
ISO Recording and Post Editing Flexibility
Modern caster systems record isolated (ISO) feeds from every camera. AeroCaster saves the main program on iPad and also records each camera feed on connected phones. You can wirelessly transfer these files to your main device for editing.
ISO recording gives you full editing freedom after the event. You can rebuild the show, change cuts, color correct, or make highlight reels. Roland saves files in MP4, so you can use Final Cut Pro, Premiere, or DaVinci Resolve.
Broadcast systems like U-Caster record at bitrates from 1Mbps up to 10Mbps. Higher bitrates keep more detail for pro editing. Most systems also save separate audio tracks for mixing later.
Compatibility With Existing Video Platforms
Pro caster systems work with standard video workflows. The RODECaster Video connects natively with OBS Studio, so you can do advanced streaming setups and overlays.
Many systems output clean SDI or HDMI feeds that plug right into existing broadcast gear. Blackmagic’s processors can convert streams back to SDI, so you can use traditional setups.
File formats stay industry-standard. Most casters output MP4 with H.264 video and AAC audio. You won’t hit compatibility issues with editing or streaming platforms.
Warning: Double-check your streaming platform’s resolution and bitrate limits. If you go over, you might see connection drops or lower quality.
Future Trends in Caster Camera Control
Caster camera control tech is moving fast. AI-driven automation is cutting down on mistakes, new connectivity options are making broadcasts smoother, and new standards are helping everything work together.
AI-Driven Automation
Machine learning algorithms are changing how we run broadcast cameras at esports events. These systems watch the game, track player moves, and predict the best camera angles before big moments even happen.
Modern AI can tell the difference between gameplay situations. It’ll adjust focus, zoom, and position depending on what’s happening.
Predictive camera movements help you catch clutch plays and team fights. The tech trains on thousands of hours of tournament footage to figure out when the action heats up.
AI can now track individual players across the map by itself. You don’t need a whole crew of camera operators for games like Counter-Strike or League of Legends.
The result? Organizers save money and still get pro-level coverage with fewer staff.
Expanding Connectivity Options
5G networks now let you control cameras live from anywhere, with barely any lag. You could have an expert operator in another country running cameras at your event.
Cloud-based control systems let multiple people work on the same broadcast. One person might track players, while another grabs crowd shots.
Wireless camera systems are more reliable now, too. You can place cameras almost anywhere without worrying about cables.
Some systems even link with streaming platforms to auto-adjust camera feeds based on what viewers like. If a certain angle gets more attention, the system can show it more.
Mobile control apps let directors tweak things from anywhere in the venue. That’s a lifesaver at big tournaments with multiple matches at once.
Upcoming Standards and Protocols
Industry-wide protocols are coming to make sure camera systems play nice together, no matter the tournament or platform. This should cut down on technical headaches at big events.
The Esports Broadcast Association is setting guidelines for minimum camera quality and control responsiveness. These standards keep the viewer experience solid, even for smaller events.
Compatibility frameworks aim to let gear from different brands work together. Organizers won’t have to worry about mixed setups causing problems.
New protocols also target latency—esports needs frame-perfect timing, way more than traditional sports.
We’ll probably see certification programs for camera control operators, kind of like what TV broadcasting does. That should help keep quality up as esports grows.
Frequently Asked Questions
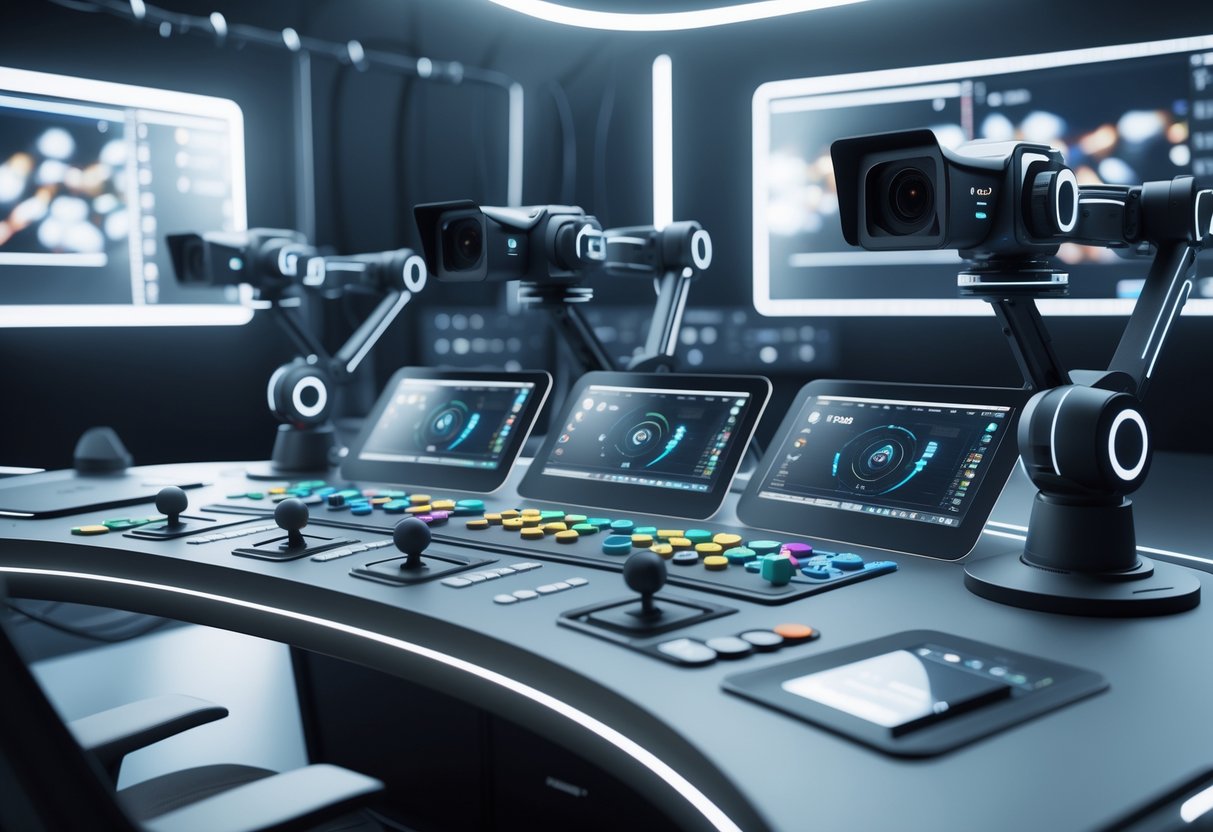
Here are some common questions about caster camera control in CS2—covering interface tweaks, key commands, smooth transitions, automation, troubleshooting, and hotkeys.
How do I customise the observer interface in CS2 to better control my camera views?
Hold Tab during spectator mode to open the observer settings. Look for camera control options in the lower left of the scoreboard.
You can switch between automatic caster camera and manual control. That way, you decide if you want to follow the director’s camera or set your own view.
Open the console and use spec_show_xray 1 for X-ray vision. Set spec_autodirector 0 to turn off automatic switching.
What are the essential observer commands in CS2 I should know to improve my spectating experience?
Start with the basics for camera movement. Use spec_next and spec_prev to cycle through players.
Enable free camera mode with spec_mode 6 for total control. You can fly around and put the camera anywhere.
Set spec_scoreboard 1 to keep the scoreboard up. Use spec_centerchasecam 1 to automatically center behind players.
Can you give me tips on smoothly transitioning between camera views in CS2?
Bind keys to different spectator modes for fast switches. The number keys 1-0 will jump straight to each player’s perspective.
Use the mouse wheel to adjust camera distance in third-person. Scroll up to zoom in, down to pull out for wide shots.
Try to watch the minimap and switch to players about to fight. Anticipating action makes your transitions look much smoother.
Is there a way to automate camera movements in CS2 for casting games?
CS2 has an autodirector system that switches to interesting views for you. Turn it on with spec_autodirector 1 in the console.
You can tweak how often it switches using spec_autodirector_cameraman_scorefactor. Higher values make it change more during intense moments.
Mix automated switching with manual override. Press a player number to take control, then let autodirector handle things again.
What should I do if I encounter issues with camera control during a live CS2 broadcast?
First, check your spectator permissions. Some servers lock down camera movement to avoid disruption.
Make sure your key binds work. Open the console and enter commands like spec_mode to see if they respond.
If controls freeze up, restart your game client. Sometimes connection issues cause lag or total loss of camera control.
Could you explain how to set up hotkeys for camera positions in CS2?
Pop open the console and start binding keys to different spectator functions. For example, type bind "key" "spec_player_by_index 1" if you want to jump to player 1 with a single keypress.
You can create binds for camera modes too. Try bind "f1" "spec_mode 4" for first-person view.
Want third-person following? Just use bind "f2" "spec_mode 5".
Drop your custom binds into your autoexec.cfg file. That way, CS2 loads your hotkey setup every time you start the game.

