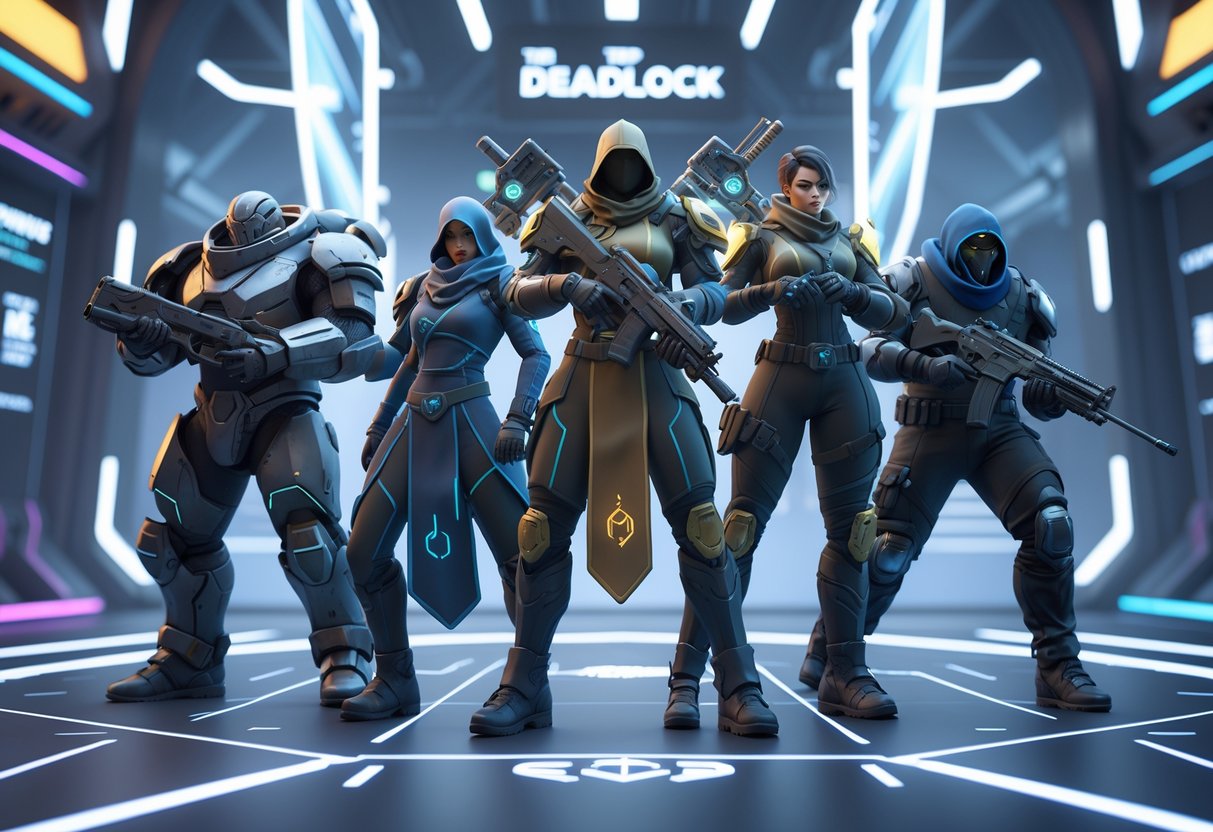
Deadlock Team Compositions Guide: Optimise Your Valorant Line-Ups
Updated On: November 12, 2025 by  Aaron Connolly
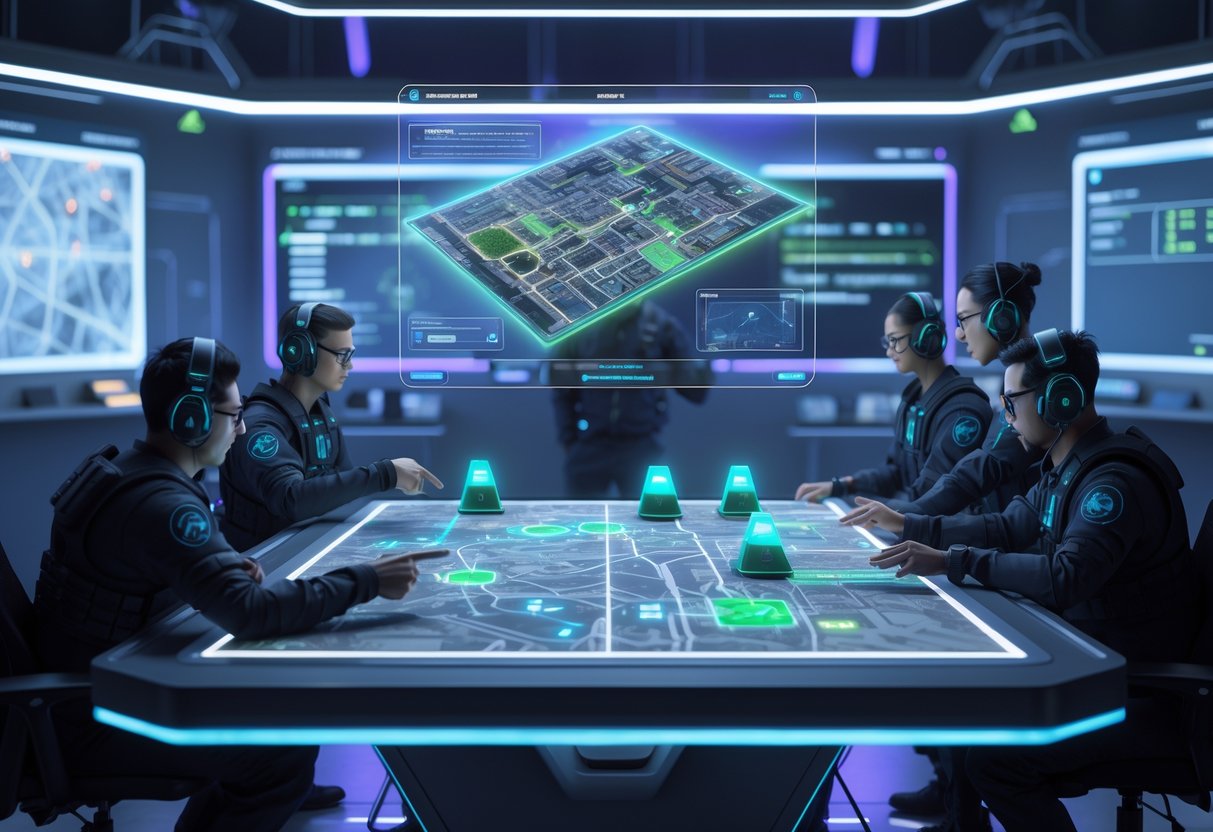
Core Principles of Deadlock Team Compositions
Deadlock stands out as a cornerstone Sentinel in Valorant line-ups, locking down sites with her defensive utility. She slows enemy pushes and creates safe zones, which is huge for teams that want to play slow and methodical.
Role of Deadlock as a Sentinel
Deadlock acts as a defensive anchor, locking down space with area denial. Her Sonic Sensor picks up on enemy movement early, and her Barrier Mesh blocks off those pesky chokepoints.
She doesn’t really gather info like other Sentinels do. Instead, Deadlock delays enemy executes, making attackers waste time clearing her utility before they can even think about taking a site.
We usually put Deadlock on sites with tight entry points. Places like Haven’s A site or Ascent’s B main really benefit from her walls and sensors.
Key defensive responsibilities:
- Drop Sonic Sensors to cover flanks
- Throw Barrier Mesh to lock down choke points
- Hold Annihilation for retake moments
- Work with teammates on rotations
Her ultimate, Annihilation, lets you pick off enemies or reset a defense if things get dicey. Use it at the right moment and you can completely shut down a push or clutch up a retake.
Benefits of Including Deadlock
Deadlock brings some of the best stalling power in the game, buying your team those few extra seconds on defense. Her kit forces the enemy to clear everything methodically instead of just running in.
Teams often get economic advantages when Deadlock slows down pushes. Opponents waste their own utility trying to break her setups, which leaves them open during retakes.
Primary team benefits:
- Slower enemy executes, so more time for rotations
- Enemy movement becomes predictable—sensors reveal their timing
- Retakes get safer, since walls give you cover
- Her ult can pick off key players
Her Gravnet helps control crowds and sets up easy kills for duelists and initiators. If you coordinate, your team can clean up after she slows the enemy.
Deadlock’s learning curve isn’t too steep, honestly. New players can still make a difference just by focusing on basic sensor and wall placements.
Synergy with Other Sentinels
Double Sentinel comps can be really strong on defense-heavy maps. Pairing Deadlock with Cypher lets you cover a ton of angles at once.
If you put Deadlock with Killjoy, you get both stalling and elimination power. Killjoy’s damage utility works so well with Deadlock’s crowd control.
Complementary strengths:
- Cypher gives info, Deadlock locks down space
- Sage brings healing to keep Deadlock alive longer
- Chamber adds aggressive picks, which balances Deadlock’s defensive style
Deadlock and Sage together can be a nightmare for attackers, especially on maps where you need to hold sites for a long time. Sage’s healing keeps Deadlock in the fight longer.
But, honestly, triple Sentinel comps just don’t work. You lose out on initiator utility and can’t attack properly. Stick with two Sentinels max for the best balance.
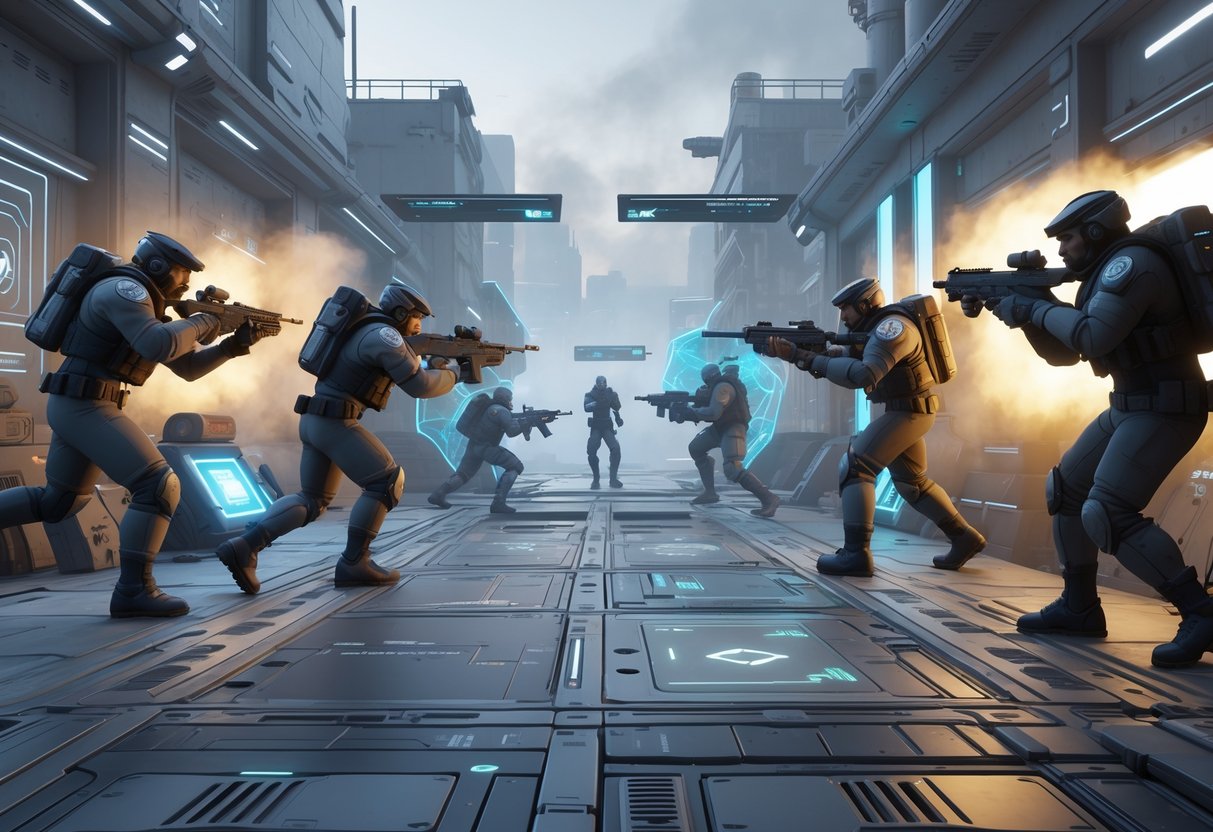
Top Deadlock Team Compositions for Competitive Play
The strongest Deadlock team comps mix up damage types while keeping crowd control and pressure on objectives. These line-ups focus on meta heroes like Seven and skip over weaker picks that really need buffs to compete.
Meta-Defining Line-Ups
Seven-centred comps are everywhere right now. His kit is just so versatile. Building around Seven with heroes that add even more crowd control feels like the way to go.
A typical meta comp looks like this:
- Seven (main damage and control)
- McGinnis (area denial, sustained DPS)
- Ivy (support and utility)
- Bebop (burst, picks)
This squad crushes team fights and holds objectives well. Seven’s ult and McGinnis’s turrets together lock down big areas.
Spirit damage line-ups shine against teams that stack physical damage. Heroes like Dynamo and Kelvin can overwhelm with magical burst.
You still need a balance, though. If you go all-in on one damage type, the enemy can just counter with the right items.
Flexible Agent Pairings
Ivy and Kelvin together create a super-strong support duo for long fights. Ivy’s healing keeps Kelvin in the fight, and Kelvin’s crowd control gives the team breathing room.
McGinnis and Seven are a classic combo. McGinnis brings the steady damage, while Seven jumps in to start fights and control the crowd.
Bebop and Abrams work well for picking off stragglers. Bebop’s hook sets up Abrams to finish off isolated enemies.
You can use these pairings in all sorts of team compositions. Just slot them in based on what your team still needs.
Viscous and Dynamo together control teamfights with area denial and big ultimates. They don’t do so well against fast-moving teams, but against static comps, they’re monsters.
Try not to pair heroes with totally different game plans. Aggressive early-game picks and late-game scalers usually clash.
Team Comp Examples for Different Playstyles
Aggressive Early Game:
- Seven, McGinnis, Bebop, Abrams
- Focus: Lane pressure, early kills
- Strength: Controls the first 15 minutes
Balanced Mid-Game:
- Seven, Ivy, Kelvin, Viscous
- Focus: Teamfighting, objectives
- Strength: Flexible win conditions
Late-Game Scaling:
- Dynamo, Ivy, McGinnis, Infernus
- Focus: Farm up, win teamfights late
- Strength: Insane late-game power
Each style needs different lane assignments. Aggressive comps should put their heavy hitters in key lanes to maximize pressure.
Control-Heavy Composition:
- Seven, Kelvin, Dynamo, McGinnis
- Multiple crowd control tools
- Great at securing objectives
If you’re not sure where to start, go with a balanced comp. It’s the best way to learn and still be competitive in most matchups.
Understanding Deadlock’s Utility Toolkit
Deadlock’s utility kit is all about area denial and movement control. Her three main abilities each fill a role, from getting intel with sonic sensors to blocking rotations with barrier mesh.
Effective Use of Sonic Sensors
Sonic sensors are Deadlock’s main info tool. We usually drop them in chokepoints where enemies are likely to walk.
The sensor goes off if enemies make noise—footsteps, abilities, gunfire. When it triggers, it concusses everyone in the area.
Best spots for sensors:
- Tight corridors near objectives
- Behind cover where enemies like to hide
- Flank routes your team can’t watch
It works even better if you combine sensors with teammate abilities. When it goes off, call for duelists to push in. The concussion slows enemies down, making them easy targets.
Try not to put sensors in super obvious places. Good players will just destroy them. Hide them a little off the main path to catch people rotating.
Maximising Barrier Mesh
Barrier mesh throws up a wall that blocks movement instantly. We use it to cut off rotations or lock down positions.
The wall pops up right where it lands and stops both enemies and teammates, so you have to time it right.
Key ways to use it:
- Trap a single enemy away from their team
- Block doors during a site push
- Create cover in open spaces
- Stop enemies from running after a fight
On attack, throw the mesh to split defenders and force 1v1s. On defense, use it to funnel attackers into kill zones.
The mesh doesn’t last forever, so act fast after you drop it. Don’t just wait around—make your move.
GravNet Strategies
GravNet slows and crouches anyone caught in its blast. It’s great for setting up kills for teammates with area damage.
It pops as soon as it hits a surface, so plan your tosses to cover common hiding spots.
Good combos:
- Raze paint shells for big damage
- Breach aftershock in tight spaces
- Viper snake bite for damage over time
GravNet shines during site retakes. Toss it into the bomb site where defenders are hiding. Once they’re slowed, it’s almost impossible for them to get away.
Always time your GravNet with teammate utility. On its own, it won’t usually get kills, but it guarantees your team’s follow-up lands. Communication is key here.
If you’re up against a group, aim for the middle to catch as many as possible. Don’t worry about single picks—restricting the whole team’s movement is better.
Optimal Deadlock Setups on A Site
On A site, Deadlock setups focus on locking down main entry points and layering your defense. Placing sonic sensors and barrier mesh the right way can force enemies into your team’s crosshairs.
Defensive Placements
We get the most out of Sonic Sensors by covering multiple angles at once. Place the first sensor at the main entrance to spot rushes.
Drop a second sensor to watch secondary routes, like short A or connector. This way, you get audio cues before enemies peek.
Barrier Mesh should block the most common plant spots or key rotations. A well-placed wall forces attackers to break it, giving your team time to rotate and set up.
The idea is to overlap your coverage. Sensors alert your team, mesh slows the enemy down.
Quick tip: Place sensors where enemies usually pre-aim, not just where you think they’ll walk.
Attacking Strategies
When you’re attacking A site, Deadlock’s utility helps your team claim space. Use barrier mesh to block defender rotations after you’ve got site control.
Sonic sensors can cover flanks while you execute. Place them where defenders might rotate from.
Timing matters—drop your mesh after you clear initial angles. If you do it too early, defenders will just break it.
Work with your controller’s smokes. Barrier mesh is way better when enemies can’t see it from a distance.
Heads up: Don’t drop sensors too early on attack—defenders often clear common spots during prep.
Building Around Deadlock’s Strengths and Weaknesses
The best Deadlock comps balance everyone’s strengths and cover defensive gaps. Smart teams pair damage dealers with supports and heroes who can counter popular enemy picks.
Complementary Agent Roles
Building a good team starts with knowing how your heroes work together. Tanks like Abrams soak up damage, and Dynamo keeps everyone healthy with healing.
Damage dealers need protection to do their job. We like to pair Infernus with supportive heroes who can help him keep burning—Dynamo’s healing is perfect for that.
McGinnis creates defensive zones that others can use. Her turrets are best when you combine them with slows from heroes like Viscous. That way, enemies get stuck in the damage.
Support heroes like Ivy shine when they can buff more than one teammate. Her Watcher’s Covenant spreads healing, so she’s most valuable in grouped fights, not when everyone’s split up.
Countering Common Threats
Every team needs a way to handle popular enemy strategies. High-mobility heroes tend to disrupt backline damage dealers, so we usually pick heroes with crowd control, like Bebop’s hook, to shut them down.
When teams rely a lot on healing, we bring in heroes with persistent damage. Stuff like Toxic Bullets and burn effects chip away at max health, making enemy healing less useful.
Area denial? That’s huge against rush strategies. Kelvin’s ice abilities slow down enemy movement, and McGinnis drops defensive structures. Together, they stop aggressive pushes in their tracks.
If you’re up against melee-heavy teams, having range is key. Heroes with long-range abilities and items like Mystic Reach let you poke enemies before they get close enough to swing.
Best Maps for Deadlock Compositions
Deadlock really shines on maps with tight chokepoints and lots of angles to control. Her barrier abilities stand out on Bind, Fracture, and Ascent, where you can lock down those key rotations.
Map-Specific Line-Ups
Bind and Split are perfect for Deadlock’s defensive style. On Bind, we like to pair Deadlock with Raze and Brimstone so both sites stay locked down.
Tight corridors let Deadlock’s barriers block entire pathways, which is just satisfying. On these maps, Sova and Astra make great teammates for her.
Fracture and Breeze work well for more aggressive Deadlock comps. Try teaming her up with Neon, Skye, and Brimstone on Fracture.
Since Fracture has two sites, Deadlock can hold down one while your team rotates. Her utility covers those long sightlines attackers have to cross.
Ascent and Haven give Deadlock teams the most flexibility. Running her with Jett, Sova, and Omen balances attack and defense nicely.
On Haven, with its three sites, put Deadlock on A or C. Let the rest of your team float through B and react to enemy moves.
Post-Plant Positions
Deadlock really locks down planted spikes with her area denial. Her barriers push enemies into predictable defuse attempts.
On defense, place barriers to block off common defuse angles. This works especially well on Ascent A-site and Bind B-site.
Time your utility right after the plant to keep control. Coordinate with your controller’s smokes for a real site lockdown.
Pair Deadlock with Killjoy or Cypher for ultimate post-plant control. One sentinel can watch flanks while the other secures the spike.
This setup is super effective on Icebox and Fracture. With so many angles, you need sentinels working together to cover everything.
Integrating Deadlock with Seven and Other Key Agents
When you build around Deadlock, some agents just click with her and create strong synergies for both attack and defense. Seven’s utility pairs up with Deadlock’s area denial, and other agents can boost her site-holding power.
Synergy with Seven
Seven and Deadlock together make one of Valorant’s toughest defensive duos. Their utility overlaps and creates control zones that make site retakes a nightmare for attackers.
Seven’s storm abilities fit perfectly with Deadlock’s Sonic Sensor. When enemies trip the sensor, Seven can slam them with his Lightning Storm and punish anyone grouped up. This combo feels especially good on tight maps like Bind and Split.
Timing matters a lot here. Seven should set up his abilities just behind Deadlock’s traps. That way, enemies run into multiple threats at once.
Best move? Place Deadlock’s Barrier Mesh to funnel enemies right into Seven’s storm. That way, attackers have to take the path where both agents can hit them hardest.
Some favorite lineups with this duo:
- Deadlock + Seven + Sova + Raze + Astra
- Deadlock + Seven + Breach + Jett + Omen
Combining Utility for Site Holds
Strong site holds need agents who work well with Deadlock’s defense tools. Initiators like Sova and Fade give the info Deadlock needs to set up her utility just right.
Sova’s drone spots enemies before they can trigger Deadlock’s sensors, making trap placement way easier. Fade’s prowler can force enemy rotations straight into Deadlock’s waiting abilities.
Controllers make Deadlock even better. Astra’s stars can block off side routes while Deadlock watches the main angle. Viper’s poison adds more area denial, stacking with Deadlock’s kit.
For entry support, you want duelists who can take advantage of Deadlock’s info:
| Agent | Synergy Benefit |
|---|---|
| Raze | Explosive follow-up to sensor triggers |
| Jett | Quick rotations based on Deadlock intel |
| Neon | Fast repositioning after utility usage |
The best setups stack utility at key chokepoints. Drop Deadlock’s mesh, controller smokes, and initiator utility all together for serious area control.
Barrier Mesh Placement Techniques
Deadlock’s Barrier Mesh works best in spots that cut off enemy movement or give your team safe angles. Timing matters—a lot. Try to throw it so it lands right when enemies push through a doorway or go for the spike plant.
Blocking Common Choke Points
Try tossing Barrier Mesh at narrow doorways just as enemies start to push. The disc needs to hit the ground to activate, so aim for the floor—not the wall.
A Site choke points are especially good:
- Toss the disc at the entrance when you hear footsteps
- Place it just behind the doorway so enemies can’t destroy it easily
- Use it with teammates watching the angles around your barrier
The mesh can create up to five orbs, depending on the space. Wider areas give more coverage, but enemies might walk around them more easily.
Quick tip: Don’t set barriers too early. Smart enemies will just wait them out or go another way.
Retake and Post-Plant Walls
Barrier Mesh really shines during retakes. When the spike is down, throw your disc between the spike and common hiding spots.
This move cuts off escape routes and forces enemies to choose between defusing and repositioning. Your team can then clear one area at a time.
For post-plant:
- Block the path between spike and cover
- Force enemies to peek into your crosshairs
- Give your team a safe way to approach the site
The barrier lasts 30 seconds, which covers most of the defuse timer. Even if some orbs get destroyed, the rest still force enemies to move awkwardly.
Sonic Sensor Tactics for Map Control
Sonic sensors give Deadlock teams great intel and area denial across key map zones. Placing them smartly creates early warning systems and blocks off flanking routes before enemies can get sneaky.
Early Detection Setups
We usually drop sonic sensors in busy spots where enemies rotate or push sites. The best placements cover multiple angles without being easy targets from far away.
Some prime sensor spots:
- Chokepoints—doorways and tight passages where teams funnel through
- Mid-map rotations—central areas that link bomb sites
- Common peek angles—corners defenders love to hold
Put sensors just behind cover or a bit higher up. That way, enemies can’t shoot them straight away, but you still get good detection. The concussive effect triggers when enemies make noise, stunning them for easy team follow-up.
Talk to your team before you place sensors. Let them know which areas you’re watching so they can be ready to rotate when sensors go off. That sets up nasty crossfires against stunned enemies.
Flank Prevention Methods
Deadlock’s sonic sensors are amazing for stopping sneaky flanks that can ruin your round. We focus on back-site spots and side routes that flankers love to use.
Key flank-watch positions:
- Behind bomb sites on attack
- Side passages on defense
- Upper levels that overlook main routes
Stick sensors where flankers have to make noise to get through. Even slow-walking enemies can’t just sneak past—walking triggers detection too. The audio cue lets your whole team know a flank is coming.
One thing to keep in mind: Don’t use all your sensors defensively. Save one for aggressive pushes when you want more map control. That way, you cover flanks but still help your team move forward.
Transitioning Between Attack and Defence with Deadlock
Deadlock’s utility really shines when teams switch her role between attacking and defending. She’s so versatile—her ability to change positions can catch opponents off guard and keep map control.
Adaptive Role-Swapping
Deadlock switches roles fast because her abilities work on both sides. On attack, we set her up to block rotations with Barrier Mesh and gather info with Sonic Sensor.
On defense, she becomes the anchor. GravNet gives teammates space to move, and her Annihilation ultimate forces attackers to take the path you want.
Some key transition moves:
- Early round: Place Sonic Sensors in neutral spots that help no matter what happens
- Hold onto at least one ability for mid-round changes
- Call rotations before the enemy commits to a site
Smart teams use Deadlock as a “flex sentinel.” She holds a site at first, then rotates to help others. This is especially good on maps like Ascent and Fracture, where long sightlines suit her kit.
Barrier Mesh is clutch during transitions. Use it to block flanks when rotating, or give teammates a shield to move behind.
Examples from the Sentinels Team
Teams like Sentinels have shown how to use Deadlock for smooth transitions. They use her as both an info-gatherer and a site anchor.
They often start Deadlock mid-map during pistol rounds. That lets her rotate fast depending on where the enemy goes. The Sonic Sensor gives early warnings.
Sentinels’ transition tactics:
- Split up: Deadlock covers one site but can rotate quickly
- Stack utility: Combine her abilities with others for site retakes
- Pivot late: Move Deadlock to surprise spots for clutch plays
You’ll see them use Barrier Mesh to stall pushes, then rotate for a quick flank. This two-way use makes her impact felt all round.
Their comps usually pair Deadlock with mobile duelists. That opens up fast repositioning while keeping defense solid. It’s especially strong on maps where controlling space is everything.
Improving Communication for Deadlock-Focused Teams

Communication can make or break Deadlock team comps in serious games. Clear callouts for trap placements and sharing your setups with teammates help everyone coordinate and avoid wasting utility.
Callouts for Utility Usage
We need simple, specific callouts when using Deadlock’s abilities so the team can react fast to trapped enemies. Short phrases work best in the heat of the moment.
Some essential Deadlock callouts:
- “GravNet down on site”—lets everyone know enemies are slowed and vulnerable
- “Sonic Sensor triggered”—alerts the team that enemies are concussed in that area
- “Barrier Mesh blocking main”—confirms you’ve cut off rotations
- “Cocoon ready for push”—signals your ultimate is ready for a team fight
Call out your trap spots before rounds start. Say things like “GravNet watching heaven” or “Sonic Sensor on flank route” so teammates know what you’ve got covered.
If your utility catches someone, call their exact spot right away. Instead of “got one,” say “slowed enemy on boxes” or “trapped Jett by default.” That helps duelists and initiators follow up instantly.
Try to time your callouts with your teammates’ abilities. If Sova drones and spots someone, count down your GravNet: “Throwing trap in three, two, one.” That kind of coordination makes Deadlock comps so much more effective.
Sharing Setups with Teammates
Let’s talk through our Deadlock setups during the buy phase so teammates can plan around our traps. Honestly, most players don’t really get how Deadlock’s utility pieces work together.
If you can, draw your planned setup right on the minimap. Point out where you’ll drop Barrier Mesh to funnel enemies into your GravNet. This makes it way easier for controllers to smoke the right angles.
Key Setup Information to Share:
- Which chokepoints you’re covering with traps
- Where teammates should position for trade kills
Let them know which angles you won’t be watching. If you’ve got a fallback plan for when enemies dodge your setup, mention it.
Tell the team when you plan to use your ultimate. Deadlock’s Annihilation works best if teammates can clean up the cocoon or cover your flanks. Just say something like, “Need two people watching my back for ultimate next round.”
Practice common setups in custom games with your team. Run through a couple scenarios where your GravNet catches multiple enemies. That way, duelists will know which entry routes are open. This kind of prep makes Deadlock comps feel smoother in real matches.
If your main setup falls apart, share your backup plan. Tell them, “If they smoke off my traps, I’ll rotate to help stack the other site.”
Frequently Asked Questions

Building solid Deadlock teams means balancing hero roles, managing resources, and adapting to enemy comps. Teams that focus on core fundamentals like good role distribution and smart itemisation usually outperform those chasing wild, complicated strats.
What are the best strategies for building a balanced Deadlock team?
Start with one player for each core role. This gives your team options for different situations.
You need at least one initiator for crowd control. Dynamo or Kelvin both set up team fights really well.
Pick one support to keep everyone alive. Ivy’s healing and utility fit almost any team comp.
Add damage dealers who can finish fights. Mix short-range fighters with long-range heroes so you can handle anything.
Make sure your team has someone for map control. Heroes with area denial can help you secure objectives and hold key spots.
Can you suggest effective team compositions for high-level competitive play?
A lot of top teams use Dynamo, Ivy, Abrams, Infernus, and McGinnis. This lineup brings strong team fighting and objective control.
Another favorite setup runs Viscous, Kelvin, Bebop, Grey Talon, and Vindicta. That team is great for long-range poke and zoning.
Aggressive teams often pick Wraith, Lash, Seven, Pocket, and Mo & Krill. This comp goes for fast fights and quick picks.
Each comp needs different item builds. Coordinate your soul spending early so you don’t clash over the same items.
Practice team fight combos in training mode. At higher levels, you need tight ability timing and good coordination.
How do you adjust your team setup to counter popular Deadlock strategies?
If you’re up against heavy poke, try mobile heroes like Lash or Wraith. They can close gaps and force brawls.
Against tanky teams, pick damage dealers who scale with enemy health. Percentage-based abilities work well here.
Counter crowd control comps with heroes that have escapes. Items that give debuff resistance or extra movement speed really help.
Adjust your item builds for the enemy’s damage type. Build spirit resist for ability-heavy teams, bullet resist for weapon-focused ones.
If enemies dominate certain lanes, switch up your assignments. Sometimes just moving around breaks their momentum.
What roles are essential for a successful Deadlock team, and why?
Every team needs an initiator to start fights. These heroes open up chances for your damage dealers.
Support roles keep everyone alive in long fights. Without healing or shields, your team will struggle.
Damage dealers finish off enemies and pressure objectives. Use a mix of damage types so you don’t get countered easily.
Area control specialists block enemy movement and secure objectives. They make space for your team to work.
Flex players who can swap roles mid-match give you a big edge. Versatile heroes let you adapt if the enemy surprises you.
What are the top picks for each role in a Deadlock team currently?
Dynamo is still the best initiator. His kit sets up fights and brings solid crowd control.
Ivy leads the support category with steady healing and utility. Her abilities stay useful all game and fit almost any comp.
Infernus and Abrams top the damage charts. Both bring reliable damage and a strong presence in team fights.
McGinnis holds down areas with her turrets and skills. She shines at defending objectives and controlling the map.
Viscous stands out as a flex pick. He can switch between support and damage depending on what your team needs.
How can one effectively manage resources when composing a Deadlock team?
Talk with your team about soul spending before the match kicks off. It’s better if players don’t all rush for the most expensive items right away.
Figure out who should farm first by looking at each hero’s power spikes. Some heroes really need those early items, while others can hang back and wait a bit.
Pass souls from objectives and assists around instead of hoarding them. Teams that share resources usually do a lot better than those that just feed one player.
Think about your item builds and how they’ll support your teammates. Picking items that help the whole team can make a huge difference, not just your own stats.
Keep an eye on what the enemy is building. If you spot a threat, it might be smarter to tweak your own build—even if that means delaying your original plan.
