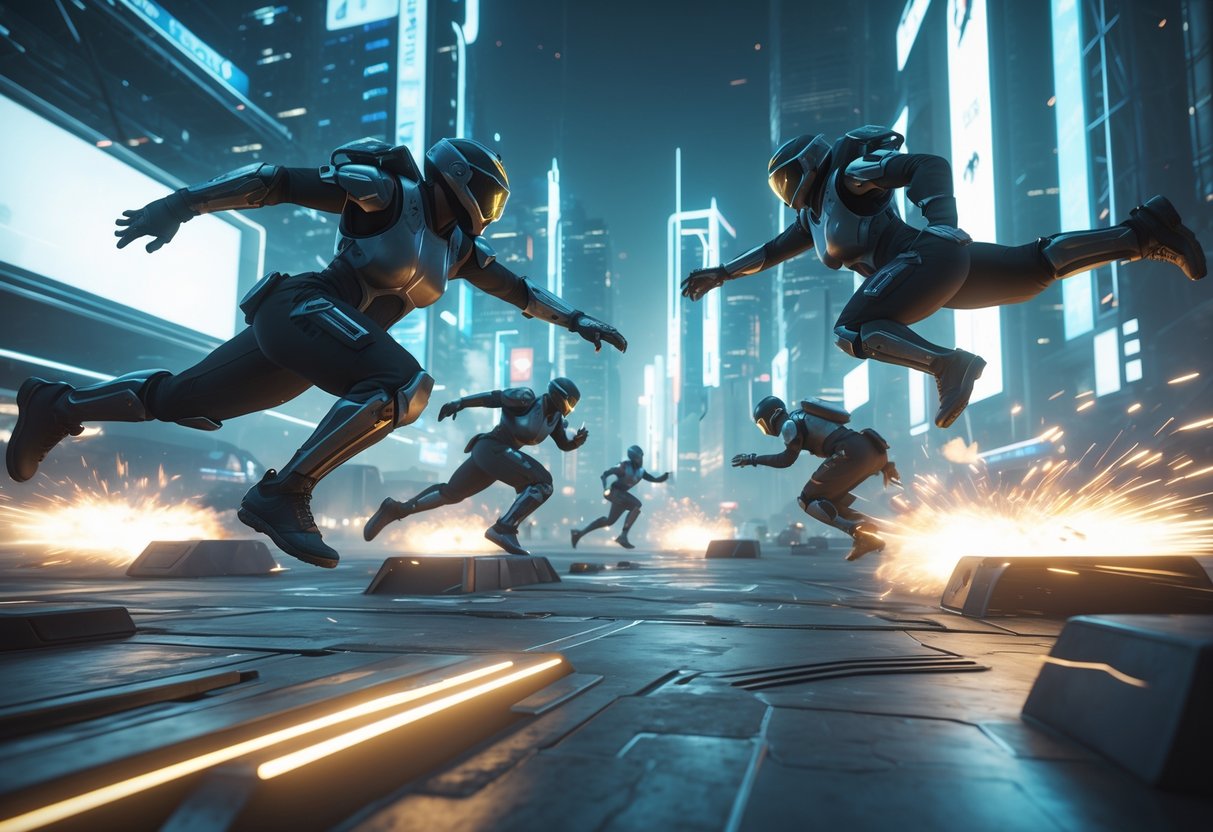
Deathmatch Effectiveness: Maximising Training for Aim and Skills
Updated On: October 26, 2025 by  Aaron Connolly
Core Principles of Deathmatch Effectiveness
Deathmatch really shines when we treat it as focused training, not just mindless fragging. We get the most out of it when we know which skills we’re aiming to build and how those actually carry over to real matches.
Purpose of Deathmatch Practice
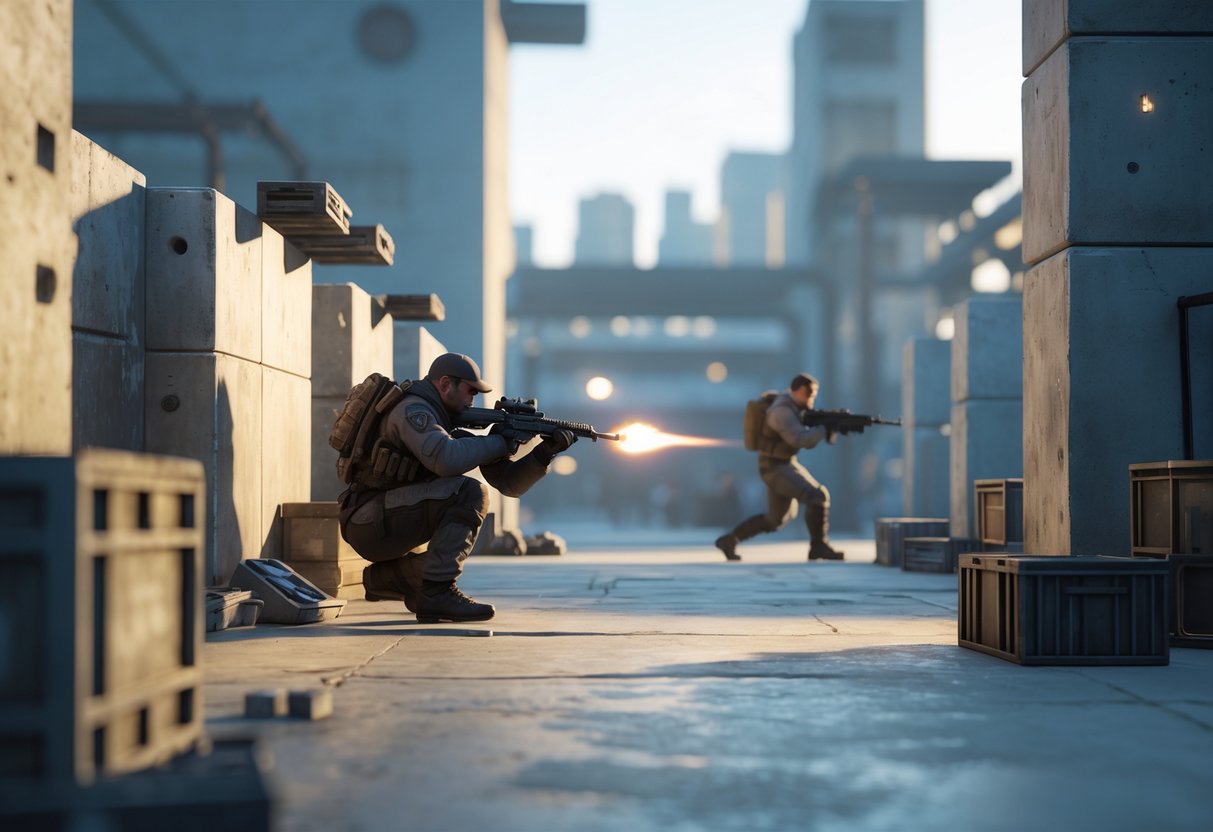
We jump into deathmatch to work on three main things: raw aim, movement under pressure, and reaction time. Each one needs a slightly different mindset if we want to see real progress.
For raw aim training, it’s all about crosshair placement and hitting those snap shots. We should go for headshots every time, even if it means dying more often. Yeah, it can be frustrating, but it builds muscle memory way faster than just spraying for body shots.
Movement practice is about how we position ourselves between fights. We can drill jiggle peeking, counter-strafing, and shoulder peeking against real opponents who are actually trying to shoot us.
Reaction training just sort of happens in deathmatch. Enemies pop out from every angle, so we have to make quick decisions and adapt on the fly.
We should definitely avoid “aimless deathmatch” where we just run around racking up kills. It feels good, sure, but it doesn’t really help us get better in competitive play.
How Deathmatch Translates to Ranked Play
When we practice the right way in deathmatch, those skills start to show up in ranked games. Good habits stick with us and make us stronger players overall.
Crosshair placement from deathmatch means we naturally pre-aim common angles in ranked. We start keeping our crosshair at head height without even thinking about it.
Confidence in duels grows as we win more gunfights in deathmatch. That mental boost helps us take smart, aggressive plays in ranked when the time is right.
But, deathmatch can teach us some bad habits too. The radar and instant respawns just don’t exist in ranked, so we shouldn’t rely on them while practicing.
Quick tip: Spend about 15-20 minutes in deathmatch before jumping into ranked. Pick one skill to focus on each session, instead of trying to do everything at once.
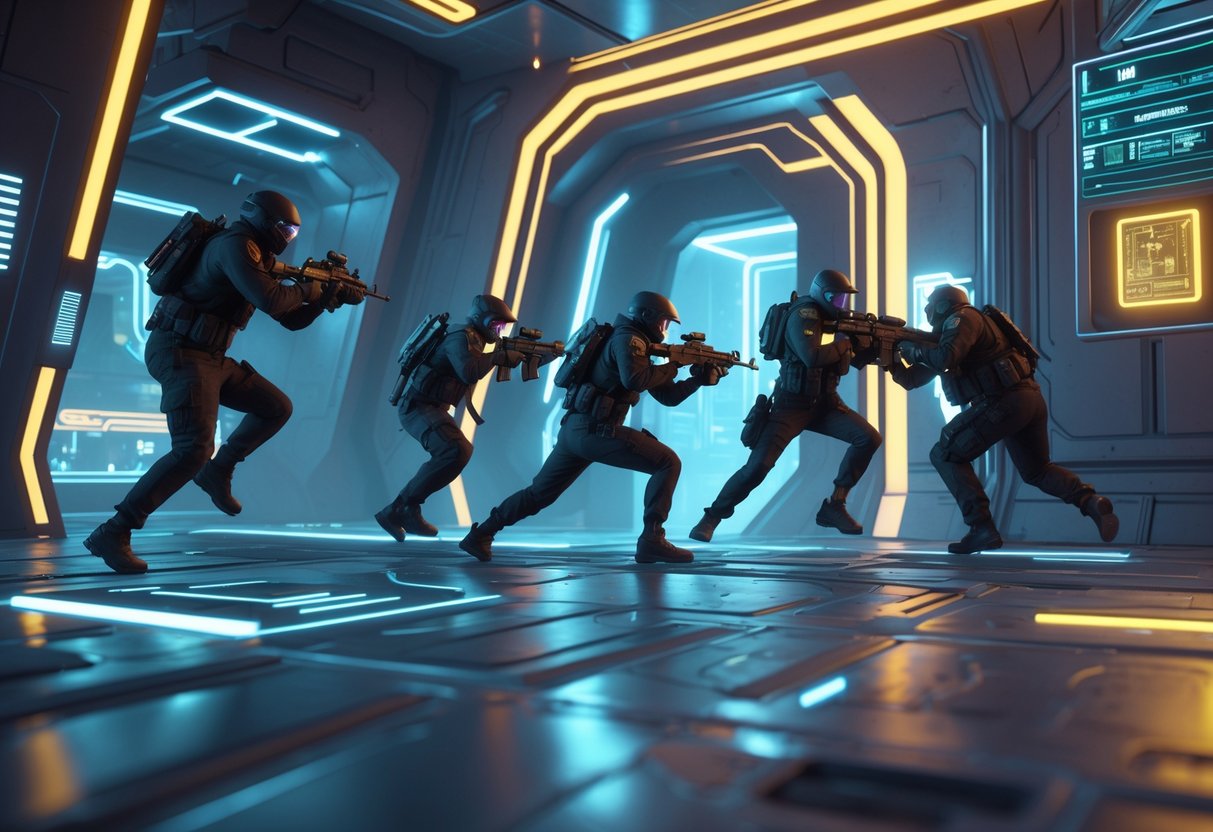
Essential Skills to Focus On in Deathmatch
Success in deathmatch really boils down to three things: building solid crosshair habits, using the right aiming methods, and being honest about what we need to work on. These basics can turn our practice sessions from random fragging into real progress.
Crosshair Placement Habits
Crosshair placement is the bedrock for everything else. We should keep our crosshair at head level as we move, not just when we’re about to peek. This habit seriously cuts down our reaction time.
A lot of players aim too low—at the ground or at walls. In deathmatch, we pay for that mistake instantly. Every corner we turn, our crosshair should be ready for a head-level fight.
Pre-aiming common angles becomes automatic with enough deathmatch reps. We start putting our crosshair where enemies usually appear, even before we see them. It’s a huge edge in duels.
We should care more about consistency than speed. It’s better to keep our placement solid, even if we’re moving quickly. Deathmatch pushes us to keep those habits under pressure.
We also need to practice different elevation levels. Fighting on ramps, boxes, or stairs? Our crosshair placement has to adjust. Deathmatch throws these situations at us constantly.
Aiming Methods and Routines
Different shots need different approaches in deathmatch. Flick shots are all about snapping quickly to targets outside our crosshair. Tracking is following moving enemies smoothly.
Start each session with a clear focus. Maybe today it’s only headshots with rifles. Tomorrow, we might work on pistols or spray control.
Raw aim training works best on aim-focused deathmatch servers. These usually have smaller maps and way more action. We get more shots per minute than on regular servers.
| Aim Type | Best Practice Method | Time Investment |
|---|---|---|
| Flicking | Headshot-only servers | 15-20 minutes |
| Tracking | Moving target practice | 10-15 minutes |
| Spray control | Multi-enemy scenarios | 20-25 minutes |
Sensitivity consistency is more important than finding the “perfect” setting. If we keep changing sensitivity, we end up resetting our muscle memory over and over.
Try practicing with different weapons too. It’s tempting to stick to rifles, but then we struggle with pistols or SMGs when it matters.
Evaluating Personal Weaknesses
Honest self-assessment makes deathmatch way more valuable. We need to spot our weak spots and spend practice time there. Most people avoid what they’re bad at, and that’s why they get stuck.
We can track simple metrics during sessions—like headshot percentage, duel win rate, or how we handle different guns. These numbers show us trends we might not notice otherwise.
Common weak points usually include losing mid-range duels, poor spray control after the first few bullets, or just not being sharp with secondary weapons.
If we record short clips of our gameplay, we can catch mistakes we didn’t notice in the moment. Watching our deaths back points out bad positioning, sloppy crosshair placement, or timing errors.
After each session, we should ask ourselves specific questions. Stuff like, “Why did I lose that duel?” or “What could I have done differently?” If we just mindlessly grind, we waste time.
Focus on one weakness per session. Trying to fix everything at once just scatters our attention. Pick the worst area and give it 20-30 minutes of focused work.
Set realistic timelines for improvement. It usually takes a couple weeks of steady practice for aim changes to stick. Movement and positioning can improve a bit quicker, sometimes just a few days.
Movement Mastery and Its Impact
Good movement in deathmatch often separates the leaderboard toppers from the ones who get picked off over and over. If we master strafing, learn proper jiggle peeks, and move smoothly around the map, we can outplay opponents who only rely on aim.
Strafing and Counterstrafing
Counterstrafing is the secret to shooting accurately while moving. When we strafe right with D, we tap A quickly before firing to stop on a dime. This lets us shoot accurately without waiting for our character to slow down.
The timing here matters more than how long we hold the key. A fast tap of the opposite key stops us way faster than just letting go. We can practice this by moving along a wall and shooting at specific points, making sure we’re still accurate.
Standard strafing during fights makes us harder to hit. If we mix up our left and right movements, we’re not as predictable. Too many players always strafe the same way, and smart opponents catch on.
We should avoid wide strafes in tight spots. Short, sharp movements work better in places like Dust2’s tunnels or Inferno’s apartments.
Jiggle Peeking Techniques
Jiggle peeking lets us show just a sliver of our model to get info safely. We strafe out just a bit from cover, spot for enemies, then get back before they can react.
The trick is to show only our shoulder or arm, not our whole body. Tapping the strafe key quickly gives us more control over how much we peek out.
We can use jiggle peeks to bait out AWP shots in deathmatch. AWPers usually fire at the first sign of movement, so if we dodge their shot, we’ve got an easy follow-up.
Mix up our timing when peeking. Sometimes peek right away after coming back to cover, sometimes wait a second or two. This keeps enemies guessing and makes it tough for them to pre-aim.
Building Fluid Map Movement
Route planning is what sets better players apart in deathmatch. We should know a few different paths between key spots, not just run the same routes every time. This makes it harder for enemies to read us.
Learn how to move quietly for sneaky flanks. Walking with Shift lets us get close to distracted enemies. A lot of deathmatch kills come from catching people off guard.
Jump spotting helps us gather info on enemy positions on different levels. Quick jumps around corners or over boxes can show us who’s there without risking a full peek.
While moving, we should keep our crosshair at head height and pre-aim angles as we rotate. Being ready for the next fight, even when we’re just moving, gives us a big edge.
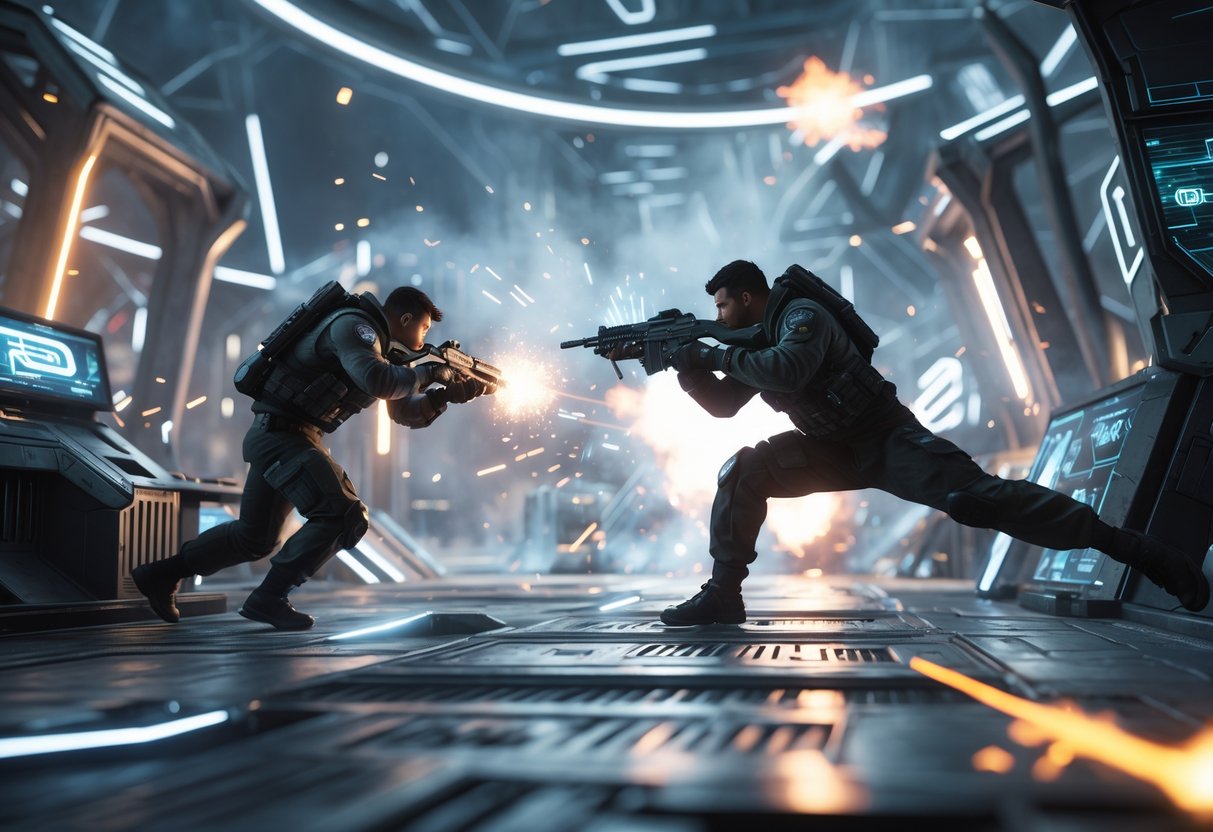
Spraying, Tapping, and Firing Methods
Mastering different firing techniques in CS2 deathmatch means knowing when to spray full-auto, tap single shots, or use bursts. Each style fits a certain distance or situation. Spray control is king up close, while tapping rules at long range.
Effective Spraying Control
Spraying is just holding down the trigger for a stream of bullets. It’s most effective at close or medium range, where we can land a bunch of shots fast.
The trick to spraying is learning recoil patterns. Every gun has its own spray, and we counter it by pulling our mouse the opposite way.
Popular weapons and their spray quirks:
- AK-47: Pulls up, then drifts right after 7-8 shots
- M4A4: More vertical, less side-to-side
- M4A1-S: Tighter pattern, but slower rate
We should practice spray patterns on aim training maps. Start by spraying at a wall to see the pattern, then work on controlling it.
In deathmatch, use spraying when enemies are within about 15 meters. Past that, the spread gets wild and kills get harder.
Quick tip: Set your crosshair to show recoil and practice the first 10-15 bullets of each spray every day.
One-Tapping and Burst Firing
Tapping is all about single shots with a short pause between each. It’s the way to go for long-range fights.
One-tapping is super effective with rifles like the AK-47, since a single headshot does the job. We just need sharp crosshair placement and good timing.
Burst firing sits between tapping and spraying. We fire 2-4 bullets quickly, then pause to reset accuracy.
When to use each:
- Tapping: Long-range (20+ meters)
- Burst firing: Medium range (10-20 meters)
- Spraying: Close range (under 10 meters)
The pause between taps is important. For the AK-47, waiting about 0.3 seconds between shots keeps us accurate.
Bursting works when we’re not totally sure about the first shot. Those extra bullets can save us if our aim’s a bit off.
Spray Transitioning Between Targets
Spraying at multiple enemies isn’t as simple as just dragging our crosshair over. We have to adjust our recoil control too.
Method 1: Reset and re-spray Stop firing, move to the new target, then start spraying again. It’s slower but keeps us accurate.
Method 2: Continuous spray transfer Keep holding down fire and snap to the next enemy. We need to know where we are in the spray pattern and adjust.
For good spray transfers, we flick quickly to the second target and keep pulling down for recoil. The movement needs to be sharp and confident.
How to practice in deathmatch:
- Find two close enemies
- Start spraying the first
- After a few bullets, snap to the second
- Keep controlling the recoil for both
A lot of players mess this up by moving too slow or forgetting the recoil during the switch. Start with easy targets, then try longer transfers as you get better.
Using Cover and Positioning for Maximum Learning
We build effective deathmatch training on cover placement and angle awareness. These skills carry straight into competitive matches, where positioning mistakes can cost rounds.
Playing With and Against Cover
Getting comfortable with cover speeds up your tactical growth in deathmatch. Start by putting yourself behind solid objects that block enemy sight, but don’t forget to keep your shooting angles open.
Effective cover techniques include:
- Using walls and boxes to break enemy line of sight
- Positioning at cover edges for quick peeks
You’ll want to practice moving between cover points in the middle of fights. This helps you figure out escape routes when things go sideways.
Players often linger in the same cover spot for too long. Once enemies see you there, they’ll pre-aim and catch you off guard.
Warning: Skip thin cover like wooden boxes in CS2 or flimsy barriers in Valorant. Bullets go right through, and they won’t save you.
Try stepping out from different cover angles on purpose. You’ll quickly notice which positions actually protect you and which leave you exposed.
Learning Angle Isolation
Angle isolation helps you fight one enemy at a time instead of getting swarmed. Deathmatch is perfect for working on this skill.
Key angle isolation methods:
- Wide peeking: Move far from walls to spot enemies sooner
- Shoulder peeking: Make quick movements to gather info safely
Use off-angle positioning—stand in spots most enemies don’t expect.
Put yourself where you see just one common pathway, and make sure you’re covered from other directions. That way, enemies have to take you on solo instead of trading instantly.
Hold different angles on each map section. Some work better with rifles, others are made for close-range weapons.
Quick win: Stick to corners and chokepoints where enemies have to push from one direction.
People love to rush into open spaces where everyone can shoot them. Use deathmatch to spot these danger zones and practice avoiding them by picking better angles.
Sensitivity Settings and Adjustment Strategies
Your mouse sensitivity shapes how fast you improve in deathmatch. Finding that sweet spot between precision and speed means you’ll either build solid muscle memory or end up with shaky aim.
Choosing the Right Sensitivity
Most top players use an eDPI (effective DPI) between 800 and 1200. You get this number by multiplying your mouse DPI by your in-game sensitivity.
Low sensitivity (400-800 eDPI) works best for:
- Players with big mousepads
- Arm aimers
- Folks who want precision over fast turns
Higher sensitivity (1200-1600 eDPI) suits:
- Small desk setups
- Wrist aimers
- Anyone needing fast 180s
Try starting with 400 DPI and 2.0 in-game sensitivity. That gives you 800 eDPI, which is pretty safe for most people.
Test your sensitivity with the mousepad sweep. Put your mouse on one edge, swipe it across, and your character should turn about 180 to 270 degrees.
Key settings to check:
- Turn off mouse acceleration in Windows
- Enable raw input in CS2
- Stick to a steady polling rate (1000Hz)
Adapting Sensitivity Over Time
Don’t change your sensitivity all the time. Your brain needs at least a week to lock in muscle memory for any new setting.
If you need to tweak things, make tiny changes—go up or down by 0.1 in-game or 50 DPI in your software.
Watch out for these signs that you need to adjust:
- You keep overshooting targets
- You run out of mousepad space in fights
- You can’t track moving enemies
James Connolly, a gaming expert, says most players switch sensitivity too often: “Stick with one setting for at least 100 deathmatch rounds before making any changes.”
Check your performance across several deathmatch sessions. If your headshot percentage drops and stays low, maybe your sensitivity is the problem.
Quick adjustment test: Spend 10 minutes in aim training, then play three deathmatch rounds. If your aim feels good and you’re landing shots, stick with your current setting.
Forming Productive Deathmatch Habits

Building solid deathmatch habits takes discipline. You have to focus on improving, not just chasing wins.
Avoiding Aimless Deathmatching
A lot of players jump into deathmatch with no plan. That just wastes time and leads to sloppy habits.
Set specific objectives before you start:
- Work on one-taps with the Vandal
- Practice counter-strafing
- Pre-aim common angles
Keep track of your progress with simple numbers. Maybe count headshot percentage or how many clean duels you win without crouching.
Mistakes that waste practice time:
- Playing for kills instead of good technique
- Using only one gun every session
- Dodging tough angles or crowded spots
Try 15-20 minute focused sessions instead of grinding for hours. Short, intense practice sticks better in your brain.
Change up your focus every few games. If you’ve been practicing Sheriff one-taps, switch to Phantom bursts. That keeps your aim flexible.
Quick win: Write down a single goal before you queue. “Today I’ll practice shoulder peeking.” It really helps.
Managing Tilt and Frustration
Deathmatch spawns can feel brutal. Players pop up behind you, and sometimes it seems like everyone’s a god.
Remind yourself that deaths don’t matter here. Your K/D means nothing if you’re actually building the right habits. Even pros finish last when they’re working on new skills.
Signs you’re tilted:
- You crouch-spray when you meant to tap
- You avoid fights you should take
- You keep checking the scoreboard
Take breaks between matches. Step away for a couple of minutes to clear your head. Frustration just brings back old bad habits.
Set realistic expectations. You won’t get better at deathmatch in a day or two. Sometimes you’ll feel worse before you improve.
Warning: If you’re raging at spawns or “sweaty” players, you’re missing the point. Deathmatch is about your own progress, not beating others.
Focus on your process, not results. Did you counter-strafe right? Did you pre-aim the angle? Those little wins matter more than your final score.
Best Practices for Deathmatch in VALORANT
Most players run into the same mistakes over and over in VALORANT deathmatch. Knowing how this mode is different from other FPS training tools helps you focus on the right things.
Typical Common Mistakes
We spot the same bad habits in deathmatch that actually hurt you in real matches.
Crouch spraying is a big trap. Players crouch as soon as they see an enemy, thinking it helps their aim. It just builds lousy muscle memory for ranked games, where good positioning matters way more than random sprays.
Playing for kills instead of improvement totally misses the point. Hiding in weird corners might boost your score, but you won’t develop real match skills.
Being too cautious stops you from taking the fights you need to practice. Push into crowded spots like Ascent’s fountain or Haven’s mid and force yourself to handle multiple angles.
Here’s what to avoid:
- Instantly crouching when you see an enemy
- Spraying without controlling recoil
- Camping odd spots
- Playing scared of dying
Work on counterstrafe movement instead. When moving with A, let go and tap D to stop fast and stay a tough target. This builds solid crosshair placement.
Practice burst firing and tapping instead of full sprays. The Phantom likes controlled bursts, while the Vandal rewards crisp one-taps.
VALORANT Deathmatch Versus Other FPS Modes
VALORANT’s deathmatch builds different skills than other tactical shooters. Understanding that difference changes how you should use it.
Real matches prioritise utility and positioning over pure aim duels. In actual games, you hold angles with smokes, flashes, and abilities to back you up. Deathmatch strips all that away.
The spawning system creates weird situations. Players appear behind you all the time, which never happens in real matches where teams control the map.
Treat deathmatch as pure mechanical training. Use it to work on:
- Crosshair placement at head level
- Counterstrafe timing
- Recoil control for different guns
Alternative weapons shine here. The Sheriff and Guardian make you aim precisely, punishing sloppy crosshair placement. That skill comes in handy for eco rounds in ranked.
Some folks find aim trainers like Kovaak’s even better for raw mechanics. VALORANT deathmatch works best when you combine it with range practice and real games.
Here’s the important bit: deathmatch is for warming up mechanics, not learning team play or game sense.
Applying Deathmatch Lessons to Competitive Matches

Deathmatch skills don’t always carry over directly to ranked games. Knowing what does—and what doesn’t—helps you get the most out of your practice.
Transfer of Skills to Ranked Play
Crosshair placement gets way better after deathmatch practice. Facing enemies from all directions teaches you to keep your crosshair at head level by default.
This habit pays off in ranked. Good crosshair placement means less flicking when someone peeks.
Reaction time also gets a boost. Deathmatch throws you into non-stop fights, so you’re always making split-second moves.
Key skills that transfer:
- First bullet accuracy from tapping and bursting
- Recoil control for all your guns
- Movement habits like counterstrafing
- Multi-angle awareness when you’re outnumbered
Warning: Don’t expect the same kill numbers in ranked. Deathmatch opponents rarely use utility or play smart.
Focus on mechanical improvements instead of chasing scoreboard glory. Better aim and movement always help in real matches.
Quick win: Practice with the guns you use most in ranked. If you’re a Vandal and Sheriff player, stick to those in deathmatch.
Recognising Limitations of Deathmatch Practice
Deathmatch just can’t replicate the tactics that shape real Valorant games. Actual matches demand utility use, teamwork, and smart positioning.
Game sense won’t improve from deathmatch alone. You won’t learn rotations, site takes, or how to manage your team’s economy just by aiming.
Some key limitations:
- No utility practice—smokes, flashes, and abilities totally change fights
- Unrealistic positioning—enemies spawn at random, not on purpose
- No team coordination—there’s zero communication or trading
- Different pressure—ranked matches have real consequences
Movement patterns in deathmatch look nothing like ranked. Players run around looking for fights instead of holding smart angles.
You might pick up overly aggressive habits that fall apart in real games. Ranked matches reward patience and good positioning, not just raw aim.
Map control isn’t something you can practice in deathmatch. Rotations, stacking sites, and playing for picks only happen with teams.
The spawn system creates fake scenarios that never happen in matches. You’ll get shot from angles or timings that just don’t exist in real play.
Advanced Topics: Challenging Yourself in Deathmatch
Once you’ve nailed the basics, it’s time to push your limits in deathmatch. Try putting yourself in stressful situations and adapting to unpredictable gameplay—you might surprise yourself.
Testing Under Pressure
Playing with low health throws you into the most realistic pressure situations you’ll ever face in ranked matches. Skip health packs after kills and force yourself to play with just 25-50 HP.
Every movement decision suddenly matters a lot more. You can’t just peek wide angles or take risky duels—one stray bullet and you’re out.
Challenge crowded map areas like Haven’s mid or Split’s A site. You’ll have to handle multiple enemies at once and make snap decisions.
Practice with weapons you struggle with during these pressure moments. If your Phantom aim falls apart when you’re stressed, that’s exactly the time to use it.
Track your performance during low-health rounds versus full-health ones. Most players find their crosshair placement gets way better when the stakes feel higher.
Set specific goals like “get 5 kills whilst staying under 50 HP.” That kind of target creates real pressure, just like clutch situations in actual competitive matches.
Adapting to Unpredictable Scenarios
Deathmatch spawns are chaotic on purpose, which makes them perfect for sharpening your reaction time to weird angles. Don’t bother memorizing spawn patterns—just roll with the randomness.
Practice quick movement adjustments when enemies pop up from places you didn’t expect. That happens all the time in ranked, but most people never really practice for it.
Limit your favourite positions by avoiding the same angles over and over. Push yourself to play uncomfortable spots on each map.
Try the “no radar” challenge—cover your minimap. You’ll have to rely on sound cues and what you actually see.
Change your playstyle mid-match—start out defensive for a couple minutes, then flip the switch and go aggressive. That kind of flexibility helps you deal with all kinds of team setups in competitive games.
Practice counter-strafing from weird spots like boxes or ramps. Most people only bother with this on flat ground, which isn’t really how ranked matches play out.
Choosing Weapons and Adapting Playstyle
You’ll find success in deathmatch when you know when to switch weapons and aren’t afraid to try different approaches. We have to match our weapon picks to the map and adjust our tactics based on what’s actually working against certain opponents.
Switching Between Weapon Types
Different maps and situations really do call for different weapons. We need to learn how to swap between weapon types depending on the combat ranges we keep running into.
Close-quarters maps are best with SMGs and shotguns. These guns shine in tight corridors and rooms where enemies just pop out of nowhere. High damage up close usually means you’ll get those one-shot kills.
Open maps let assault rifles and snipers take over. You can fight from safer distances and lock down important sightlines. Assault rifles give you flexibility for both medium and close fights.
Mixed maps demand weapon combos that cover a couple of ranges. A lot of players will pair an assault rifle with an SMG, or maybe carry a marksman rifle with a pistol backup.
| Weapon Type | Best Range | Map Type | Key Advantage |
|---|---|---|---|
| SMGs | 0-15m | Close-quarters | Fast time-to-kill |
| Assault Rifles | 15-50m | Mixed layouts | Versatility |
| Sniper Rifles | 50m+ | Open areas | One-shot potential |
| Shotguns | 0-10m | Tight spaces | Instant elimination |
Quick win: Switch weapons between deaths, based on where you got eliminated. If someone took you out up close, grab an SMG next time.
Experimenting With Different Approaches
Try out different playstyles during matches to find out what actually works against each lobby. Some styles are better against aggressive players, while others totally shut down defensive teams.
Aggressive rushing can work when enemies play super defensively. Push up fast, use SMGs, and just spray at close range. This flushes campers out and creates chaos that rewards quick reactions.
Defensive positioning shuts down rushers. Hold key areas with assault rifles or LMGs, and use those longer-range weapons to stop pushes before they get close.
Flanking tactics punish players who stick to the same routes. Learn the map’s side paths and hit from weird angles. It takes patience, but you’ll get some easy eliminations.
Warning: Don’t keep doing the same thing if it’s not working. If one player keeps taking you out, switch up your strategy right away.
Hybrid approaches mix things up. You might start defensive to learn where people are, then go aggressive and flank once you’ve figured out their habits.
Improving Over Time: Assessing Deathmatch Progress

If you want to measure your improvement in deathmatch, you need to track specific metrics—not just kills. Reviewing your gameplay footage regularly helps you spot patterns and areas that need work.
Tracking Improvement Metrics
We have to look past simple kill counts if we want to see real progress. Your headshot percentage actually says a lot more about your aim than just total frags.
Track these key stats every week:
- Headshot rate (shoot for at least 25-30%)
- First bullet accuracy in duels
- Counter-strafe timing success
- Crosshair placement consistency
Most people get excited about high kill games and ignore bad habits. If you get 20 kills but only 15% headshots, you’re probably spraying too much and building poor muscle memory.
Use Valorant’s built-in stats or third-party trackers like Tracker.gg. Jot down your weekly averages in a simple spreadsheet.
Quick win: Set a headshot percentage goal for each session instead of chasing a certain kill count. That’ll push you to aim more carefully.
Utilising Replays and VOD Reviews
When you record your deathmatch sessions, you’ll spot mistakes you never notice during the heat of the moment. Most improvement comes from breaking down what went wrong—not just what went right.
Focus on these areas when reviewing:
Positioning Mistakes
- Did you take unnecessary wide peeks?
- Did someone catch you off-guard at common angles?
- Was your positioning bad for counter-strafing?
Aim Discipline
- Are you crouching too early in fights?
- Do you spray when you should tap or burst?
- Is your crosshair placement actually consistent?
Review just 2-3 deaths per session, not the whole match. Look for patterns that show up across different games.
Warning: Don’t review right after playing—emotions run high and you won’t be objective. Give it at least an hour before you analyze your games.
Frequently Asked Questions
Mastering deathmatch means picking up on tactics like crosshair placement and movement habits, plus choosing characters that actually fit your playstyle. Good routines and solid map knowledge are the real foundation for getting better.
What strategies can improve performance in competitive deathmatch scenarios?
Focus on crosshair placement above all else. Keep it at head level and pre-aim the angles where enemies usually show up.
Practice counter-strafing so you can stop moving instantly before shooting. That’ll help your accuracy a ton.
Listen for sound cues to track where enemies are. Footsteps and reloads can tell you a lot before you even see anyone.
Control your aggression based on how you’re playing that day. Push when you’re confident, but slow down if you’re losing a bunch of duels.
How does character selection impact success in deathmatch games?
Pick characters that go with your natural aiming style. If you’re precise, you’ll do better with high-damage, low-fire-rate weapons.
Mobility-focused characters suit players who like aggressive positioning. They let you escape bad situations quickly.
Quick win: Start with simple characters who have straightforward abilities. Complicated kits can get in the way of building up your shooting skills.
Avoid agents who rely too much on team abilities. Most deathmatch matches reward self-sufficient characters with strong solo tools.
Which skills are crucial to mastering in order to succeed in deathmatches?
Aim training is the bedrock of deathmatch success. Spend 15-20 minutes a day on aim trainers before jumping into matches.
Movement mechanics set apart good players from great ones. Learn to jiggle peek, counter-strafe, and slide cancel well.
You’ll improve your reaction time just by practicing consistently. Regular deathmatch sessions naturally make your responses faster.
Game sense grows as you spot common patterns. Knowing spawn timings and rotation paths gives you a real edge.
Can you suggest effective practice routines for honing deathmatch abilities?
Start each session with 10 minutes of aim training—Aim Lab or Kovaak’s work great. Focus on flicks and tracking.
Play 2-3 deathmatch games as a warm-up before your competitive matches. It sharpens your reflexes without burning you out.
Practice schedule: Set aside 30 minutes three times a week just for deathmatch improvement. Regular short sessions beat marathon grinds.
After each match, review your deaths. Figure out whether positioning, aim, or decision-making tripped you up.
What role does communication play in team-based deathmatch formats?
Callouts matter—they give teammates info about enemy locations and health. Keep your descriptions short and clear.
Coordinate pushes so you don’t just trade kills. Try to time your attacks and create number advantages.
Share info about utility usage so everyone knows what’s available. That changes team positioning.
Warning: Too much talking can be distracting. Find a balance between sharing info and staying focused on your own gameplay.
How do map knowledge and positioning influence outcomes in deathmatch challenges?
Get familiar with the most common angles and holding spots in every section of the map. If you pre-aim these locations, you’ll usually win more duels.
When you understand spawn patterns, you can start to predict where enemies will show up. Most of the time, players spawn far from the last spot where action happened.
Try to grab high-ground positions whenever you can. Being up high makes it easier to hit your targets and, honestly, it’s just harder for them to spot you.
Don’t pick fights in wide open spaces if you can help it. Stick close to walls or objects so you’ve got a way out if things go sideways.
