Webcam Quality Needs: How to Achieve Crystal Clear Video
Updated On: November 13, 2025 by  Aaron Connolly
Understanding Webcam Quality Essentials
Webcam quality really comes down to resolution, frame rate, and lighting. These work together to deliver clear video.
People need different levels of quality depending on whether they’re just chatting or streaming for an audience.
Key Factors Affecting Image Clarity
Resolution stands out as the biggest factor in webcam quality. It tells you how many pixels your webcam captures every frame.
720p (1280×720 pixels) covers basic video calls. For most folks, this is fine for quick chats or work check-ins.
1080p (1920×1080 pixels) looks much sharper. Most remote workers prefer this for meetings and calls.
4K (3840×2160 pixels) offers the clearest picture. Streamers and creators usually go for this when they want to look top-notch.
Frame rate shapes how smooth your video feels. 30fps is enough for normal conversation. 60fps really shines if you’re gaming or moving around a lot.
A good sensor makes a big difference. High-quality sensors pull in more light, so your video looks clearer in a dim room.
Autofocus is handy too. It keeps your face sharp even if you lean in or move back.
Common Webcam Use Cases
Basic video calls only need 720p at 30fps. That covers family catch-ups, work chats, and casual meetings. Video quality at this level is usually enough to see faces clearly.
Professional remote work gets a boost from 1080p at 30fps. Calls look sharper and more polished, which is great for important meetings.
Content creation and streaming really benefits from 1080p or 4K at 60fps. If you’re on Twitch or YouTube, you want your video to look smooth and pro.
Online education and training also needs clear video, so 1080p is a solid choice. Students can see your face, read text, and follow demonstrations easily.
| Use Case | Recommended Resolution | Frame Rate |
|---|---|---|
| Basic calls | 720p | 30fps |
| Work meetings | 1080p | 30fps |
| Streaming | 1080p or 4K | 60fps |
| Education | 1080p | 30fps |
Importance of Video Quality in Communication
Clear video helps people actually understand you. When your image looks sharp and moves smoothly, folks can read your expressions and body language.
Bad video quality distracts everyone. If your video is blurry or laggy, people start thinking about tech issues instead of what you’re saying.
Remote workers really need reliable video. Clear video helps you build trust with coworkers and clients who only see you on screen.
Lighting matters just as much as resolution. Even the fanciest webcam looks awful in a dark room. Try facing a window or use a lamp on your desk—it makes a huge difference.
Audio is important, sure, but good video can save the day if your mic cuts out. People can still follow along by watching your lips and gestures.
Choosing the Right Webcam for Your Needs
Your best webcam really depends on what you want to do—stream esports, hop on Discord with friends, or make gaming content. Budget webcams work for casual stuff, while 4K models are for pros who need the best.
Identifying Your Primary Use Case
Casual gaming and voice calls only need a basic 1080p webcam. These usually cost £30-60 and are fine for Discord or team chats.
Streaming esports matches calls for something better. You’ll want a webcam that can keep up with 60fps and work well in low light for those late-night games.
Content creators need the highest quality. If you’re making YouTube videos or streaming professionally, you want sharp, crisp images—especially since platforms compress your video.
Don’t forget about your internet speed. If your upload can’t handle 4K, you won’t get the full benefit of an expensive webcam.
Most gamers start cheap and upgrade later. This way, you figure out what actually matters for your setup.
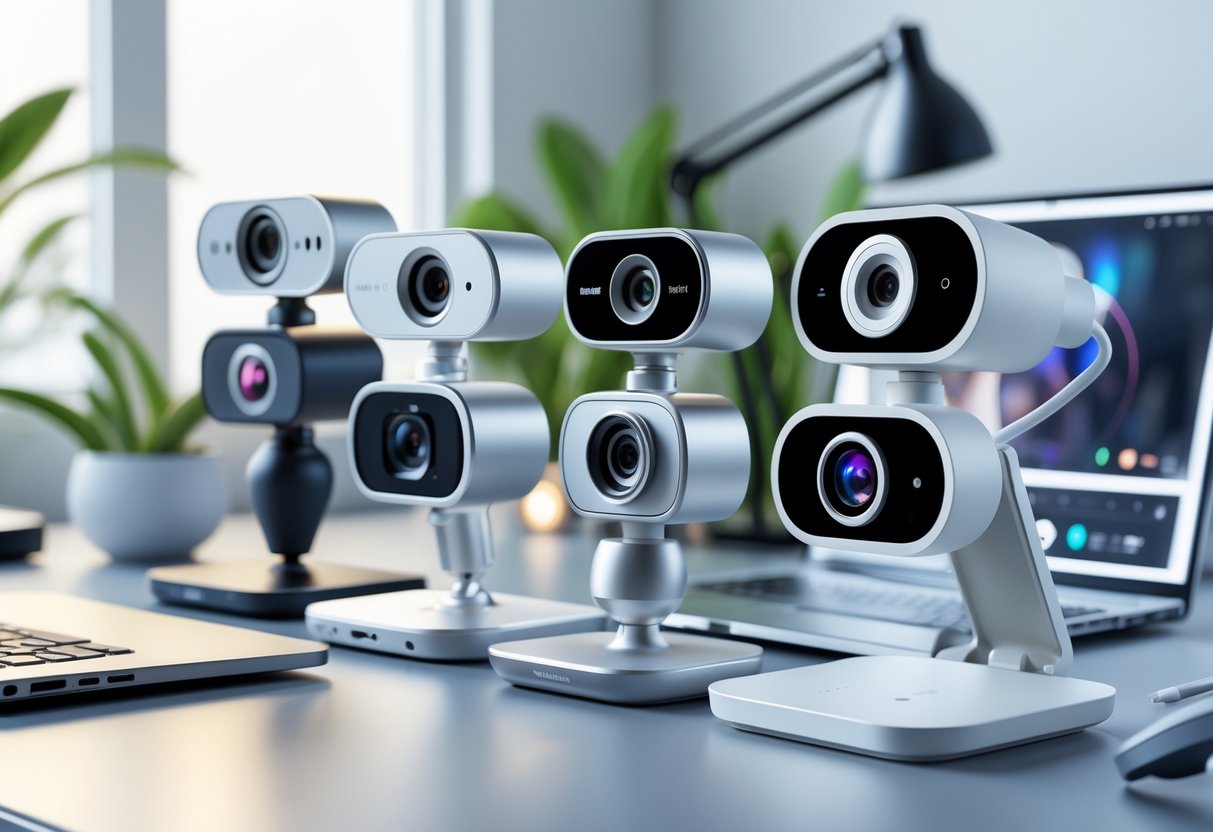
Types of Webcams Available
Budget webcams (£20-60) give you 1080p at 30fps. Popular picks like the Logitech C270 or generic USB models just work out of the box.
Mid-range (£60-120) brings better sensors and 60fps. The Logitech C920 is a classic for a reason—it’s reliable and still a favorite.
Premium webcams (£120-300) add 4K, better mics, and fancy autofocus. If you’re serious about content, these are worth a look.
Laptop cameras rarely cut it for streaming. They tend to look grainy and don’t handle low light well, which is a pain in most gaming setups.
External webcams let you pick the perfect angle. You can stick them on your monitor or use a tripod for better framing.
Comparing 1080p and 4K Webcams
1080p webcams are plenty for most gamers. Twitch usually streams at 1080p anyway, so anything higher is often wasted.
| Feature | 1080p Webcam | 4K Webcam |
|---|---|---|
| Price | £30-120 | £120-300 |
| File sizes | Smaller | Much larger |
| Processing power | Low | High |
| Streaming quality | Excellent | Overkill |
4K webcams shine for YouTube creators. You can crop and zoom without losing sharpness, which is nice when editing.
4K needs a beefy PC. Older rigs might choke on 4K video while gaming at the same time.
If you record a lot, 4K will eat up your storage fast. You’ll probably want an extra hard drive.
Most streaming sites compress your video anyway. A solid 1080p webcam often looks better than a bad 4K one after compression.
Resolution and Frame Rate Explained
Resolution decides how sharp your webcam image looks. Frame rate controls how smooth everything moves.
You want a good balance of these, plus enough internet bandwidth, to get the best streaming or call experience.
Resolution Options: 720p, 1080p, and 4K
720p webcams shoot at 1280×720 pixels and are fine for basic calls. If you’re just starting out or have slow internet, this is a safe bet.
Most streamers find 720p enough for face-to-face chats. But if you want to show text or small details, it can look a bit blurry on big screens.
1080p webcams (1920×1080 pixels) hit the sweet spot for most people. This full HD resolution looks sharp and doesn’t crush your internet.
Twitch and YouTube streams look great at 1080p. Most viewers won’t spot much difference between 1080p and something higher.
4K webcams (3840×2160 pixels) give you crazy sharpness. Only go for 4K if you’re making pro-level videos or need every detail.
Keep in mind, 4K needs a fast computer and strong internet. Most streaming sites don’t even support 4K yet, so it’s usually overkill.
How Frame Rate Impacts Smoothness
Frame rate tells you how many pictures your webcam takes every second—measured in fps.
Higher frame rates make motion look smoother. That’s especially important for active streamers.
30fps is enough for most calls and basic streaming. For talking-head stuff, it’s totally fine.
60fps makes a real difference for gaming or energetic content. Fast moves look buttery smooth and just more professional.
Some webcams can’t do high frame rates at their top resolution. For example, a 1080p webcam might only hit 30fps at full res but can manage 60fps at 720p.
Think about your content. Static presentations are fine at 30fps, but gaming streams really benefit from 60fps.
Balancing Resolution, Frame Rate, and Bandwidth
Higher resolution and frame rate use more internet. Streaming 1080p at 60fps needs about double the upload speed of 720p at 30fps.
Check your upload speed before cranking up the settings. At least 5 Mbps upload is a good starting point for 1080p at 30fps.
Your computer matters too. Older machines might struggle with 4K or high frame rates, which can cause dropped frames.
| Resolution | Frame Rate | Recommended Upload Speed | Best Use Case |
|---|---|---|---|
| 720p | 30fps | 2-3 Mbps | Basic video calls |
| 1080p | 30fps | 4-5 Mbps | Professional meetings |
| 1080p | 60fps | 6-8 Mbps | Gaming streams |
| 4K | 30fps | 12-15 Mbps | Professional content |
Start with 1080p at 30fps. If your connection can handle it, you can always tweak things higher.
Most streaming sites will lower your quality automatically if your connection can’t keep up.
Field of View and Framing Considerations
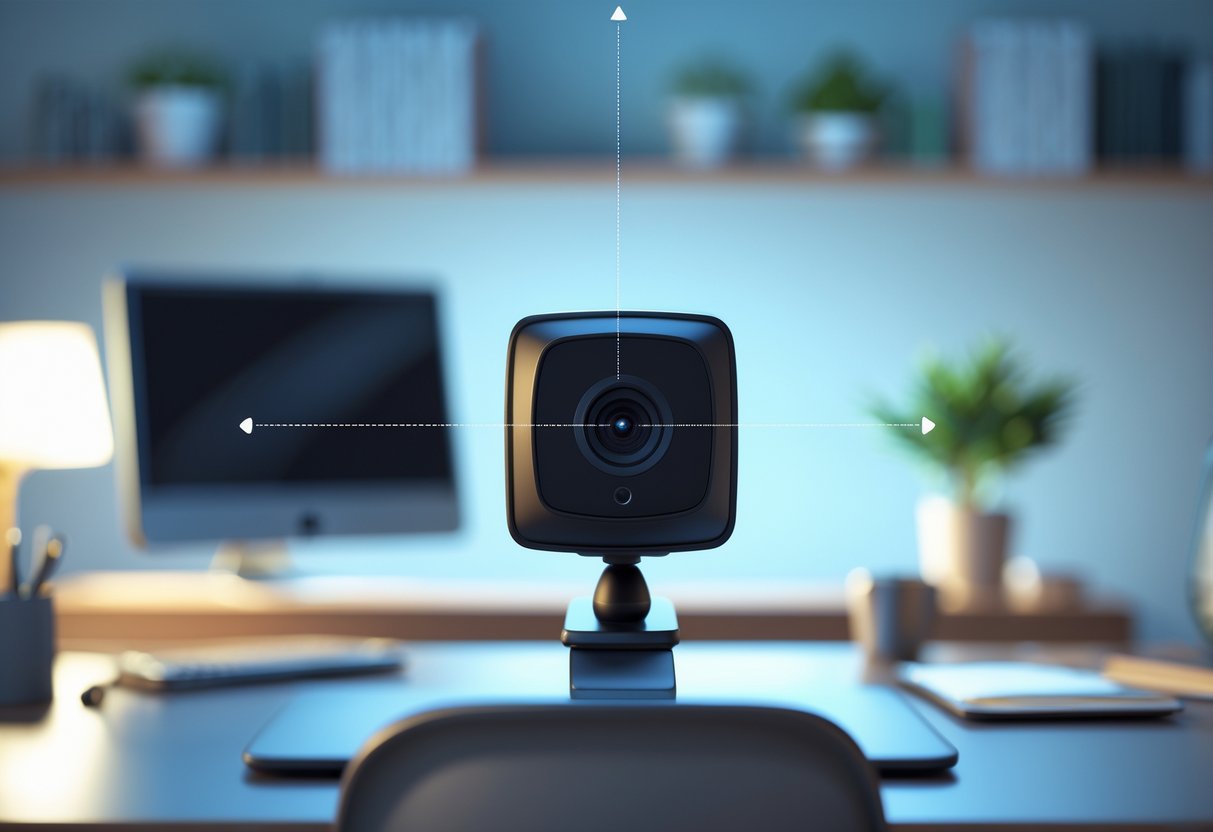
Picking the right field of view actually changes how professional you look on camera. Most webcams offer between 60° and 120°, and your choice depends on whether you stream solo or with friends.
Selecting the Ideal Field of View
We suggest different FOVs for different needs. If you’re streaming alone or on a solo call, 60° to 78° keeps you in focus and cuts out background mess.
Narrow FOV (60°-78°):
- Best for solo streaming
- Looks more professional
- Hides background clutter
- Great for tutorials
Wide FOV (90°-120°):
- Handy for groups
- Shows off your setup
- Good for collaborative content
- Fits multiple people in frame
Gaming content creators usually like something around 90°. It shows enough of your space without losing focus on you.
Check your webcam specs before buying. Some Logitech models let you adjust FOV in software, so you can switch between narrow and wide as needed.
Single Person vs. Group Video Calls
How many people are on camera should guide your FOV. Solo calls and team meetings need different setups.
For solo calls, try to fill about a third of the frame with yourself. A 70° FOV usually hits that sweet spot.
Your head and shoulders should be visible, with just a bit of space above your head.
Group calls need 100° or wider. That way, everyone fits without awkward cropping.
We’ve seen group streamers use 110° or even 120° to make sure everyone is in view.
| Scenario | Recommended FOV | Key Benefits |
|---|---|---|
| Solo gaming stream | 70°-90° | Clear face visibility, setup context |
| Team calls | 100°-120° | Everyone included, natural interaction |
| Tutorials | 60°-78° | Professional focus, minimal distractions |
| Group content | 110°+ | Full team visibility, collaborative feel |
Test a few angles before your next big stream or meeting. The best streamers tweak their FOV depending on what they’re doing.
Optimising Low-Light Performance
Sensor size and lighting are the two main things that decide how well your webcam works in the dark. Big sensors grab more light by default, and ring lights can totally transform your video quality in seconds.
Importance of Sensor Size and Aperture
Larger sensors grab a lot more light than the tiny ones you find in cheaper webcams. That’s a game-changer if you’re streaming late at night or playing tournaments in a dim room.
Most budget webcams have really small sensors, which just can’t keep up when it’s dark. Many pro streamers go for webcams with Sony sensors because they’re bigger and just handle low light way better.
The aperture plays its part too. A wider aperture (a lower f-number like f/2.0) lets in more light. This means your image looks brighter and you dodge that ugly grainy noise that can ruin your stream.
What should you keep an eye out for?
- Sony STARVIS sensors—these shine in low light
- An aperture of f/2.0 or wider
- At least a 1/2.8″ sensor for solid light gathering
A lot of esports streamers say that switching to a webcam with a bigger sensor saves them from fiddling with their lights all the time. Your viewers get to see your face and reactions way more clearly during those clutch moments.
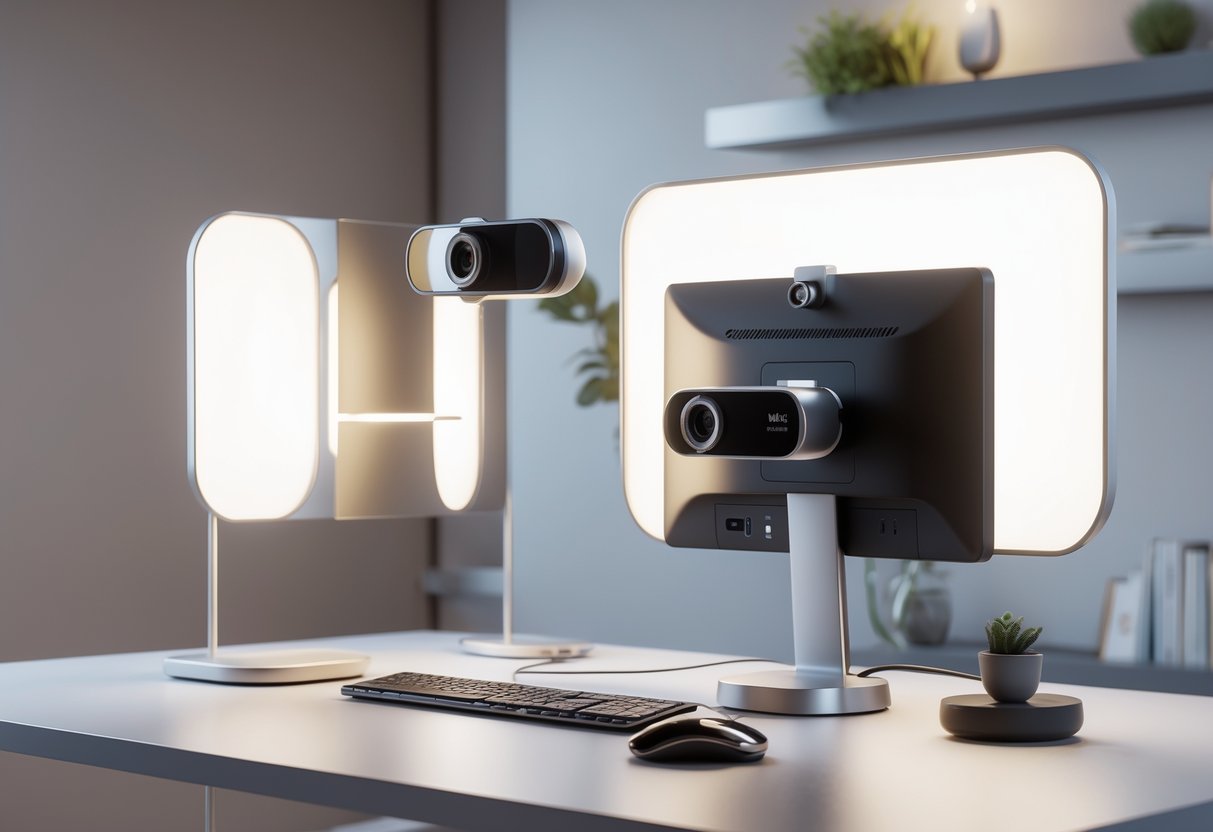
Using Ring Lights and External Lighting
Ring lights pretty much fix most low-light webcam issues right away. They throw out soft, even lighting that wipes out those weird shadows on your face.
Stick your ring light just behind your monitor at eye level. That way, you get nice front lighting and your webcam doesn’t have to work as hard.
You can grab a budget ring light for about £15-30, and they’re fine for casual streams. If you’re serious about streaming, you’ll probably want an adjustable LED ring light with dimming—expect to spend £50-100.
Some quick lighting tips:
- Keep the ring light about 12-18 inches from your face
- Go for warm white (around 3000K) if you’re gaming for hours
- Throw in a second light to reduce background shadows
- Skip overhead lights—they just create weird shadows
Heads up: Cheap ring lights can flicker on camera and might give you eye strain if you’re gaming for a long time. Look for flicker-free LEDs with adjustable brightness.
Lots of streamers use a medium-sized ring light and let their webcam handle the rest. You get steady, good-looking lighting without having to mess with settings every time you change games.
Mastering Webcam Settings
Dialing in your webcam settings can mean the difference between looking washed out or actually looking sharp on stream. Tweaking brightness, exposure, and colour balance can totally change how your viewers see you.
Brightness and Contrast Adjustments
Brightness is all about how light or dark your image comes through. Most webcams default to auto-brightness, but honestly, that’s usually all over the place during streams.
Manual brightness just works better. Start somewhere around 40-60%. If you look too pale or like a ghost, bump it down by 10-15%. If your face is too dark, nudge it up bit by bit.
Contrast changes how much your image pops. More contrast brings out details, but too much can add harsh shadows.
Try keeping contrast between 50-70%. Play around with it while checking your stream preview. If you crank it up too high, you’ll look overly dramatic. Too low, and everything just looks flat.
Quick win: Set your brightness first, then tweak contrast to match your lighting setup.
Exposure and Gain Control
Exposure is basically how much light your webcam takes in. Too much, and you’re washed out. Too little, and you look like you’re hiding in a cave.
Most gaming setups work better with manual exposure. If you’ve got strong lights on your face, try -1 or -2. In darker rooms, go up to +1 or +2.
Gain boosts your webcam’s signal. High gain makes your video look noisy and grainy, which isn’t a good look. Low gain gives you cleaner images but only if your lighting is solid.
Keep gain between 0-20% if you want clean video. Only bump it up if your room’s just too dark and you can’t add more light. Newer webcams tend to handle low-light better, so you might want to upgrade before messing with gain too much.
Seriously: Cranking gain too high will just make your stream look messy.
Colour and White Balance Techniques
White balance keeps your colours looking real under whatever lighting you have. Get it wrong, and you’ll look orange or weirdly blue.
Auto white balance usually can’t handle mixed lights. Gaming setups often have monitor glow, room lights, and RGB strips all going at once, which just confuses auto settings.
Set white balance yourself, based on your main light:
- Daylight (5600K): For natural window light
- Fluorescent (4000K): For regular room lights
- Tungsten (3200K): For warm desk lamps
Saturation is about how intense your colours look. Too much, and your skin looks cartoonish. Too little, and everything’s washed out.
Try keeping saturation around 80-100% of the default. Most gaming audiences like a bit of vibrancy, but don’t go overboard.
| Setting | Recommended Range | Purpose |
|---|---|---|
| Brightness | 40-60% | Overall image lightness |
| Contrast | 50-70% | Detail definition |
| Exposure | -2 to +2 | Light sensitivity |
| Gain | 0-20% | Signal amplification |
| Saturation | 80-100% | Colour intensity |
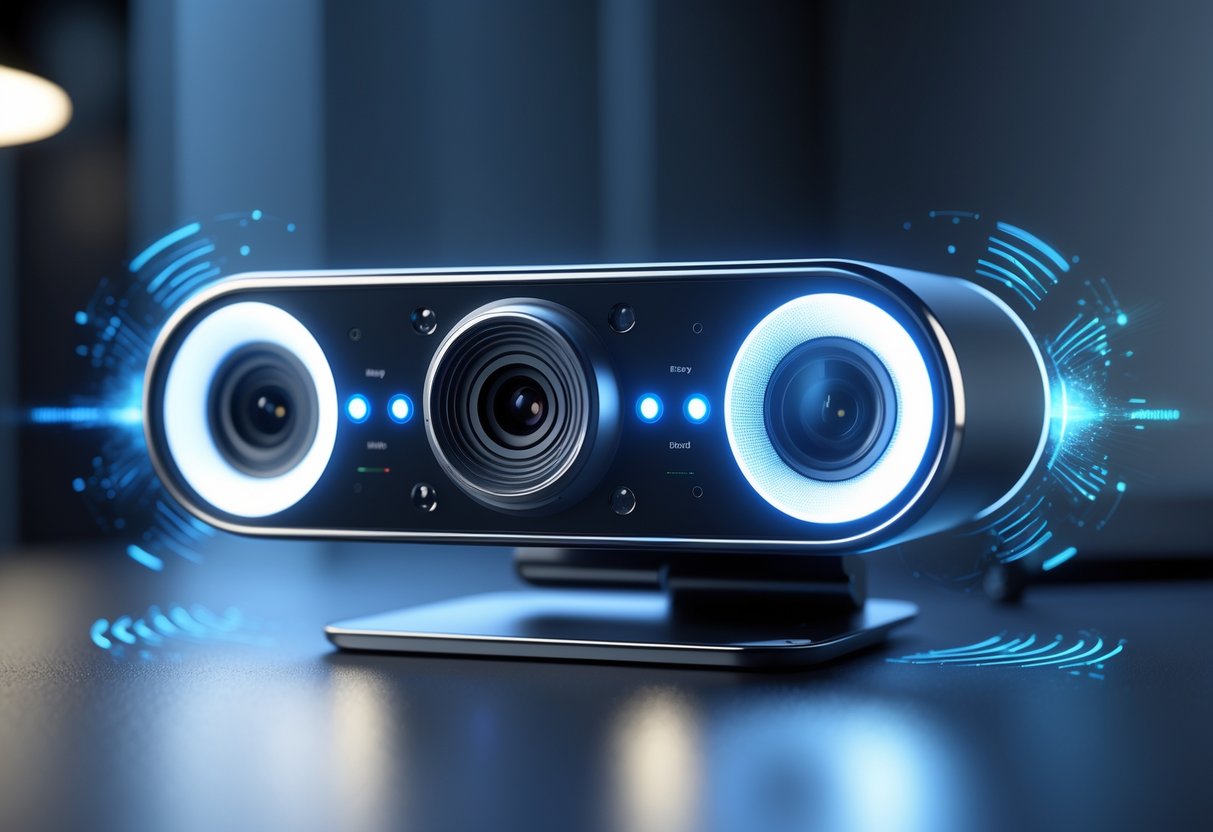
Audio Quality and Microphone Choices
Audio can make or break your stream. Built-in webcam mics usually sound tinny and echoey, which is a turn-off for viewers. External mics almost always give you clearer audio and better noise control, but built-ins are fine if you’re just chatting with friends.
Built-in vs. External Microphone
Webcam microphones handle quick calls but pick up way too much noise. You’ll hear keyboard clicks, fans, and room echo—none of which you want on your stream.
External mics give you:
- Better sound isolation and clarity
- Flexible positioning, so you can keep it close
- Pro features like noise cancellation
- Different pickup patterns for different needs
You can pick up a decent USB mic for £30, or go all-in on a pro model for £200+. The Logitech G Yeti GX sounds great and even has customisable RGB lighting, while the AnkerWork M650 is wireless and lasts 15 hours.
If you’re just gaming with friends, your webcam mic is probably fine. But if you’re streaming a lot or making content, grabbing an external mic really steps up your audio quality and keeps people watching.
Improving Clarity for Calls and Streaming
Keep your mic about 15-20cm from your mouth. Any closer, and you’ll get distortion; any farther, and you’ll pick up the whole room.
Here’s what helps:
- Use noise cancellation—software or hardware, whatever works
- Record a few test clips before you go live
- Wear headphones so you don’t get feedback
- Adjust gain so you don’t clip during loud moments
Background noise ruins even the best mics. Shut your windows, add some soft stuff (like curtains or cushions) to cut echo, or try acoustic foam behind you.
A lot of people max out gain thinking it makes them sound better. Instead, you want your levels peaking around -12dB, so you’ve got room for sudden yells or laughs.
Test your audio with a friend before big streams. Sometimes what sounds fine to you is muddy or too quiet for everyone else.
Background and Environment Enhancements
Your space matters just as much as your webcam settings. A few tweaks to your background can make you look way more professional on video.
Background Replacement and Blur
Most video call platforms like Zoom, Teams, and Discord now offer built-in blur. It’s decent, but not perfect.
Hardware-based blur looks way smoother. Webcams with depth-sensing tech actually measure the distance between you and your background, so you get more natural blur and fewer weird glitches.
If you’re creating content, virtual backgrounds can add some personality. Stick to simple, clean designs—nothing too busy or distracting. Animated or moving backgrounds can be a headache for viewers after a while.
Quick tip: Try to sit at least 1.5 metres from your background. It really helps blur effects, whether you’re using software or hardware.
If your webcam can’t handle digital backgrounds well, just go with a real backdrop or a clean wall. Sometimes, simple wins.
Setting Up a Professional Environment
Where you put your camera really changes how you look on video. Keep your webcam at eye level, so you’re not looking down at your viewers. That low-angle shot? Never flattering.
Checklist for camera setup:
- Webcam at or just above your eyes
- Sit about an arm’s length away
- Make sure it’s stable—no wobbles
Natural light from a window in front of you works wonders. Avoid having a bright window behind you, or you’ll just look like a silhouette.
If you need extra light, a desk lamp at a 45-degree angle gets rid of harsh shadows. Ring lights give you even lighting up close, which is why streamers love them.
Keep your background tidy but not empty. A little clutter looks messy, but a totally bare room feels cold. A few books or a plant make it feel just right.
Essential Webcam Accessories and Upgrades
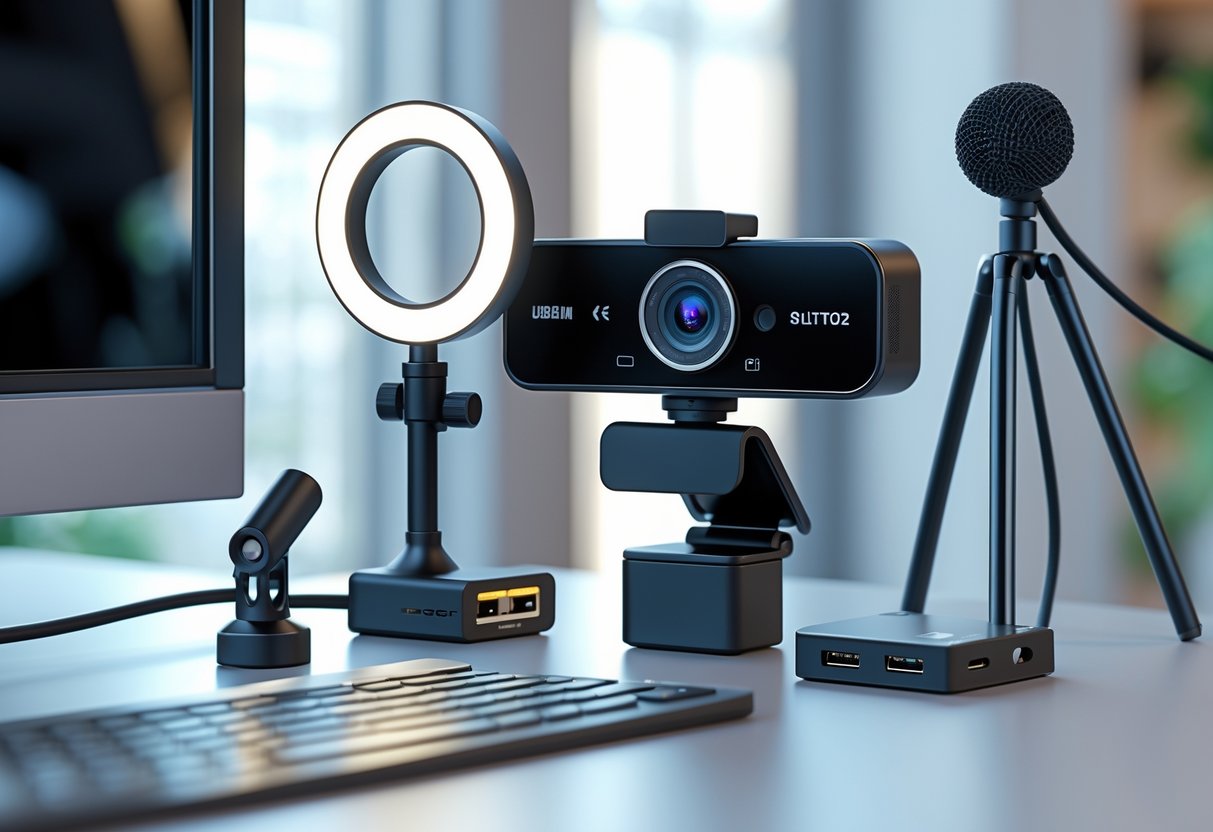
Mounting and positioning can do more for your webcam quality than just buying a pricier camera. Software tools also give you pro-level control without blowing your budget.
Mounting Options and Flexibility
People don’t talk enough about how much mounting matters. If your webcam wobbles or is stuck on a laptop screen, your footage will look amateur.
Tripods and Desktop Stands
You can get a desktop tripod for £15-30, and it fixes most positioning problems. It lets you put your webcam at eye level, instead of shooting up your nose.
Adjustable arms, which clamp to your desk, cost about £25-45. They’re perfect if you want to move your camera around or change your framing between games.
Monitor Mounts and Clips
Weighted bases keep your webcam steady when you adjust it. Some cheap webcams come with flimsy clips that slide around, which is just annoying.
Magnetic mounts stick to metal surfaces and are usually under £20. They’re great if you swap setups or share your workspace.
Quick win: Mount your webcam a little above eye level and tilt it down just a bit. It’s a surprisingly flattering angle.
Useful Software Enhancements
Free software can sometimes do more than expensive hardware upgrades. Try these before spending on a new camera.
OBS Studio for Streaming
OBS Studio turns even a basic webcam into a pro tool. It’s free and handles things like colour correction, virtual backgrounds, and more.
You’ll find noise suppression, brightness tweaks, and cropping built in. Streaming to Twitch or YouTube? It’s all in one place.
Virtual Backgrounds and Filters
The Windows Camera app has basic colour correction that works with any webcam. Sometimes, its auto-exposure and contrast are better than your webcam’s own software.
If you want more effects, third-party apps like ManyCam or XSplit VCam add green screens, overlays, and even let you switch cameras for a few pounds a month.
Heads up: Heavy filters can cause lag if you’re gaming competitively. Test your setup before going live.
Tips for Streaming and Content Creation
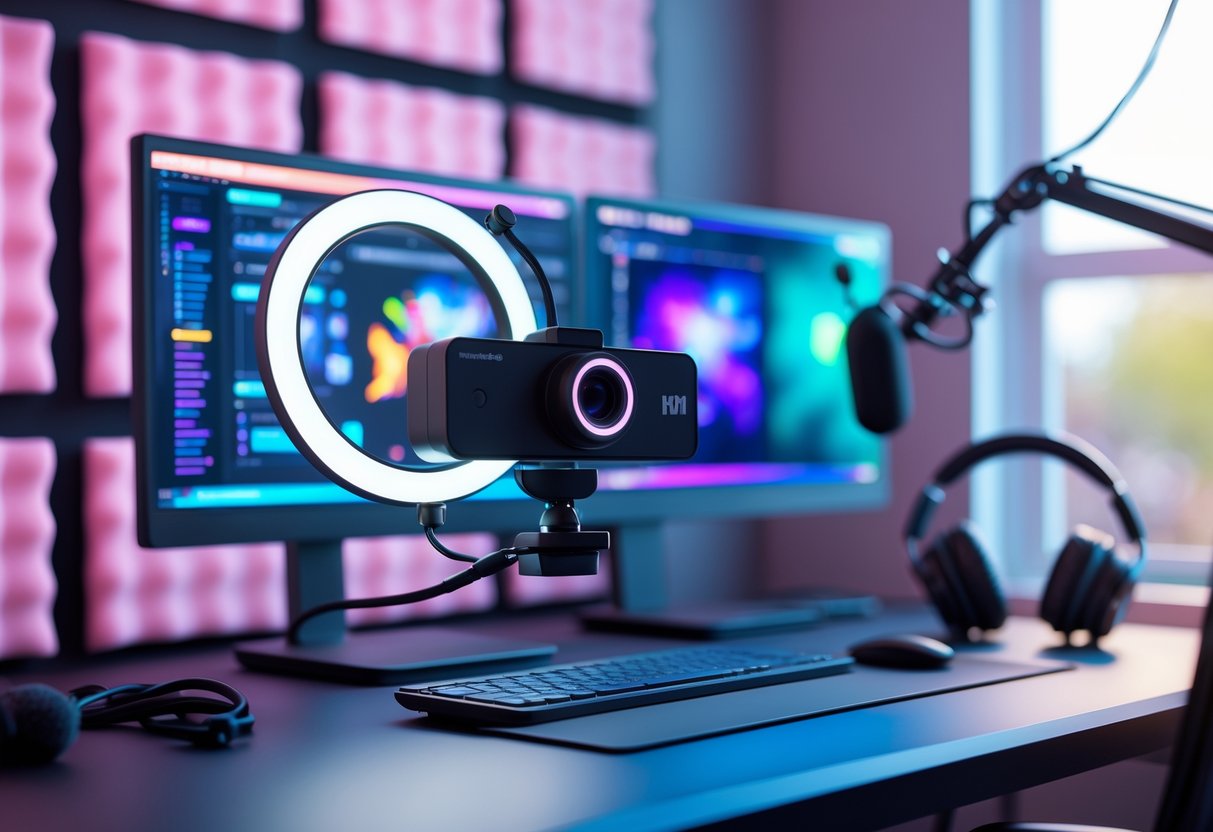
To get the most from your webcam, you need to know what your platform allows and what really works. Most streaming platforms top out at 1080p, and honestly, your lighting and camera placement matter way more than chasing higher resolution.
Streaming Platform Compatibility
Every streaming platform comes with its own quirks and technical requirements that shape your webcam setup. Twitch and YouTube Live, for example, both lock streams at 1080p resolution, no matter how fancy your camera is.
Frame rate? That depends:
- For standard video calls, 30fps usually feels smooth enough.
- If you’re gaming or showing off fast action, bump it up to 60fps.
- Podcasts or tutorials? 30fps saves bandwidth and still looks good.
OBS Studio steps in as a universal tool for tweaking webcam settings across all platforms. You get fine-grained control over resolution, frame rate, and color tweaks—stuff most basic streaming apps just can’t handle.
Platforms often compress your video as it streams out. So, a clean 1080p at 30fps usually looks sharper than a choppy 4K stream that overloads your connection.
Your upload speed sets the ceiling for what’s possible. Run a speed test before you go live to dodge dropped frames or grainy, pixelated streams.
Best Practices for Professional Content
Lighting matters way more than splurging on gear for content creation. Try facing a window for that natural glow, or stick an LED panel at eye level about three feet away.
Positioning tips that make a difference:
- Keep your camera at eye level. Nobody looks good from below.
- Sit 2-3 feet away for the best framing.
- Use manual focus to avoid that annoying auto-focus hunting.
Set your white balance so colors actually look right. Just hold up a piece of white paper where you’ll sit and tweak settings until it looks, well, white.
Audio sync gets tricky with external mics. Most streaming apps let you add a delay, so your lips and voice actually match up.
Keep testing your setup as things change. Well-lit, consistent footage at a lower resolution almost always beats a badly set up high-res stream that distracts everyone.
Budget-Friendly Solutions and Value Picks
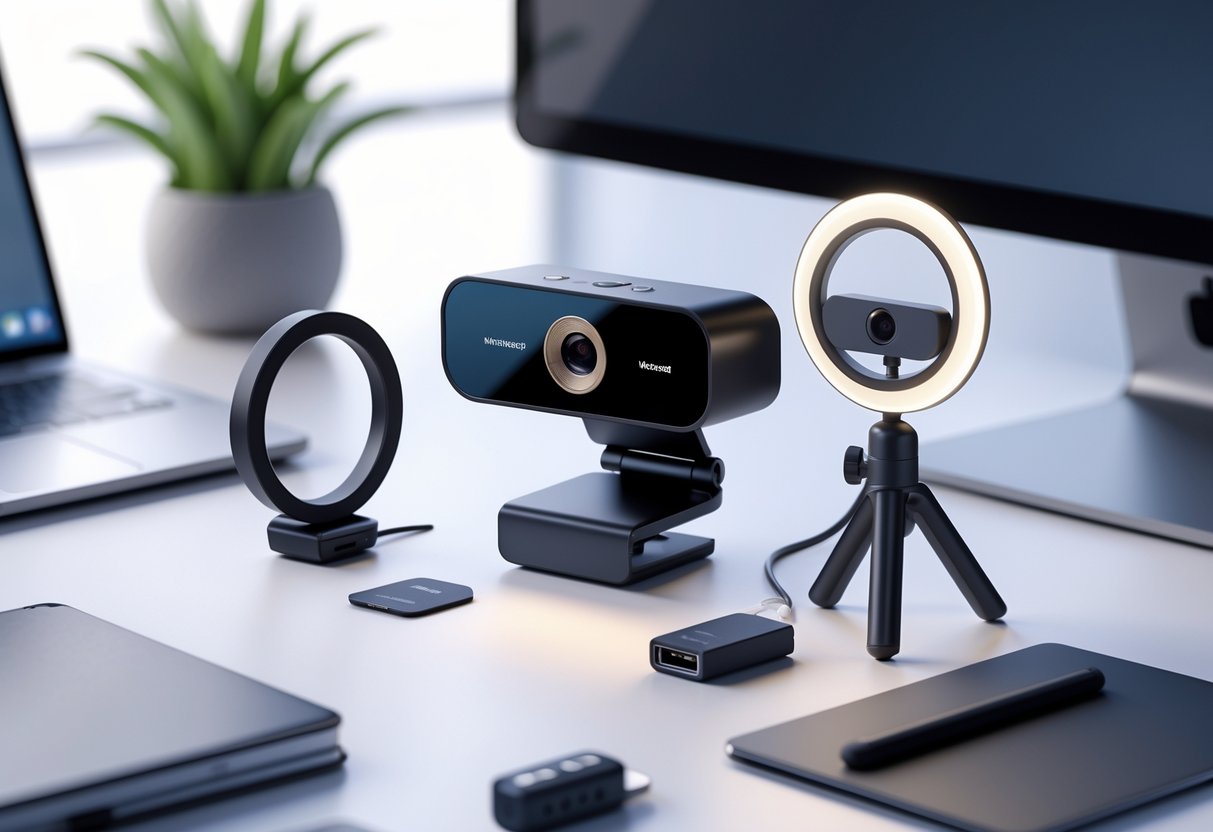
You don’t need to empty your wallet to get great video. Most budget webcams handle day-to-day needs just fine, especially if you know a few tricks to get the most out of them.
Selecting a Budget Webcam without Sacrificing Quality
Where resolution lands for most people
A 1080p webcam usually hits the sweet spot between quality and performance for home work setups. Most platforms squash the video down anyway, so 4K isn’t really necessary for everyday calls.
720p works too for simple meetings. On most laptops or phones, you can barely tell the difference.
What features actually matter
Pick a webcam that handles low light decently, not just one with the highest resolution. Bad lighting ruins video faster than a lower pixel count ever will.
Built-in mics on cheap webcams? Usually not great. Models like the Logitech C922 Pro or Anker C200 do a better job with both audio and video.
Field of view—how wide is too wide?
Go for a wider angle (think 78-90 degrees) if you’re on group calls. Solo presenters usually want a tighter frame.
What to expect for your money
| Budget Range | Best For | Expected Features |
|---|---|---|
| £15-£35 | Occasional calls | 720p-1080p, basic audio |
| £35-£65 | Regular remote work | 1080p, better low-light |
| £65-£85 | Content creation | 1080p 60fps, improved audio |
Maximising Performance with Affordable Equipment
Lighting beats pricey cameras every time
Sit facing a window or spend £20-£30 on a ring light. Good lighting makes even a cheap webcam look surprisingly pro.
Definitely avoid strong backlighting. Even top-tier webcams can’t fix that.
Tweak your software settings
Most webcam apps let you adjust brightness, contrast, and focus. Spend a few minutes dialing these in instead of just trusting auto mode.
Quick tip: Try OBS Studio (it’s free) to add filters and effects you’d only expect on expensive gear.
How to get better audio
Pair your webcam with a standalone USB mic or gaming headset. This combo usually beats even the fanciest built-in webcam mics.
Camera placement and stability
Mount your webcam at eye level. Seriously, it’s a simple fix that makes a big difference. A £10 adjustable stand does more than any premium model upgrade.
Keep the camera about an arm’s length away for the best shot. Too close and your face looks weird; too far and you lose detail.
Backgrounds—keep it simple
A tidy, simple background works best. Skip the software blur if you can, since it can slow down budget setups.
Frequently Asked Questions

Here are some of the most common questions about webcam settings, resolution tweaks, visual upgrades, and streaming platform configurations. We’ve gathered practical fixes for boosting camera quality across different systems and apps.
What steps can I take to enhance my laptop’s camera clarity on Windows 11?
Fire up the Windows Camera app to get into your camera settings. Head to Settings and pick the highest resolution you see.
Play with the brightness and contrast sliders to match your lighting. Most laptops look better when you face a window, not when the light’s behind you.
Update your camera drivers in Device Manager. Just right-click your camera, hit “Update driver,” and let Windows search for the latest.
Wipe the lens with a soft, dry cloth. It’s easy to forget, but dust and fingerprints really kill image sharpness.
Double check privacy settings in Settings > Privacy & Security > Camera. Make sure your apps have permission to use the camera.
Can webcam resolution be optimised in Windows 10 for more professional-looking video?
Open the Camera app by searching “Camera” in the Windows bar. Click the gear icon and choose the highest resolution—usually 1080p or 720p.
Webcams often default to low-res to save bandwidth. Manually picking 1080p can make your calls look way sharper.
Go into Device Manager for advanced camera properties. Right-click your webcam, pick “Properties,” and check the “Details” tab for more tweaks.
Try third-party software like OBS Studio or ManyCam for even more control. These let you fine-tune your video way beyond what Windows offers.
Always test your changes in the Camera app before a big meeting. That way, you know your video looks right.
Is there a way to add filters to a web camera that might improve visual performance?
Some webcams come with software that offers basic filters and enhancements. Check your manufacturer’s website for their official app.
OBS Studio gives you free virtual camera features with filters like color correction, sharpening, and noise reduction. Just add your webcam as a source and play with the filters.
ManyCam has both free and paid filter options—beauty filters, backgrounds, lighting tweaks. The free ones are usually enough for basic improvements.
Windows Camera app also has a few simple filters in the effects panel. They can help with skin tone and overall color.
Don’t go overboard with filters, though. Subtle tweaks like a bit of sharpening or brightness work better than heavy beauty filters for a professional look.
What are the best practices for setting up a webcam in OBS for the highest quality stream?
Add your webcam as a “Video Capture Device” in OBS. Set your resolution to the camera’s max, usually 1080p at 30fps for most models.
Match your output settings to your upload speed. Use 1080p at 6000 kbps for top quality, or 720p at 3500 kbps if your connection’s shaky.
Apply a “Sharpen” filter to your webcam source—try values between 0.08 and 0.15. It helps counteract compression blur without making things look weird.
Turn on “Use Buffering” in your capture device settings. This helps smooth out video and stops frame drops.
Keep your camera at eye level and make sure your face is well-lit. Lighting honestly matters more than expensive gear for stream quality.
How can settings be adjusted to boost the inherent quality of my device’s camera?
Open your camera’s native software or the Windows Camera app to bump up resolution and frame rate. Most cameras default to low settings to save resources.
Turn off auto exposure and auto white balance if you can. Manual settings stop your video from constantly shifting and looking unstable.
Increase sharpness a little, but don’t max it out—too much brings in digital noise. A small bump usually does the trick.
Set the camera to progressive scan mode if you see the option. Progressive scanning gives you a cleaner, more detailed image.
Check for firmware updates from your camera’s manufacturer. Updates sometimes improve image quality or unlock new features.
What settings are recommended for achieving the best possible results from my webcam?
Set your resolution to 1080p at 30fps. That usually gives you the best mix of quality and smooth performance.
If you bump it up to 60fps, you’ll really only notice a difference if you’re moving around a lot.
Try sitting about 60–90 cm away from your camera. Most webcams just seem to focus better and pick up more detail at that distance.
If you can, use natural light from a window right in front of you. Or, hey, just put a soft lamp behind your monitor.
Harsh overhead lights? Skip them—they tend to throw weird shadows on your face and nobody needs that.
Keep your background as simple as you can. Solid colors work so much better than anything busy or patterned.
A complicated background just seems to mess with compression and makes the video look a little off.
Before any important call, open up your webcam’s preview. It’s worth spending a minute to tweak your lighting or move your chair around while you can see how it looks.
