Lighting Setup Guide: Essential Techniques for Photographers
Updated On: November 13, 2025 by  Aaron Connolly
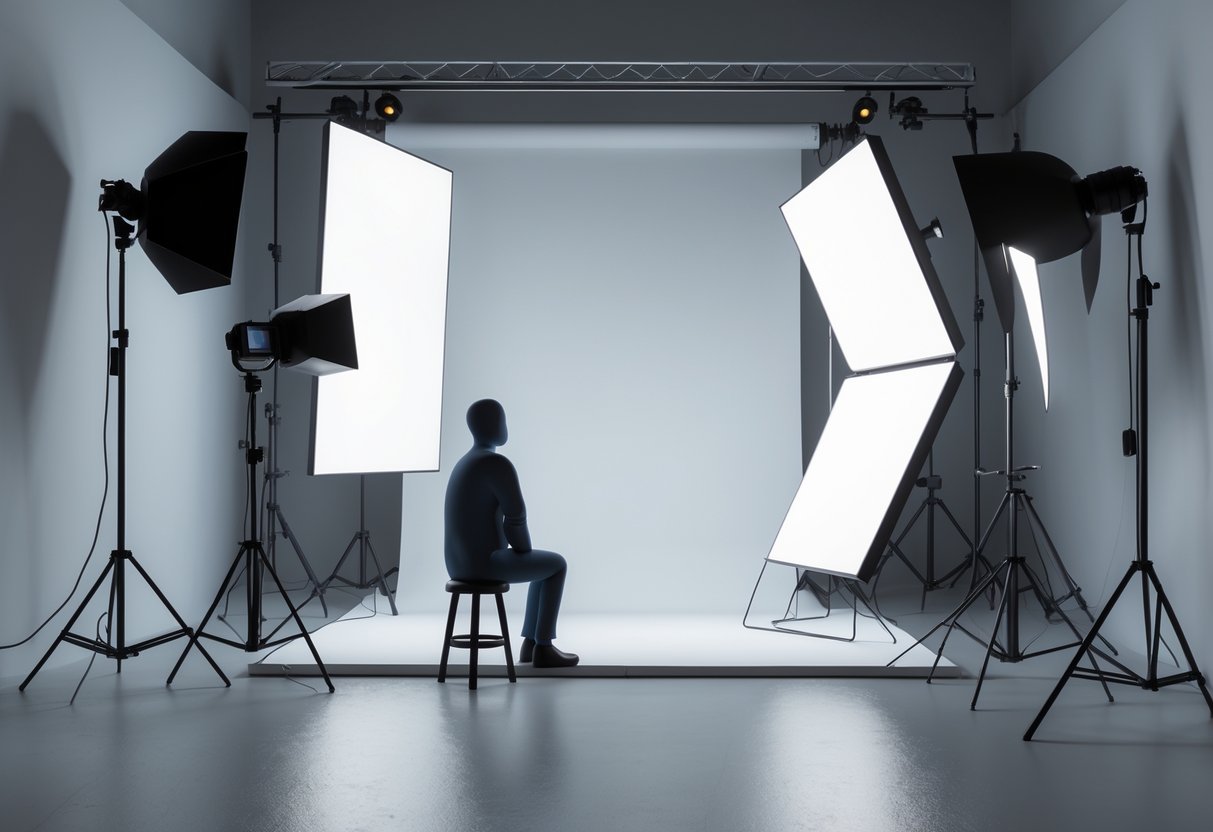
Understanding Lighting Setups
Great lighting setups blend the right gear with smart positioning to shape the mood and quality of your photos. You really have to figure out how different lights interact and pick what fits your goals.
What Makes a Good Lighting Setup?
A good lighting setup starts with your key light—the main source that sets the mood. Place this light around 45 degrees from your subject, either at eye level or a bit above.
Light quality matters just as much as where you put it. Soft light uses things like softboxes or umbrellas to give you smooth, flattering illumination. Hard light skips the diffusion and brings out dramatic shadows and strong contrast.
Match your setup to your style. Portrait photographers usually go for soft, even lighting that flatters skin. Product shooters often want harder light to show off texture and detail.
Don’t stress about fancy gear when you’re new. You can get pro results with just a single light and a reflector. The reflector bounces light back to fill in harsh shadows.
The Role of Lighting in Photography
Light makes or breaks every photo. If you don’t have good lighting, even the best camera and lens combo will spit out flat, lifeless shots.
Lighting shapes your subject by making highlights and shadows that add depth. It also sets the mood—bright, even light feels cheerful, while dramatic side lighting brings mystery and intensity.
Studio lighting hands you total control. Natural light changes by the hour, but studio lights stay steady. That means you can nail the same look across a bunch of shots.
Different photography types need different lighting tricks.
- Portrait work: Go for light that flatters and hides blemishes.
- Product photography: You’ll want even light to show off every detail.
- Fashion shoots: Dramatic lighting helps build mood and style.
Types of Studio Lighting Setups
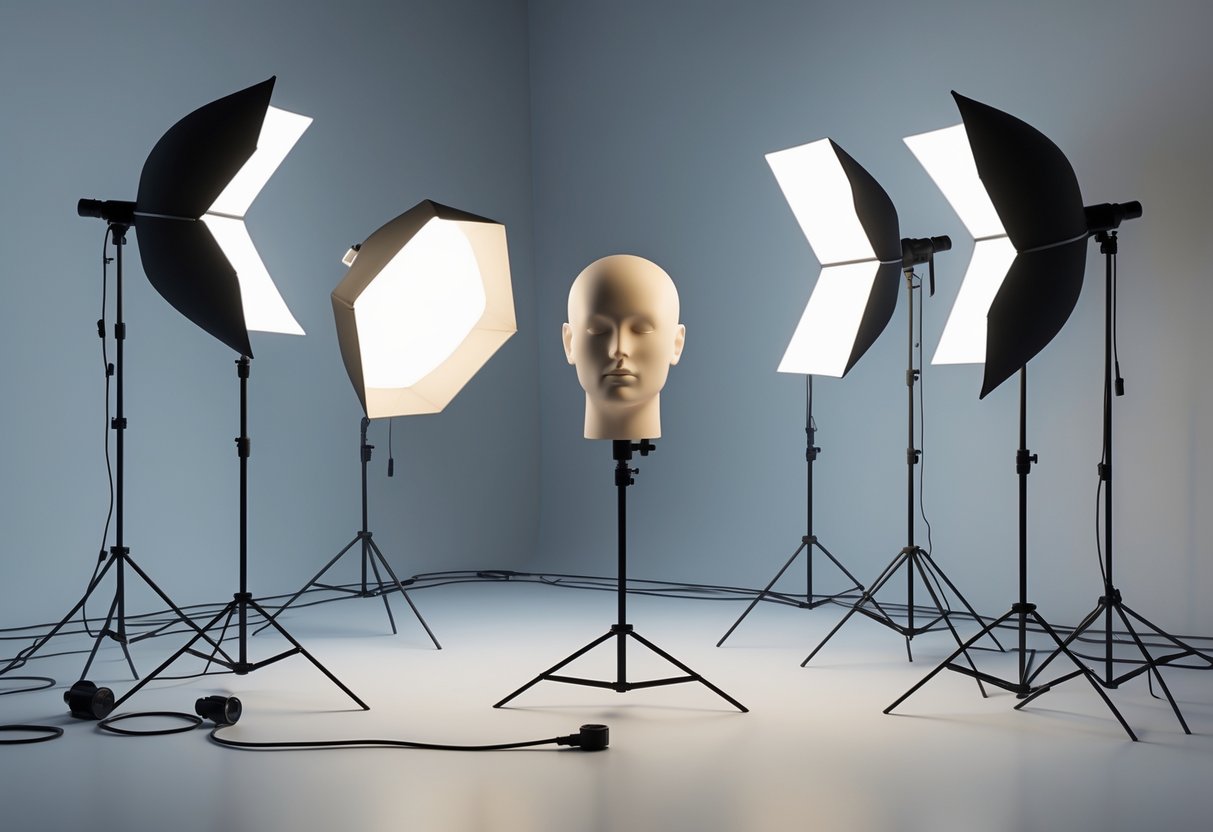
One-light setups are perfect for headshots, moody portraits, and close detail shots. Put your light at 45 degrees from your subject and use a reflector to knock down heavy shadows.
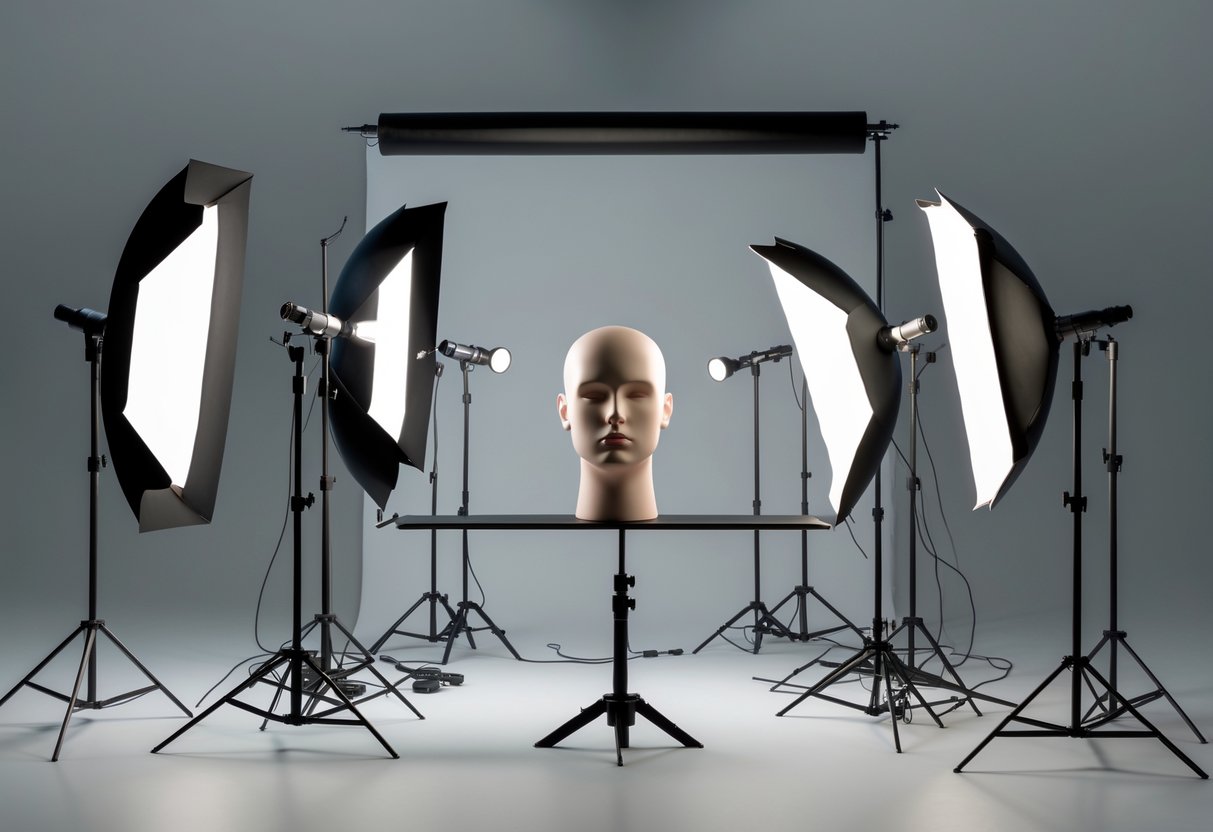
Two-light setups add a fill light opposite your key. The key does the heavy lifting; the fill softens shadows. Keep your fill less powerful than your key to hold onto some depth.
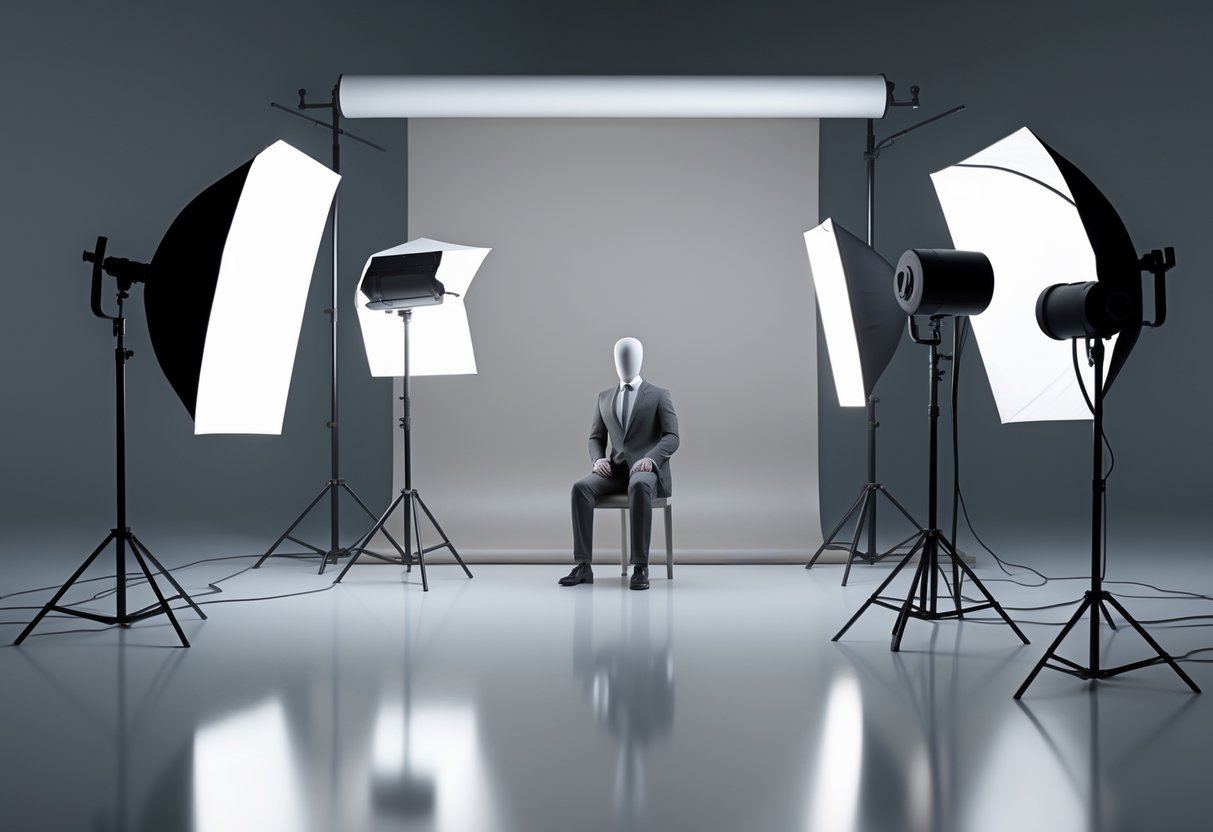
Three-light setups bring in a rim light behind your subject. This rim light adds highlights along the edges, separating your subject from the background. It’s a favorite for portraits and fashion.
| Setup Type | Best For | Key Benefits |
|---|---|---|
| One Light | Headshots, product details | Simple, dramatic shadows |
| Two Light | General portraits, editorial | Balanced lighting, reduced shadows |
| Three Light | Fashion, commercial work | Full separation, professional look |
Continuous lighting lets you see exactly what you’ll get, so it’s friendly for beginners. Strobe lighting gives you more power and sharper images, but it takes some practice to get right.
Natural Versus Artificial Light
Natural light comes from the sun and changes all day long. Artificial light includes anything you control, like flash units or LED panels. Both have their perks, and learning to shape light with diffusers and reflectors makes any option more versatile.
Using Natural Light Effectively
Natural light has a soft, beautiful quality that shifts throughout the day. The golden hours—right after sunrise or before sunset—give you the most flattering light for portraits or just about anything.
Window light is awesome for indoor shooting. Big windows act like giant diffusers, spreading light evenly. North-facing windows stay consistent and soft, so you don’t get harsh shadows.
If you’re shooting outdoors, you have to work with what nature throws at you. Midday sun can be brutal, but open shade under trees or buildings creates gentle, diffused light. It’s flattering and nobody ends up squinting.
Key natural light times:
- Golden hour: Warm, soft light about an hour after sunrise or before sunset
- Blue hour: Even, cool light just after sunset
- Overcast days: Clouds act like a giant softbox, perfect for portraits
A reflector can bounce natural light back onto your subject. White gives you a soft fill, silver adds more contrast. Put the reflector opposite your main light source to cut down on shadows.
Working with Artificial Light
Artificial light hands you full control. You can shoot whenever you want and get the same results, rain or shine.
A basic flash setup starts with one main light at 45 degrees to your subject. This gives natural-looking shadows and defines features. Pop on a diffuser like an umbrella or softbox to soften the flash.
Continuous LED panels let you see the effect before you even take the shot. It’s honestly way easier to learn with these than with flash, where you only see the result after you shoot.
You really need to manage power control with artificial light. Start low and dial it up as needed. Most flashes and LEDs let you tweak power from full strength down to barely-there.
Essential artificial light kit:
- One flash or LED panel
- Light stand
- Umbrella or small softbox
- Reflector for fill
Modifying and Shaping Light
Both natural and artificial light look better when you modify them. Diffusers soften harsh light, and reflectors let you direct light where you want it.
Diffusion materials spread out the light to kill harsh shadows. You can use translucent umbrellas, softboxes, or diffusion panels for this. The bigger the diffuser compared to your subject, the softer the light.
Reflectors come in different finishes. White is gentle, silver is punchy, and gold adds a warm glow to skin. Keep reflectors close to your subject for the best effect.
Honestly, mixing techniques is often best. You might use window light as your main source, add a reflector to fill shadows, and pop in a little LED for background separation. This combo feels natural but gives you control.
Light modification tools:
- Shoot-through umbrellas (diffusion)
- Bounce umbrellas (soft, indirect light)
- Softboxes (controlled, directional diffusion)
- Reflector discs (fill and contrast)
Fundamental Lighting Positions
Where you put your lights can make your portrait look pro or just… not. The key light does the heavy lifting for mood, while fill lights handle shadows and rim lights help your subject pop from the background.
Key Light Placement
The key light is your main light source and shapes your subject’s face. Put it at a 45-degree angle from your camera, just above your subject’s eye level.
This creates shadows that look natural and add depth. Move the light closer to soften shadows, or further away for more contrast.
Popular key light positions:
- Rembrandt lighting: Triangle of light under the far eye
- Split lighting: One half lit, one half in shadow
- Butterfly lighting: Light above, butterfly-shaped shadow under the nose
- Loop lighting: Small shadow loop from the nose
Watch the shadows across the face as you tweak your key light. You’ll want bright, natural-looking catchlights in the eyes.
Fill Light and Shadow Control
Fill lights tame harsh shadows from your key light but don’t erase them. Put your fill light opposite the key, and keep it at a lower power.
A reflector works as a fill if you’re on a budget. Silver reflectors give you stronger fill, while white ones look softer and more natural.
Fill light ratio basics:
- 1:2 ratio: Softens shadows for a natural look
- 1:3 ratio: More dramatic, moodier portraits
- 1:4 ratio: Strong contrast for editorial vibes
Don’t kill all the shadows or your shot will look flat. The trick is to shape shadows, not wipe them out.
Rim and Hair Lights
Rim lights and hair lights help your subject stand out by adding highlights to the edges. Put these lights behind your subject, aiming toward the camera.
Hair lights brighten the top of the head and shoulders. Keep them slightly off-center to avoid a weird halo.
Rim lights work best low and to the side, just grazing your subject’s outline. Use barn doors or snoots to keep the light from spilling everywhere.
Accent light power tips:
- Start at about 1/4 of your key light’s power
- Nudge it up until you see good separation
- Don’t let it overpower the key light
These little touches give your photos depth and keep your subject from blending into the background.
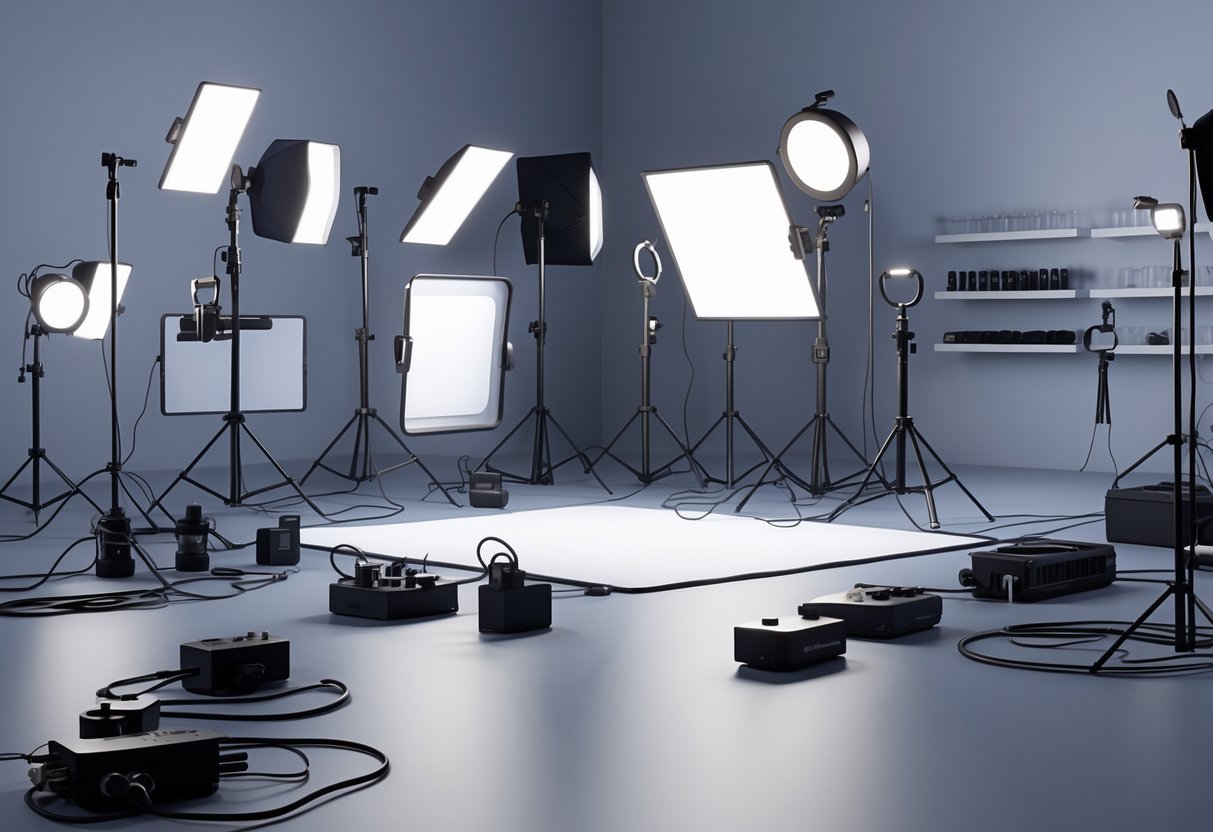
Essential Lighting Equipment
The right lighting equipment can totally change your photos from average to pro. Let’s break down flash versus continuous lights, compare strobes with speedlites, and look at some key modifiers.
Light Sources: Continuous and Flash
Continuous lights stay on, so you see exactly how shadows and highlights fall. LED panels are popular—they run cool and don’t eat much power. Old-school tungsten lights get hot, but they give off a nice, warm glow.
These are great for video and portraits. You can tweak your setup in real-time, no test shots needed.
Flash lighting fires a burst when you hit the shutter. Flashes pump out way more light than continuous, use less electricity, and freeze motion cleanly. They don’t heat up your studio either.
Most pros favor flash for the image quality. The catch? You can’t see the effect until you take the shot.
| Light Type | Pros | Cons |
|---|---|---|
| Continuous | See results instantly, great for video | Lower power, can get hot |
| Flash | High power, stays cool | Need test shots, more to learn |
Strobes and Speedlites
Studio strobes are powerful flashes built for pros. They plug into the wall and give you consistent, high-output light. Most have modeling lamps so you can preview your setup.
You can use lots of modifiers with strobes—Bowens and Profoto mounts are pretty standard. Power ranges from 150 watts for small spaces up to 1000 watts for big commercial jobs.
Speedlites are smaller flashes that fit on your camera or light stand. They run on batteries and are super portable. Newer models offer wireless control and can sync in groups.
Speedlites aren’t as strong as studio strobes, but they’re awesome for shooting on location or if you’re on a budget. Many folks start with speedlites before moving up to big strobes.
Honestly, two speedlites often cost less than one strobe and still give you plenty of creative options.
Choosing Lighting Modifiers
Softboxes make light soft and even by diffusing the flash through fabric. Rectangular softboxes are great for portraits, while strip boxes are perfect for rim lights.
Octaboxes have a round shape that mimics window light. They work especially well for beauty shots and give lovely catchlights in the eyes.
Umbrellas are the cheapest way to soften light. Reflective umbrellas bounce light back at your subject, while shoot-through umbrellas act more like softboxes.
Beauty dishes sit somewhere between hard and soft light, making dramatic shadows with smooth transitions. Fashion and beauty shooters love them.
Grids and snoots narrow the beam for focused effects. Use them for hair lights, background pops, or dramatic spotlights. Barn doors let you shape and block light with adjustable flaps.
Light Modifiers Explained
Light modifiers give you control over your artificial lights. They can turn harsh direct beams into soft, flattering light or create punchy, focused effects. Let’s check out the three main types that really shape how your subjects look: diffusion tools like softboxes and umbrellas, reflective modifiers such as beauty dishes, and precise accessories like snoots and gels.
Softboxes and Umbrellas
Softboxes spread out your flash using fabric panels, producing beautifully even soft light. The bigger the softbox, the softer your shadows get.
Think of them as giant lampshades around your lights. You’ll see sizes from 60cm for headshots to 120cm for full-body portraits.
Strip boxes come in a long, narrow shape—great for rim or hair lighting. They give you elegant catchlights and let you control the direction of your light.
Umbrellas are usually the cheapest way to get soft light. Shoot-through umbrellas let you diffuse light directly, while reflective ones bounce it back for a wider spread.
Silver umbrellas add a bit more contrast than white ones. Gold umbrellas warm up skin tones, which is nice for portraits.
Both softboxes and umbrellas wrap light around your subject’s features. Softboxes give you more control, but umbrellas set up super quickly when you’re in a rush.
Beauty Dishes and Reflectors
Beauty dishes land somewhere between soft and hard light. They’re shallow metal bowls with a central deflector, bouncing light outward for flattering illumination and subtle shadows.
Most beauty dishes range from 40-70cm across. Larger ones work for groups, while smaller dishes add drama for single portraits.
White beauty dishes soften the light more than silver ones. If you need even softer results, just add a diffusion sock.
Reflectors bounce available light back onto your subject—no power needed. Five-in-one reflectors give you white, silver, gold, black, and translucent options.
Put your reflector opposite the main light to fill in shadows. Silver gives the strongest fill, while white is more subtle.
Gold reflectors warm up skin tones, and black ones actually block light, making shadows deeper for a punchy look.
Snoots, Barn Doors and Gels
Snoots focus your light into a tight beam. Use them for hard light effects like hair lights or highlighting the background.
You can adjust some snoots to change the beam from a tiny spot to a broader circle. Add a grid for even more control.
Barn doors use metal flaps to shape your light into rectangles. They help you keep light off the background but still cover more area than snoots.
With four-leaf barn doors, you get full control over the shape. Create narrow slits for drama or wide rectangles for product shots.
Gels let you change your light’s color or temperature. CTO gels warm up your flash to match tungsten bulbs.
There are tons of creative gels out there. Deep blue works for night scenes, amber for sunset vibes—honestly, the sky’s the limit.
Popular Portrait Lighting Setups
You’ll find three classic lighting techniques at the heart of portrait photography. Each one sets a different mood and flatters certain face shapes, mostly by how you place your lights and control shadows.
Butterfly Lighting
Set your main light right in front and just above your subject’s eyes for butterfly lighting. You’ll see a little butterfly-shaped shadow under the nose.
This setup rocks for headshots and beauty photography. It brings out cheekbones and puts nice catchlights in both eyes.
Raise your light about 45 degrees above the face. Keep the nose shadow small and centered.
Key benefits:
- Minimizes facial flaws
- Gives even, flattering light
- Flatters most face shapes
- Simple one-light setup
Subjects with strong cheekbones look great with this. If someone has deep-set eyes or a rounder face, maybe try something else.
Rembrandt Lighting
Rembrandt lighting gives you a triangle of light on the shadow side of the face, just under the eye.
Put your main light at a 45-degree angle to one side and raise it about 45 degrees above eye level.
The trick is nailing that small triangle of light—it shouldn’t be wider than the eye or longer than the nose.
Setup requirements:
- One main light
- 45-degree angle from subject
- Triangle of light on shadow side
- Strong catchlight in the lit eye
This dramatic look works well for character portraits and artsy shots. It’s especially good for people with average or prominent cheekbones.
Loop Lighting
Loop lighting gives you a little nose shadow that loops toward the ear. It’s one of the most forgiving setups for portraits.
Move your main light about 30 to 45 degrees to one side and just above eye level.
The nose shadow should make a small loop but not touch the cheek shadow. Both eyes should have catchlights.
Why photographers love loop lighting:
- Flatters almost everyone
- Adds gentle shape
- Easy to repeat
- Looks natural
Loop lighting is a go-to for headshots and family photos. It adds just enough shadow for interest but stays flattering for most people.
Classic Studio Lighting Arrangements
Studio lighting setups can be as simple as one light or as complex as four. Each new light adds something specific—like fill, separation, or background control—to help you make more polished portraits.
One Light Setup
One light setups are where most people start. They’re simple, dramatic, and don’t need much gear.
Butterfly lighting puts your light above and a bit in front of the subject, making that signature butterfly shadow under the nose. It’s great for most face shapes and beauty shots.
Rembrandt lighting goes at a 45-degree angle for that triangle of light on the cheek. It adds drama but keeps things natural.
Split lighting puts the light straight to the side, lighting up just half the face. It’s super moody and works great for dramatic portraits.
Loop lighting falls somewhere between butterfly and Rembrandt. The nose shadow loops onto the cheek but doesn’t touch anything else.
Two Light Setup
Adding a second light takes things up a notch. Most people start by pairing a key light with a fill light to manage contrast.
Key and fill lighting uses your main light for the bulk of the illumination. The fill, placed opposite and set lower, softens the shadows. A 2:1 power ratio between key and fill usually looks great.
Clamshell lighting puts one light above and another below your subject. It wipes out most shadows and is a favorite for beauty work.
Cross lighting means you put two lights on opposite sides. It creates rim effects and helps your subject pop from the background.
That second light can also become a hair light—just stick it behind and above to add shine and separation.
Three Light Setup
Three-point lighting is the gold standard for professionals. It gives you total control over how your subject and background look.
The classic three-point setup uses:
- Key light for main illumination
- Fill light to manage shadows and contrast
- Back light to separate your subject from the background
With this setup, you can tweak mood and depth pretty easily. The back light makes sure your subject doesn’t blend into the background, which is key if they have dark hair or clothes.
Hair lights are great as the third light. Place them behind and above to show off hair texture and add polish.
If your subject doesn’t have much hair, swap in a separation light to highlight body contours instead.
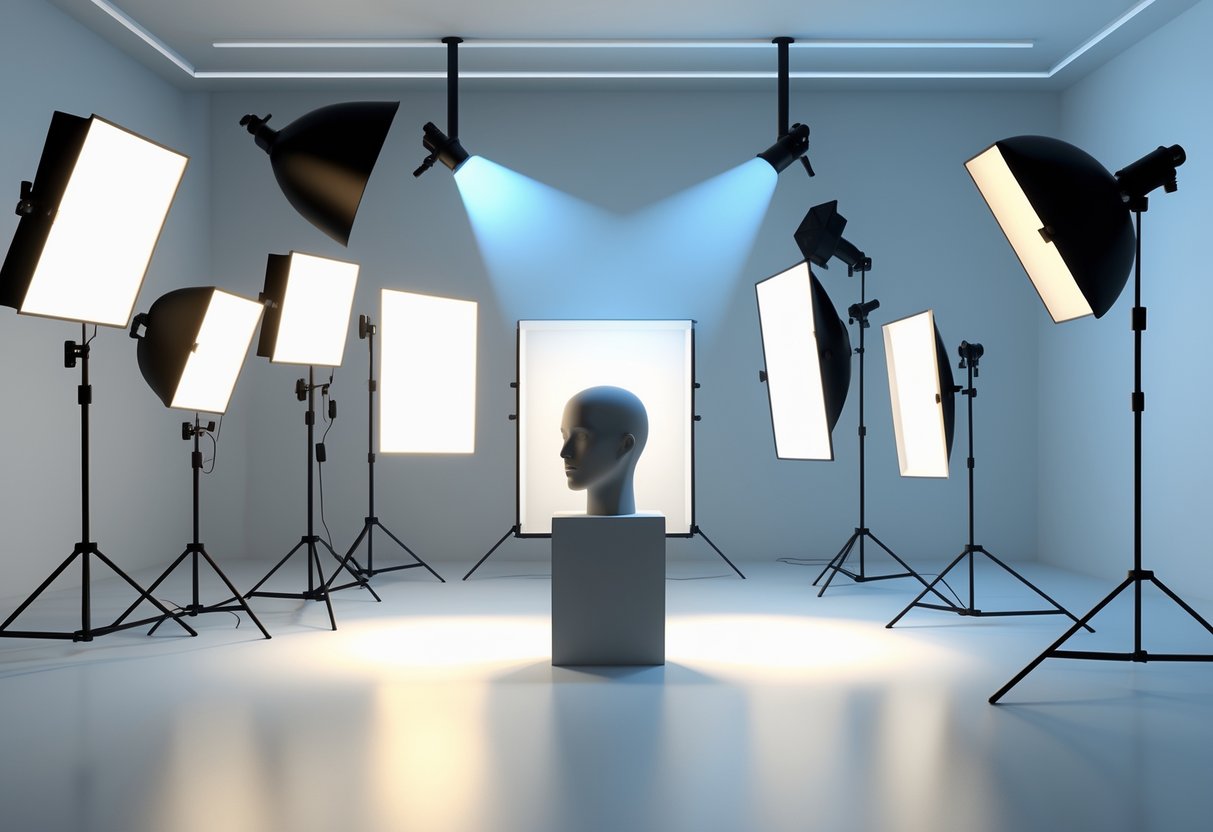
Four Light Setup
Four-light setups give you maximum control—ideal for commercial work or high-end portraits.
The full four-light setup includes:
- Key light for the main subject
- Fill light for shadows
- Hair/separation light for definition
- Background light for backdrop control
Background lights can turn a plain backdrop into something special. A halo light near the background creates a nice gradient from bright center to dark edges.
You can use multiple separation lights too. One might light up hair, another could define shoulders.
Balancing all four lights takes some care. Start with your key, add fill for the right contrast, then bring in separation and background lights at lower power.
With four lights, you can get creative—try gels on the background or go wild with rim lighting for fashion shoots.
Lighting for Different Photography Styles

Every photography style asks for its own lighting tricks. Portraits need controlled, flattering light. Product shots call for even, shadow-free illumination that shows off every detail.
Portrait Lighting Techniques
Studio photography lets you control exactly how light falls on your subject’s face. The main thing is knowing how lighting techniques set the mood.
Rembrandt lighting gives you that classic triangle of light under one eye. Just set your key light at a 45-degree angle and you’re there.
Butterfly lighting puts the light right in front and above, making a butterfly shadow under the nose and highlighting cheekbones.
For drama, go for split lighting. Move your light to the side for a bold half-lit, half-shadowed face.
Three-point lighting—key, fill, and backlight—gives you the most control over highlights and shadows. It’s a staple for professional headshots.
Product Photography Lighting
Product photography is all about clear, even light with minimal shadows. You want just enough contrast to show texture, but no harshness.
Most folks use continuous lights or strobes with big softboxes. That way, you get soft, even light all over the product.
High key lighting works wonders for products. Multiple lights create bright, clean images with hardly any shadows—perfect for e-commerce.
Try a lightbox or tent for small items. These surround your product with diffused light, so you get even results from every angle.
If you’re shooting shiny stuff like jewelry, you’ll need to position your lights carefully. Use diffusers to avoid harsh reflections and add fill cards to brighten up shadowy spots.
Creative Lighting Styles
Rim lighting adds a cool outline around your subject. Just put a light behind them for a glowing edge.
Backlighting can create gorgeous silhouettes or semi-silhouettes. Add a fill light in front if you want to keep some detail.
Low key lighting uses as little light as possible for moody, high-contrast shots. Shadows and darkness set the vibe.
Try colored gels for mood. Blue gels give a modern, cool look, while orange gels add warmth and energy.
Hard lighting comes from a bare, undiffused source. It gives you sharp shadows and high contrast—great for dramatic portraits or artsy still life.
Balancing and Controlling Light
Getting your lights balanced is key to professional-looking photos. You’ll want to control each flash’s power, manage the key-to-fill ratio, and make sure your colors look right from every source.
Adjusting Flash Power
Flash power controls how much light your strobe gives off. Most studio flashes let you dial it down from full power to as low as 1/64th or even 1/128th.
Start your key light at quarter power. This leaves you space to tweak the output up or down without maxing out.
Use your camera’s light meter or a handheld meter to check the exposure.
Ways to adjust power:
- Manual dials on the flash unit
- Remote triggers with power settings
- Studio software if you’re using connected lights
Lowering the power helps your lights recycle faster between shots. It also keeps things cooler, so you can shoot longer without overheating.
Test your setup by shooting at different power levels. Watch how the shadows shift as you change the main light’s brightness.
Usually, you’ll want your fill light at half the power of your key light.
Managing Lighting Ratios
Lighting ratio shows the difference in brightness between your key and fill lights. For example, a 2:1 ratio means the key light is twice as bright as the fill.
Here are some common ratios:
- 1:1 ratio – Even lighting, barely any shadows
- 2:1 ratio – Soft shadows, natural look
- 4:1 ratio – Stronger shadows, more contrast
- 8:1 ratio – Very dramatic, high contrast
Use a light meter to measure these ratios. Take a reading from the shadow side and one from the highlight side of your subject’s face.
The difference in f-stops tells you the ratio. One stop equals 2:1, two stops equals 4:1, and three stops means 8:1.
Change the ratio by adjusting either light’s power or moving a light closer or further from your subject.
If you double the distance, the light drops by two stops.
Ensuring Colour Accuracy
Colour temperature tells you how warm or cool your light is, measured in Kelvin. Most studio flashes sit around 5500K, which matches daylight.
Mixing different types of lights can mess up your colours. Tungsten bulbs run warm at 3200K, and LED panels can be all over the place. Stick to matching colour temperatures when you can.
Tools for colour accuracy:
- Colour temperature meter
- White balance cards
- Adjustable LED panels
- Colour correction gels for mismatched lights
Set a custom white balance with a grey card under your lights. This keeps your colours looking right in the final image.
Check your lights with a colour meter now and then. Flash tubes shift colour as they get older, usually turning green or magenta. If they drift more than 200K from their original rating, it’s time to swap them out.
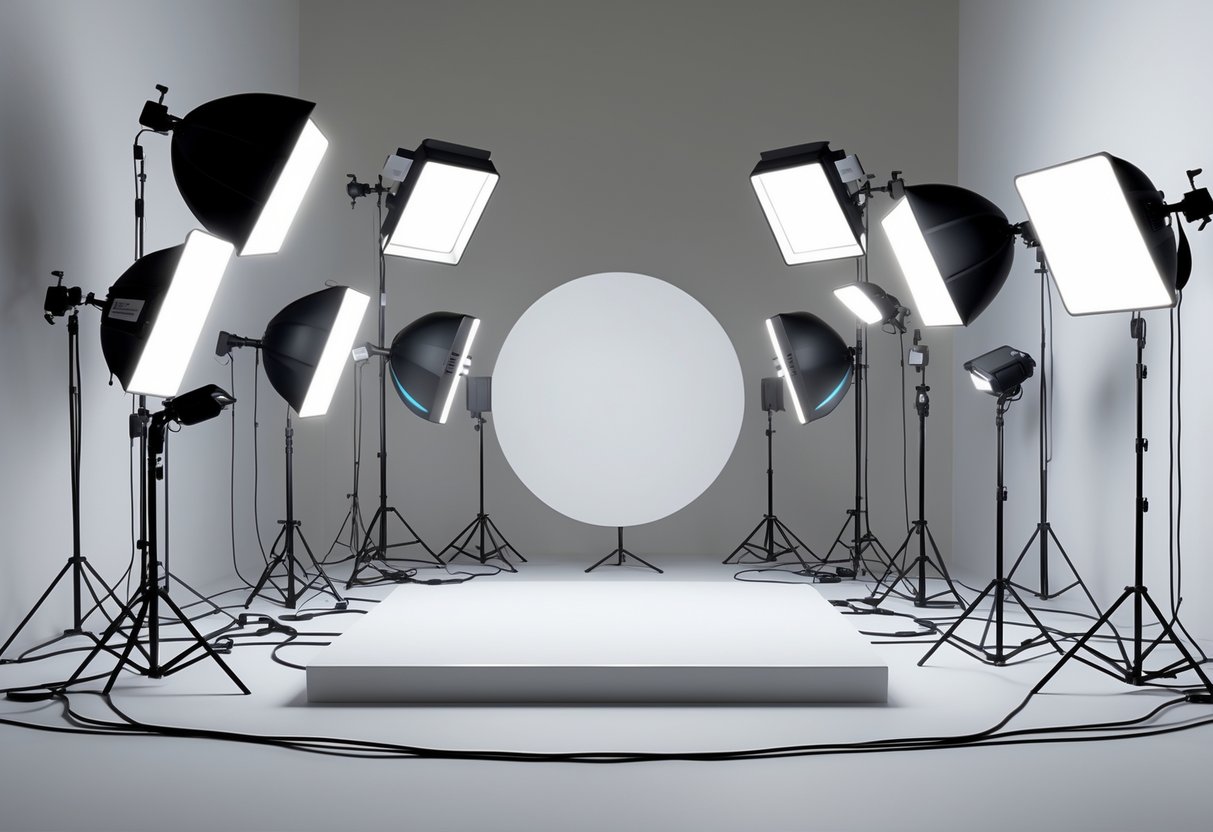
Studio Setup Tips and Considerations

A good studio setup really separates amateur work from professional results. You need the right space, sturdy light stands, and a solid trigger system to keep things consistent.
Choosing Your Studio Space
Your studio space shapes every photo you take. Natural light can mess with your setup, so pick a room with few windows or hang blackout curtains.
Ceiling height matters more than most folks expect. You’ll need at least 2.5 metres to get your lights up high enough without harsh shadows. Higher ceilings just make things easier.
Wall colour changes your lighting, too. White walls bounce light back at your subject, acting like giant reflectors. Dark walls soak up light, giving you more control but needing stronger lights.
What you need in your space:
- At least a 3×3 metre floor area
- Non-reflective floors (skip the shiny tiles)
- Several power outlets around the room
- Storage for modifiers and backgrounds
Keep the studio environment at a comfortable temperature. Hot lights can make models sweat and gear overheat.
Good ventilation stops condensation on lenses when you’re moving between temperature zones.
Arranging Light Stands
Light stands are the backbone of your lighting setup. Put them in place before mounting any lights to avoid accidents.
Heavy-duty stands keep your expensive gear from tipping over mid-shoot.
Set your key light first, then build the rest of your stands around it. Keep stands out of walkways so nobody trips on legs or cords.
Light stand tips:
- Always spread the legs out fully for stability
- Place sandbags on each leg for extra safety
- Run cables away from where people walk
- Mark stand spots with tape for repeat setups
Use boom arms for overhead light instead of stacking stands sky-high. Booms give you better control and stay steadier.
Counterweight boom arms so they don’t tip over.
Wired and Radio Trigger Systems
Radio triggers let you move around your studio without getting tangled in cables. Most modern triggers work up to 100 metres with barely any delay.
Wired connections still win for reliability, especially with lots of lights. Sync cables won’t drop out due to interference or dead batteries.
Use wires for your main lights and radio triggers for accent lights.
Trigger system breakdown:
| Type | Range | Reliability | Setup Time | Cost |
|---|---|---|---|---|
| Radio | 30-100m | 95-98% | Quick | £50-200 |
| Wired | Cable length | 99.9% | Medium | £20-80 |
| Optical | Line of sight | 90-95% | Instant | £15-50 |
Test your radio triggers before every shoot. Swap batteries often and keep spares in your bag.
If you get random misfires, try changing channels—phones and WiFi can interfere.
Always keep backup wired triggers for critical moments. Pros never trust just one system.
Common Lighting Mistakes and How to Avoid Them
Bad studio lighting can ruin even the slickest gaming setup, turning it into an unprofessional mess. The biggest problems? Lights that are way too strong or too weak, shadows that hide your face, and way too much gear stuffed into a tiny space.
Overpowering or Underpowering Lights
A lot of streamers grab the brightest lights they can find, thinking more power means better quality. Instead, you end up looking washed out—almost ghostly.
If your lights are too strong:
- Your skin turns completely white
- Clothing details vanish
- Your camera can’t show colours properly
Weak lighting isn’t much better. It makes your camera struggle, which adds grain and just looks unprofessional.
How to fix it: Set your key light to about 50% power and adjust from there. Most LED panels have dimmers.
Record a 30-second test clip. Check if you can see details in both the bright and dark areas.
For most gaming setups, a main light of 1000-2000 lumens works well. Ring lights between 18-24 inches are a solid choice for solo streams.
Unwanted Shadows and Highlights
Bad light placement leaves you with dark circles under your eyes or shiny hot spots on your forehead. Shadows like these make you hard to see and just look amateur.
The worst offender? A single light straight in front of you. That creates harsh shadows behind you and awkward lighting on your face.
Common shadow issues:
- Dark under-eye circles from overhead lights
- Half your face vanishes when you turn
- Shadows from your headset or glasses
Quick solutions: Set your main light just above eye level and angle it down at about 30 degrees. Add a second, dimmer light on the other side to fill shadows.
Bounce light back onto your face with a white wall or foam board. It’s cheap and surprisingly effective.
Keep lights at least an arm’s length away to avoid hot spots.
Cluttered Studio Arrangements
Too many lights, cables, and stands just clutter your space. We’ve seen people cram five lights into tiny rooms and expect magic.
Problems with crowded setups:
- Cables everywhere—trip hazards galore
- Stands taking up all your desk space
- Too many lights casting weird, competing shadows
How to simplify: Start with just two lights—a key and a fill. Add more only if you need them.
Use boom arms that clamp to your desk instead of floor stands to keep your floor clear.
Run cables along the wall with clips. Bundle power cords together and keep them out of your gaming area.
Spacing basics:
- Keep at least 60cm between your chair and any stands
- Place lights so you can tweak them from your seat
- Leave clear paths to doors and windows
Most top streamers stick to simple two- or three-light setups. Overcomplicating often makes things look worse, not better.
Maintaining and Expanding Your Lighting Kit
A lighting kit that’s well cared for just works better and lasts longer. Smart upgrades open new creative doors. Regular maintenance saves money, and adding the right gear helps you try new lighting tricks.
Caring for Lighting Equipment
Wipe down your lights after each session to keep dust from building up. Use a soft microfiber cloth on LED panels and strobes.
Skip harsh cleaners—warm water and mild soap handle stubborn spots.
Pack your lights in padded cases when you’re not using them. Big temperature swings can mess with bulbs and electronics.
Check cables often for fraying or loose plugs. Swap out bad leads right away to avoid safety issues.
Maintenance checklist:
- Dust lights weekly
- Inspect cables monthly
- Store gear in dry places
- Keep spare bulbs handy
Continuous lights get hot, so let them cool before packing up. This stops condensation inside cases.
If you use battery-powered lights, recharge them regularly. Don’t leave them empty for long stretches.
Upgrading Modifiers and Accessories
Start with basic light modifiers like softboxes and reflectors. They make the biggest difference for the money.
A 60cm softbox (about £30-50) turns harsh light into soft, flattering portraits. It’s usually the first upgrade people make.
Top modifier upgrades:
- Large softbox (60-80cm) for portraits
- Beauty dish for fashion shots
- Grids for more control
- Coloured gels for creative effects
Reflectors are a great value. A 5-in-1 disc (£15-25) gives you white, silver, gold, and diffusion in one.
Think about your shooting style when you upgrade. Portrait shooters need big softboxes, product shooters love grids and snoots.
Don’t buy everything at once. Try one new modifier at a time and see what it does for your photos.
Expanding for Advanced Techniques
Adding more lights opens up pro-level techniques. Start with two lights—a key and a fill or background light.
Three-point lighting means key, fill, and hair/background lights. It’s a classic setup for portraits and interviews.
How to expand:
- Add a second matching light for colour consistency
- Use a background light with barn doors
- Put a hair light on a boom arm
- Get radio triggers for wireless control
Keep colour temperatures matched across your gear (3200K for tungsten, 5600K for daylight).
Radio triggers cut cable mess and let you change settings from across the room. Budget £100-200 for a good wireless system.
Background lights give depth and separation. Even a simple LED panel behind your subject can create a clean rim light.
Expand only when you need to solve a creative problem. Each new light should serve a purpose.
Frequently Asked Questions
These questions cover the basics of photography lighting setup and tackle common problems. Let’s dig into essential gear, studio tricks, and a few setup diagrams to get you started.
What are the essentials for a beginner’s photography lighting setup?
A beginner setup doesn’t need much. Just grab one or two LED lights, a couple stands, and something to soften the light.
Start with a single LED panel or speedlight as your main light. They cost £30-100 and deliver solid results.
Add a light stand for £20-40 so you can position your light properly.
A white foam board or reflector bounces light back onto your subject. It fills shadows and costs less than £15. Honestly, a big white poster board from a stationery shop works fine.
Pick up a simple diffuser like an umbrella or softbox to soften harsh light. Small umbrellas start at £10 and do a good job for portraits.
You can even use your camera’s built-in flash as a second light. Just move it off to the side instead of pointing it straight on.
How can you create professional studio lighting for portraits?
When you light a portrait professionally, you usually use three main lights: key light, fill light, and background light. This combo adds depth and helps your subject stand out from the background.
Set your key light at a 45-degree angle to your subject. Make it your brightest light, and let it shape the main shadows on the face. Keep it just above eye level.
Add a fill light on the opposite side to soften those shadows. Set this one to about half the power of your key light. If you don’t have another light, a reflector works too.
Place a background light behind your subject for extra separation. This one should be dimmer than your key light, but still strong enough so your subject doesn’t blend into the backdrop.
Check your balance with a light meter or your camera’s histogram. Usually, the key light sits one to two stops brighter than the fill.
Can you explain the concept of butterfly lighting and how to set it up?
Butterfly lighting gets its name from the little butterfly-shaped shadow under the nose. It’s a classic look—flattering for most face shapes and gives even, pretty lighting.
Set your main light right in front of your subject and just above their eye level. Raise it high enough to cast that small shadow under the nose, but not so high that you get dark eye sockets.
Pop a reflector below the face to bounce light back up and soften shadows under the chin. Keep it just out of the frame, angled toward the face.
Watch the shadow under the nose. If it stretches past the corners of the mouth, lower your light or bring it closer.
You’ll get the best results with a big, soft light source like a softbox. Hard lights just make the shadows too harsh for this style.
What’s the ideal two-light setup for portrait photography?
A two-light setup keeps things simple and professional. You’ll use a main light and then either a fill or a background light.
Angle your main light at 45 degrees to one side of your subject. This gives nice, natural shadows and adds dimension to the face. Make this your brightest light.
Decide if you want your second light as a fill or a background light. Fill goes on the opposite side to soften shadows, while background light sits behind your subject to separate them from the backdrop.
If you go with fill, keep it about half as bright as your main light. Too much power and you’ll lose all that nice shadow detail.
For background lighting, aim for about one stop less than your main. That adds a subtle glow but doesn’t steal the show.
Keep both lights at about your subject’s face height. That usually looks the most natural.
Where can I find a comprehensive guide to studio lighting for photography?
You’ll find tons of detailed studio lighting guides on photography websites. Look for ones with real setup photos—not just diagrams.
Magazines like Digital Photography School and PetaPixel run free lighting tutorials with step-by-step images.
YouTube’s packed with pro photographers showing their studio setups in real time. Try searching for “portrait lighting setup” or “studio lighting basics” if you want to see how it’s done.
Photography forums like DPReview have lively discussions where people share their setups. You can jump in and ask for advice or see what others are doing.
If you prefer learning in person, check out your local camera shop. Some offer lighting workshops where you can test gear and get hands-on experience.
Could you provide a simple explanation of how to read a studio lighting setup diagram?
Studio lighting diagrams use symbols to show where you should place lights, cameras, and subjects.
Once you learn these symbols, you’ll find it way easier to recreate professional lighting patterns.
Lights usually look like circles or triangles. Lines show which way the light points.
Solid lines mean hard light. If you see dotted or wavy lines, those stand for soft light—usually from a diffuser.
The camera often looks like a rectangle or a little camera icon. A line or arrow points out the direction the camera faces.
Your subject shows up as a circle or a simple head shape. Where you put the subject compared to the lights and camera really changes the final effect.
Reflectors look like curved lines or panels. They bounce light back onto your subject from the main lights.
Background elements, like walls or backdrops, are just straight lines behind your subject. Sometimes you’ll spot numbers next to the lights—these tell you the power settings or how far away the lights are.
