Keyboard Switch Preferences: Customising Your Typing Experience
Updated On: November 13, 2025 by  Aaron Connolly
Understanding Keyboard Switch Preferences
Keyboard switch preferences feel like a personal thing—they shape how we type, play, and even how we feel about sitting at the computer for hours. Picking the right switch can make a huge difference in comfort and help us avoid fatigue, especially during those marathon gaming sessions.
What Are Keyboard Switch Preferences?
When we talk about keyboard switch preferences, we really mean how we want the keys to feel and sound with every press. This choice can change everything from our typing speed to our gaming performance.
Everyone types a little differently. Some folks love light, smooth keystrokes that barely put up a fight. Others want a solid bump with each press, something that says, “Yep, you hit that key.”
The main preference categories:
- Force requirements – How much pressure we want for each key
- Feedback type – Whether we like a noticeable bump or a smooth press
- Sound levels – From whisper-quiet to attention-grabbing clicks
- Response speed – How fast the key reacts
Our environment matters too. If we’re gaming in a quiet apartment, we probably want something different than if we’re typing in a noisy office.
Most of us figure out what we like by just trying things out. What feels great for a short session might start to annoy us after a few hours.
Benefits of Personalising Keyboard Settings
When we customise our keyboard switches, we actually make our daily computer time easier and more comfortable. The right switches can seriously reduce finger fatigue and help us type more accurately.
Performance benefits:
- Faster typing as our fingers get used to the feel
- Fewer typos thanks to clearer feedback
- Less hand strain, even during long sessions
- Quicker reactions in games
We often don’t realise how much a keyboard can affect our comfort. Choosing the wrong switch can leave our fingers sore and slow us down.
Gaming gets a boost too. Linear switches make rapid key presses easier in fast-paced games. Tactile switches help us avoid hitting the wrong key when things get intense.
Noise is a big deal. Silent switches mean we can play late without waking anyone up. Clicky switches, on the other hand, feel super satisfying when we’re typing up a storm.
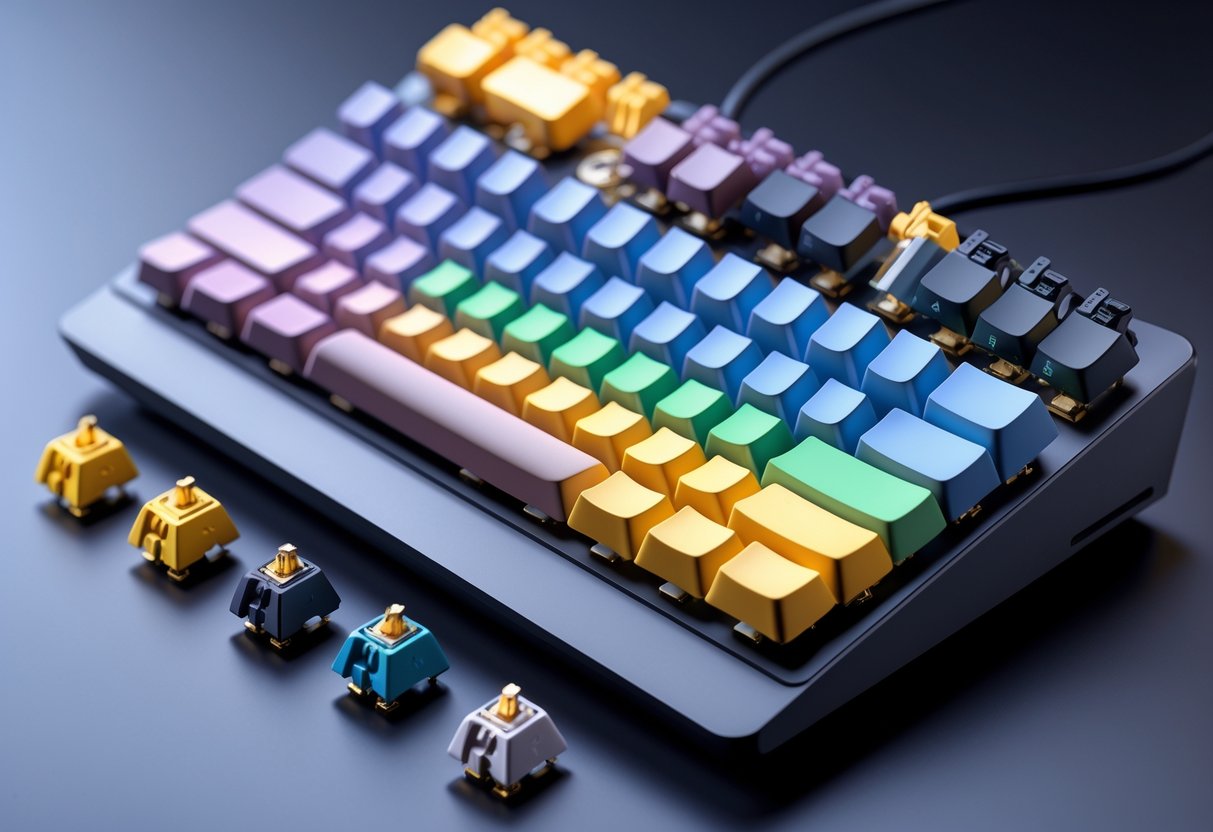
A lot of mechanical keyboards now let us swap out switches without buying a new keyboard. That makes experimenting a lot less risky (and a lot more fun).
Common Scenarios for Switching Preferences
Different tasks really call for different switch types. The switch that’s perfect for gaming might feel totally wrong for cranking out long documents.
Office work:
- Quiet spaces need silent or low-profile switches
- Heavy typists benefit from tactile feedback
- Shared desks? Membrane-quiet switches keep the peace
Gaming:
- FPS games work best with fast linear switches
- Strategy games feel better with tactile switches
- Streamers need quiet switches so the mic doesn’t pick up every tap
Sometimes we just need more than one keyboard. Esports pros often use linear switches for gaming, then switch to tactile ones for regular computer stuff.
Budget matters:
- Entry-level mechanical keyboards usually start around £50-80
- High-end switches can climb up to £150-300
- Switch tester kits are a smart way to avoid wasting money
Time of day makes a difference too. Late-night gaming? Quiet switches are a must. A lot of us end up keeping separate keyboards for different times or tasks, just to avoid compromise.
Keyboard Layout Options
Keyboard layouts can totally change how we play or type, from speed to how easy it is to reach certain keys. QWERTY, AZERTY, and Dvorak all have their own quirks and advantages, depending on what you’re into and where you live.
Popular Keyboard Layouts
QWERTY is still the go-to layout almost everywhere. Most gaming keyboards stick with this setup.
It puts the WASD keys right where we want them for gaming. For most FPS and strategy games, it just works.
AZERTY is the standard in French-speaking countries. It swaps A and Q, and also Z and W.
French gamers often stick with AZERTY for everyday typing, but many switch to QWERTY just for gaming.
Dvorak organises keys by how often we use them. The most common letters sit right on the home row.
Some competitive players claim Dvorak helps with finger strain, but honestly, the learning curve is pretty steep.
Colemak is a modern twist on layouts. It keeps shortcuts familiar while making typing more efficient.
And then there are regional layouts like QWERTZ (German) and JIS (Japanese). These make native language typing easier, especially during games.
Comparing QWERTY, AZERTY and Dvorak
| Layout | Pros | Cons | Best For |
|---|---|---|---|
| QWERTY | Works everywhere, familiar keys | Not the most efficient | General gaming, beginners |
| AZERTY | Great for French, regional standard | Not ideal for international gaming | French speakers |
| Dvorak | Less finger strain, can be faster | Hard to learn, not widely supported | Typing-heavy games, long sessions |
If you want the path of least resistance, QWERTY is the way to go. Every game assumes you’re using it.
Key bindings just work. You won’t run into weird control problems.
AZERTY can make gaming a hassle. Swapping W and Z messes with movement controls in a lot of games.
French players often bounce between layouts for work and play. That gets old fast.
Dvorak is a project. You’ll need to retrain your muscle memory, especially for gaming.
Some folks say their fingers feel better after a long session, but honestly, the speed boost is more for typing than gaming.
Choosing the Ideal Layout
Stick with what feels natural at first. Switching layouts means you’ll be slower for a while as you adapt.
Think about the games you play most. FPS games depend on WASD. Strategy games mean more typing for chat and commands.
Windows 11 makes changing layouts easy. Head to Settings > Time & Language > Language & Region.
Hit Windows + Spacebar to swap layouts on the fly. You can try out different ones without making anything permanent.
Try before you commit. Use typing games or online tools to get a feel for new layouts.
Most gaming cafés and tournaments use QWERTY. If you play competitively, keep that in mind.
Think about what else you do. If you stream or write a lot, typing speed matters as much as gaming.
Dvorak might help with productivity outside of games. AZERTY is perfect for French content creators.
Here’s a quick tip: Set up a couple of layouts in Windows, then spend 10 minutes a day on each. You’ll figure out pretty fast which one suits your style.
Configuring Keyboard Preferences in Windows 11
Windows 11 makes it pretty straightforward to add or swap keyboard layouts. We can pick a default and add new languages in just a few clicks.
Accessing Keyboard Settings
To get to keyboard settings, we start in the Settings app. It’s just a couple of steps once you know where to look.
First, we click the Start button and hit the gear icon, or just press Windows key + I to open Settings right away.
Then, we choose Time & language from the sidebar. That’s where all the language stuff lives.
Next, we click Language & region on the right. Here, we see our language settings and any keyboard layouts we’ve set up.
Under “Languages,” our main language shows up. Each language can have several keyboard layouts.
To tweak keyboard options, we click the three dots next to the language and pick Language options.
Installing Additional Keyboard Layouts
Adding a new keyboard layout lets us type in different languages or try out something like Dvorak. Windows 11 gives us a ton of choices.
On the Language options page, we look for the “Keyboards” section. That’s where we see what’s already installed.
To add a layout, we hit Add a keyboard. A list pops up with all the options for our language.
Scroll through, click the one we want—US International, UK Extended, or something else—and it shows up right away in the list.
We can add as many as we like, really.
Quick tip: Some layouts make certain tasks easier. US International helps with accented characters, while Dvorak might speed up typing (for some people, anyway).
Setting a Default Keyboard Layout
Once we have a few layouts, we can pick which one Windows 11 uses by default. That’s the layout we’ll get when we open a new app.
The first layout in the list becomes the default. If we want to change that, we just remove and re-add layouts in our preferred order.
We can also switch layouts by clicking the keyboard icon in the system tray and picking one from the dropdown.
Or, just hit Windows key + Spacebar to cycle through layouts anywhere, anytime.
If we want to clean up, we go back to Language options, click the three dots next to a layout, and select Remove.
Windows 11 remembers which layout we pick for each app. If we switch to a different layout in Word, it stays there until we change it again.
Configuring Keyboard Preferences in Windows 10
Windows 10 keeps keyboard layout changes simple through the Settings app. We can add multiple layouts, switch between them instantly, and set our favourite as the default.
Finding Keyboard Settings
All the keyboard layout options sit in one place in Windows 10. We just need to know where to look.
Press Windows key + I to open Settings. Click Time & Language.
Then, select Language from the sidebar. That brings up the language and keyboard area.
Under “Preferred languages,” our default language shows up. Click it to expand the options.
Hit the Options button next to our language. Now we see all the keyboard layouts installed.
The “Keyboards” section lists every layout. Here, we can add, remove, or adjust what we use.
Adding New Keyboard Layouts
Adding more layouts gives us flexibility for different tasks. Windows 10 has a long list for each language.
Click Add a keyboard in the “Keyboards” section. A dropdown appears with all available layouts.
Pick the one we want—QWERTY, Dvorak, UK Extended, whatever. It pops right into the list.
If we have more than one layout, Windows 10 turns on the Input Indicator in the taskbar. This little icon lives in the bottom right.
If we can’t see the Input Indicator, go to Settings > Personalisation > Taskbar. Click “Turn system icons on or off” and flip on Input Indicator.
Making a Layout Default
We can make our favourite layout the easiest to access. Windows 10 lets us reorder or remove layouts as needed.
To switch layouts fast, click the Input Indicator in the taskbar and pick one from the list.
Or just press Windows key + Spacebar to cycle through all layouts. It’s much quicker than using the mouse.
The last layout we used becomes the active one. Windows 10 remembers this and uses it in new apps.
To tidy up, go back to the “Keyboards” section in Language settings. Click any layout we don’t need and hit Remove.
We can also change the shortcut for switching layouts. Head to Settings > Devices > Typing and tweak the key combos under “Advanced keyboard settings”.
Switching Between Keyboard Layouts Easily
Switching keyboard layouts on Windows? It’s actually pretty easy. You don’t need to dig through endless menus—just use built-in keyboard shortcuts to flip layouts instantly.
The Windows key + spacebar combo is hands down the fastest way.
Using Keyboard Shortcuts
Keyboard shortcuts give you the quickest route to changing layouts, whether you’re gaming or typing up an essay.
Windows offers a few ways to do it, and these shortcuts work in any app.
Windows Key + Spacebar is the main one. Hold the Windows key, tap spacebar, and you’ll cycle through whatever layouts you’ve installed.
Alt + Shift works too. It’s an older shortcut, but it’s still around in new Windows versions. Some folks like it because you barely have to move your hand.
You’ll see the current keyboard layout pop up on your screen for a second when you switch. The system tray icon updates too, so you always know what’s active.
You don’t need to set anything up for these shortcuts. Just make sure you’ve got more than one keyboard layout installed.
The Windows Key + Spacebar Combination
The Windows key + spacebar shortcut lets you scroll through all your installed keyboard layouts in order. Each tap moves you to the next one on your list.
Hold the Windows key, tap spacebar until you see the layout you want, then let go.
If you only have one layout, nothing happens. You’ll need to add another layout in Windows Settings first.
Quick tip: The shortcut cycles through layouts in the order you set in your preferred languages list. Put the ones you use most at the top for easier access.
The system tray indicator shows your active layout. Click it if you want to switch layouts with your mouse instead.
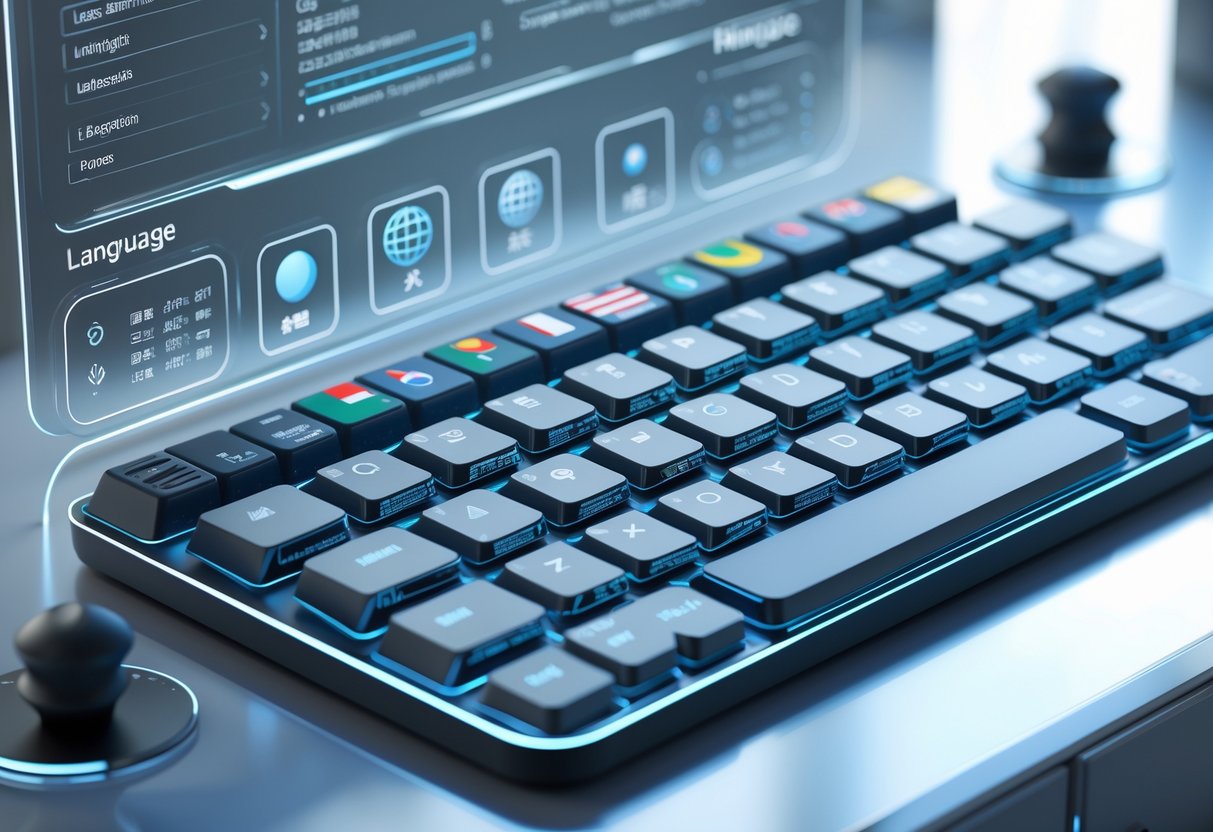
Keyboard Languages and Language Packs
Windows supports tons of keyboard languages right out of the box. Language packs go further by changing your whole system’s language. You can add new keyboard layouts quickly, and you don’t always need a full language pack—though some rare layouts might require extra downloads.
Adding Keyboard Languages
Adding keyboard languages in Windows 11 is pretty painless. Hit the Windows key, type “Edit language and keyboard options,” and you’re there.
In the Language & Region menu, click the three dots next to your language. Choose “Language options” from the dropdown.
Scroll to the Keyboards section, then click “Add a keyboard.” You’ll see a list of layouts for that language.
After adding a new keyboard language, you can switch between them right away. Just press Windows key + Spacebar.
Or, if you like clicking, hit the language icon in your system tray to see all your available keyboard languages.
Quick tip: Windows remembers which keyboard language you use for each app. So, you might write emails in English, but when you open your language learning app, it switches to Spanish automatically.
Installing Language Packs
Language packs do more than just add keyboard layouts—they localize your entire Windows experience. Menus, error messages, system text, all of it.
To install a language pack, open Settings > Time & Language > Language & Region. Click “Add a language” and pick from the list.
Windows will show you what features each language supports, like display language, speech recognition, or text-to-speech.
Once you select a language, Windows downloads the files automatically. Some packs are pretty big, so make sure you’ve got a decent internet connection.
Warning: Some language packs only work on Windows Pro or Enterprise. If you’re on Home, you might not see every option.
After the pack installs, you can set it as your system default. You’ll need to restart for the change to take effect everywhere.
Language and Region Settings Explained
Windows gives you a lot of control over keyboard languages in the Time & Language settings. You can add languages, switch layouts, and customize how your system handles regional formats.
Navigating Time & Language
Open Settings and head to Time & Language. In Language & Region, you’ll see all your installed languages under “Preferred languages.”
Your current Windows display language sits at the top. Any extras you’ve installed for typing or apps show up below.
The Windows display language dropdown lets you change the system interface. If you pick a new one, Windows will ask you to sign out and sign back in.
You can also check your Regional format settings here. This changes how dates, currency, and numbers appear.
Quick tip: The input language icon in your system tray tells you which keyboard layout is active. Click it to switch layouts on the fly.
Customising Language Options
Each language you install has extra options—click the three dots next to it. You’ll see settings for keyboard layouts and speech features.
Under Keyboards, you can view all input methods for that language. Add layouts like QWERTY, Dvorak, or regional variants by clicking Add a keyboard.
The Language features section offers downloads for things like text-to-speech, speech recognition, and handwriting input.
Warning: Sometimes, switching your display language changes your keyboard layout too. Check the input language icon after you log back in to make sure you’re using the right one.
You can drag languages up or down in your preferred list. The top language controls what Microsoft Store apps and websites show by default.
Personalising Keyboard Shortcuts
Quick key combos can make or break a game. You can set up shortcuts that match your playstyle or even create new ones for your favorite commands.
Default Keyboard Shortcuts
Most apps and games come with shortcuts for common actions. You know, Ctrl+C to copy, Ctrl+V to paste, Alt+Tab to switch windows.
Gaming software often brings its own set—recording gameplay, tweaking audio, or swapping profiles. Stuff like Ctrl+Shift+R for recording or Ctrl+M to mute is common in Steam, Discord, and streaming apps.
Quick win: Check your game’s settings for a full list of shortcuts. You might find something useful you didn’t know about.
Windows 11 has system-wide shortcuts too. Win+G opens the Game Bar, Win+Shift+S takes screenshots, and Win+Spacebar switches keyboard layouts if you’re juggling languages.
Sometimes, shortcuts clash with game controls. If Ctrl+W keeps closing your browser tab in the middle of a match, you may want to change things up.
Creating Custom Keyboard Shortcuts
You can make your own shortcuts in Windows settings or with special keyboard software. In Microsoft apps, start with File > Options > Customise Ribbon, then hit Customise at the bottom.
For system-wide shortcuts, gaming keyboards usually come with software like Razer Synapse, Logitech G HUB, or Corsair iCUE. These let you assign macros, launch apps, or control system functions with your own key combos.
Warning: Be careful about reassigning things like Ctrl+S. If you lose your save shortcut, you could really regret it during crunch time.
Start your new shortcuts with Ctrl or function keys (F1-F12). Test each one to make sure it doesn’t mess with something else. If you hit a conflict, just pick another combo.
Gaming-specific shortcuts are best for stuff you do all the time. Assign keys for profile switching, mic adjustments, or launching your streaming app.
Remember to save your shortcuts to your user profile, not just one document. That way, they’ll work everywhere.
Using Keyboard Software for Advanced Preferences
If you want more control, keyboard software opens up a world of customization. You can remap any key, build macros, and save different profiles for games or work.
Software for Remapping Keys
Most gaming keyboards include their own software, but you can use third-party options with any keyboard. Big names are Razer Synapse, Corsair iCUE, and SteelSeries Engine.
For something universal, try AutoHotkey (it’s free) or SharpKeys for basic swaps. These let you reassign keys without worrying about brand restrictions.
PowerToys from Microsoft is great for remapping too. It’s free, works with Windows 11, and lets you set up single-key swaps or custom shortcuts.
Most remapping software saves your setup to profiles. If you use the same program on another PC, your preferences come with you.
Features of Dedicated Keyboard Applications
Advanced keyboard apps offer things Windows can’t. Macro recording lets you assign a whole sequence of actions to one button. It’s a real time-saver for gaming or work.
Profile switching changes your keyboard layout automatically based on the app you’re using. Fire up Counter-Strike and your gaming setup loads. Switch to work and everything flips to your productivity layout.
RGB lighting control syncs your keyboard with other gear. Some apps even match lighting to your game’s colors or system stats.
Key response settings let you tweak actuation points and debounce times. Competitive players often fine-tune these for a faster feel.
Many programs include usage stats that show which keys you hit most. It’s handy for optimizing your setup over time.
Tips for Managing Multiple Layouts and Languages

Juggling different keyboard layouts and languages doesn’t have to be a pain. The trick is learning quick switching and avoiding common mistakes that can throw you off your game.
Best Practices for Switching
The Windows Key + Spacebar shortcut is a lifesaver for instant switching. It works on both Windows 10 and 11, no extra setup needed.
Stick to the layouts you actually use. Remove extras in Settings > Time & Language so you don’t accidentally switch mid-game.
Set up visual indicators in your taskbar. Windows shows a little language code (like “EN” or “FR”) near the clock. It’s an easy way to check your active layout before typing something important.
Build muscle memory for switching by practicing the shortcut when things are calm. Plenty of gamers mess up callouts because they’re typing in the wrong layout during a match.
Alt + Shift is another way to switch, but Windows Key + Spacebar is more reliable in most games and apps.
Avoiding Common Input Issues
Restart your system after you add new layouts. This helps prevent weird bugs where characters show up wrong or shortcuts break.
Make sure your default keyboard language matches your main gaming setup. Head to Settings > Time & Language and set your main language as default to stop startup headaches.
Some players accidentally switch languages while gaming. Disable shortcuts you don’t need if you keep switching by mistake. Change this in your language settings.
Test special characters before a big match. Symbols like “@” and “#” move around depending on your layout, which can mess up chat commands.
Keep a backup input method handy. If your main layout fails, knowing how to open the on-screen keyboard can save your day.
Troubleshooting Keyboard Switch Problems

Layout conflicts and shortcuts that stop working can really mess with your game. Sometimes, software settings override your hardware, and suddenly your keys act weird when you need them most.
Solving Layout Conflicts
Layout conflicts pop up when your keyboard’s physical switches don’t match your system’s software settings. This usually happens with UK vs US layouts or if some gaming software overrides what you’ve set up in Windows.
Start by checking your system layout. Head to Windows Settings > Time & Language > Language & Region. Make sure your keyboard layout matches the actual keys in front of you.
A lot of gamers accidentally select US International when they really want UK English. It’s an easy mistake.
Gaming software can override your system settings without you even noticing. Programs like Razer Synapse, Logitech G HUB, or SteelSeries Engine sometimes remap keys behind the scenes.
Dig into each program’s keyboard settings and turn off any profiles you don’t want. That can save you some headaches.
Gaming mode settings in keyboard software often disable Windows keys and function rows. If certain keys feel “dead” while you’re playing, try toggling gaming mode off. That way, you can figure out if the keys are physically busted or just software-disabled.
Try creating separate profiles for different games. That way, you won’t run into layout conflicts when switching between titles with different key setups.
Fixing Unresponsive Shortcuts
Unresponsive keyboard shortcuts usually come from software conflicts, not broken switches. Multiple programs fighting over the same key combos can block shortcuts from working.
Test your shortcuts in different apps to see if the problem is just with one program or if it’s everywhere. For example, if Ctrl+C works in Notepad but not in your game, your hardware is probably fine.
Background programs often grab common shortcuts. Discord, OBS, and streaming apps are known for this. Check their hotkey settings and turn off anything that’s causing trouble.
Windows Sticky Keys can mess with modifier combos. If shortcuts using multiple keys aren’t working, press Shift five times to toggle Sticky Keys off.
Gaming keyboards sometimes have function key locks that disable F1-F12. Look for an “Fn Lock” key or something similar. Try pressing Fn + F-Lock, or check your keyboard’s manual to find the right combo.
If shortcuts work only sometimes, clean your modifier keys (Ctrl, Alt, Shift) with some compressed air. Dust can cause random contact issues that mess up combo keypresses.
Frequently Asked Questions

Keyboard switches can seem confusing at first. But once you get a handle on actuation force, travel distance, and the differences between linear, tactile, and clicky types, picking the right switch gets easier.
Different brands throw in their own features, and some switches just feel better for gaming or typing. It’s a lot to take in, honestly.
What features should I consider when selecting switches for my mechanical keyboard?
I’d say focus on actuation force first. Lighter switches—around 45g—feel great for fast typing and gaming. Heavier switches, like 60-80g, cut down on typos but can wear your fingers out.
Durability matters too. Go for switches rated for at least 50 million keystrokes. Some premium switches, like SteelSeries OmniPoint, even handle 100 million presses.
Don’t forget about noise. Clicky switches are loud and can drive people nearby crazy. Linear switches keep things quieter.
Check out customisation options if you like to tinker. Hot-swappable keyboards let you swap switches without soldering. It’s a fun way to experiment without buying a whole new board.
Can you explain the differences between linear, tactile, and clicky switches?
Linear switches feel smooth from top to bottom. No bumps, no clicks—just a straight press. Cherry MX Red and Gateron are popular linear choices, especially for gamers who want fast reactions.
Tactile switches have a little bump when you press them. That helps you know when the key has registered, even if you don’t press all the way down. Cherry MX Brown is the go-to tactile switch.
Clicky switches give you both a tactile bump and a loud click. Cherry MX Blue is the classic clicky switch—loved by typists, hated by roommates.
Each style fits different needs. Gamers usually pick linear for speed. Typists lean toward tactile or clicky for the feedback.
What makes a keyboard switch suitable for gaming applications?
For gaming, you want fast response above everything else. Linear switches are best since they have no bumps to slow you down. The smooth action helps you hit keys fast, especially in rapid sequences.
Low actuation force—around 45-50g—makes a big difference for gaming. Your fingers move quicker and don’t get tired as fast during long sessions.
Short travel distance helps too. Switches that activate at 2mm or less register faster than those with 4mm travel.
Gaming keyboards often come with N-key rollover, so you can press lots of keys at once without losing inputs. Anti-ghosting stops wrong key signals when you hit multiple keys together.
Could you detail the importance of actuation force and travel distance in keyboard switches?
Actuation force is just how much pressure you need to press a key. Light switches—35-45g—work for fast typing, but you might get more accidental presses. Medium switches—50-60g—give a good balance.
Heavy switches above 65g help avoid mistakes, but your fingers might get tired. It really depends on your typing style and hand strength.
Travel distance is how far a key moves before it registers. Pre-travel is the distance before the key activates. Total travel is the whole way down.
Shorter pre-travel (around 1.5-2mm) gives you faster response. Longer pre-travel (2.5mm or more) can help stop accidental presses. Total travel changes how the key feels when you bottom out.
How do the various colours of keyboard switches relate to their characteristics and feel?
Cherry MX uses colours to show switch types. Red switches are linear and light—45g actuation force. They’re a top pick for gaming because they’re smooth and quick.
Blue switches are clicky and tactile with 50g force. They make a sharp click and have a strong bump. Writers and typists tend to love blues for the feedback.
Brown switches give you a tactile bump but no click. At 45g, they’re a nice middle ground for gaming and typing. Quieter than blues, but you still get that tactile feel.
Black switches are linear like reds but heavier at 60g. They’re good if you want smooth action and a bit more resistance to avoid accidental keypresses.
What are some popular brands of keyboard switches, and what do they offer?
Cherry MX sets the standard that others try to match. These switches last anywhere from 50 to 100 million presses, and honestly, you can count on their consistency.
You’ll find Cherry MX or Cherry-style switches in most mechanical keyboards.
Gateron switches feel smoother than Cherry MX, especially in the linear versions. They’re also more affordable, and you get plenty of color choices—plus, the RGB lighting looks great.
Razer decided to create their own switches to avoid running into supply problems. Their Green, Orange, and Yellow switches can handle up to 80 million presses. On top of that, some Razer switches use light-based activation, which makes them respond even faster.
SteelSeries gives you the OmniPoint switch, which lets you tweak the activation distance from 0.4mm all the way up to 3.6mm. You can really dial in the feel for gaming or just regular typing—pretty handy if you ask me.
Kailh brings budget-friendly switches to the table. They usually cost less than Cherry MX but still hold up well in terms of performance and durability.
