Discord Stage Channels: Features, Management, and Best Uses
Updated On: November 13, 2025 by  Aaron Connolly
Understanding Discord Stage Channels
Stage channels turn your Discord community into a broadcasting platform. They let speakers present to big audiences in a more structured way.
Unlike regular voice channels, stage channels focus on one-to-many communication in community servers. It’s a different vibe—more like a digital auditorium.
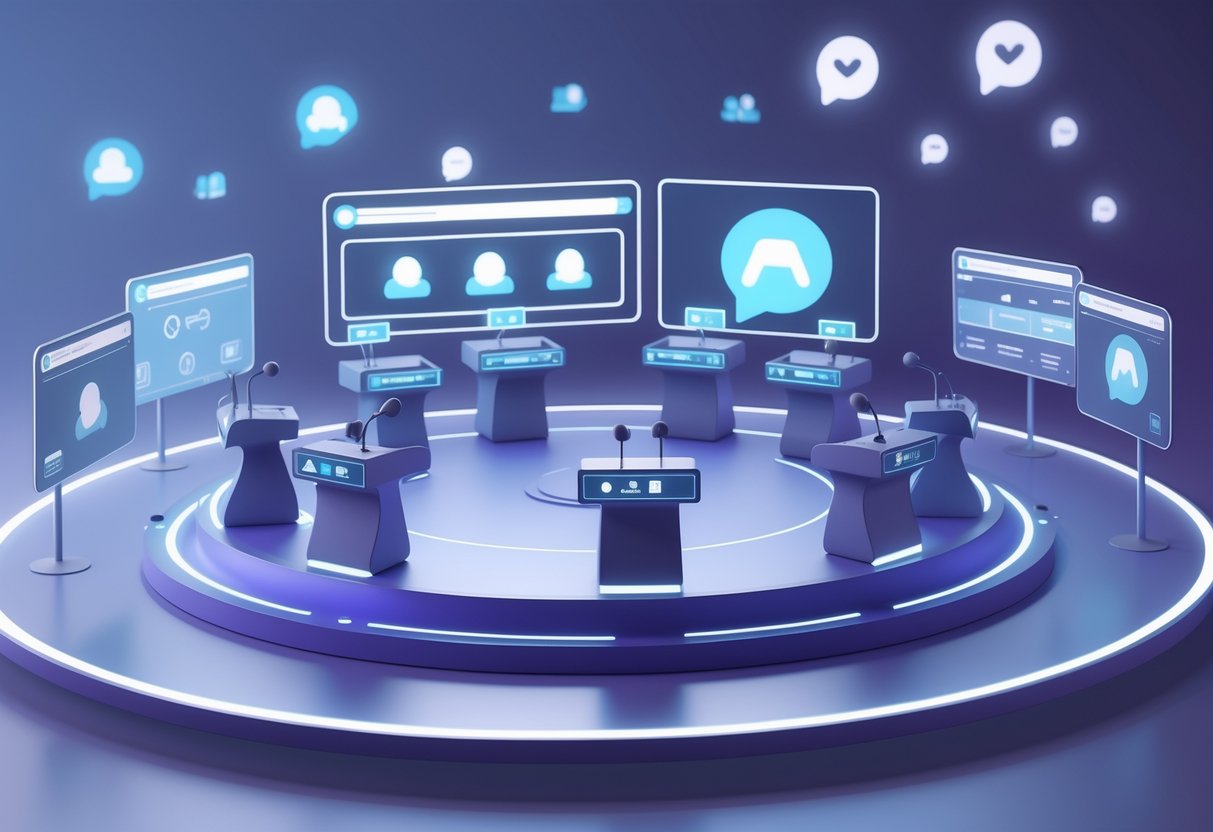
What Are Stage Channels?
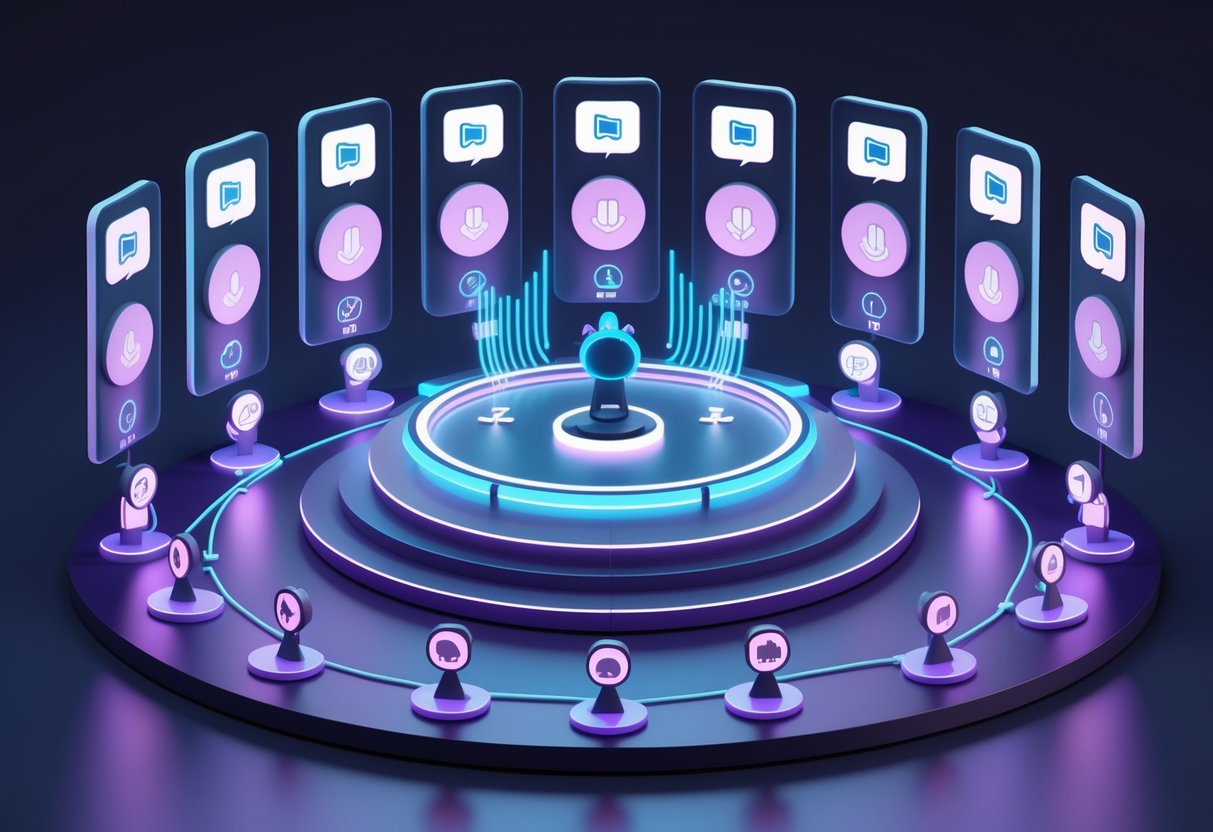
Stage channels are special voice channels built for organised audio events. They’re like a virtual stage where a few people talk and everyone else listens.
You’ll find three main roles here. Speakers get to talk and show up at the top. Stage moderators manage who gets the mic and keep things running smoothly. Audience members just listen unless someone invites them up.
Communities use stage channels for all sorts of things: AMAs, fireside chats, town halls, reading groups, podcasts, or lectures. The variety is kind of impressive.
When a stage is live, Discord pins it at the top of your server’s channel list. That makes it easier to spot and helps draw in more listeners.
Stage channels don’t play join or leave sounds. People can jump in or out without causing any awkward interruptions.
How Stage Channels Differ from Voice Channels
Voice channels feel more like group calls. Everyone can talk at once, and it’s basically a free-for-all.
Stage channels flip that. Only a few people can talk at a time, and the rest listen.
Check out the difference in audience sizes:
| Channel Type | Max Audio Participants | Max Video Participants |
|---|---|---|
| Voice Channel | 99 | 25 |
| Stage Channel | 10,000 | 50-10,000* |
*Video limits depend on server boost level
Voice channels work best for small chats. Stage channels really shine when you’ve got hundreds or thousands tuning in.
Moderation tools also change a lot. Voice channels stick to basic mute and kick. Stage channels add hand-raising, speaker invites, and better crowd control.
Role of Community Servers
Only Community servers can use stage channels. Regular Discord servers don’t have access.
You’ll need to enable public discovery, accept community guidelines, and set up moderation tools. Discord wants stage channels in well-managed places.
Honestly, it makes sense. Stage channels fit organised events, not just casual gaming. Community servers already have the right structure.
Switching to Community status just takes a few minutes. You unlock stage channels, server insights, and announcement channels. But you also have to follow stricter content and moderation rules.
Key Features of Stage Channels
Stage channels stand out for three reasons: they keep speakers and listeners apart, offer flexible audio/video, and support huge crowds. That’s why they’re great for controlled, organised events.
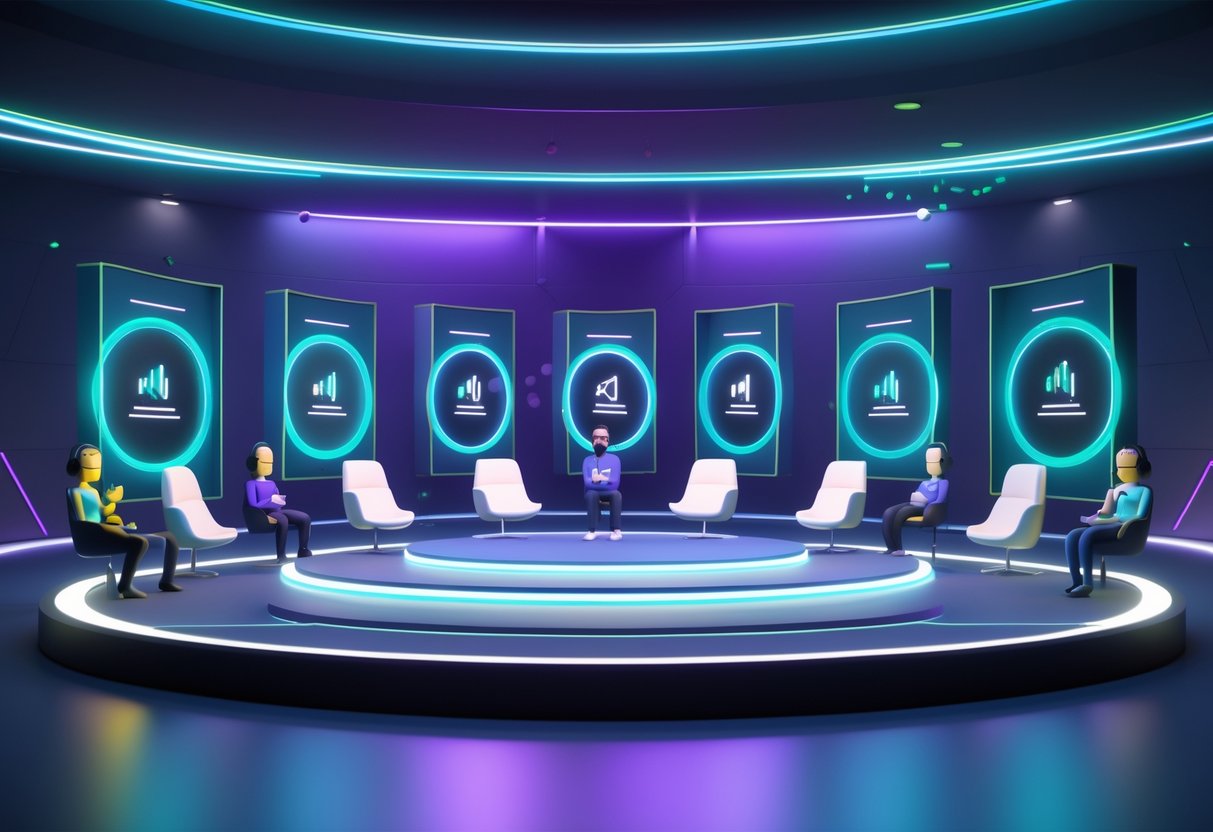
Speaker and Audience Separation
The biggest thing? Discord stage channels clearly separate speakers from the audience. When you join, you’re an audience member by default—your mic’s off.
Speakers sit at the top of the interface. They can talk whenever and move themselves back to the audience if they want.
Stage moderators get extra powers. They can:
- Set the stage topic
- Invite folks to speak
- Move speakers back to the crowd
- Kick people out if needed
If audience members want to talk, they raise a hand and wait for a moderator’s okay. It keeps things from getting chaotic.
This setup works really well for events like AMAs or presentations, where you need to keep things orderly.
Audio-Only and Video Options
Stage channels let you run either audio-only events or add video, depending on what you need.
Audio-only stages are like radio shows. The speakers talk, the audience listens, and nobody worries about video. It’s simple and you can have lots of speakers.
Video options let you:
- Show camera feeds from up to 5 speakers
- Share one screen at a time
- Let all audience members see the video
Speakers need the right permissions for video or screen sharing. Admins set these up in the server roles.
Audio-only is great for interviews or discussions. If you’re running a tutorial or something visual, the video options come in handy.
Audience Size Limits
Stage channels can handle way more people than voice channels, but the numbers change if you use video.
Audio-only stages allow up to 10,000 audience members. There’s no cap on speakers. Perfect for big announcements or community events.
Video-enabled stages have lower limits, based on server boosts:
- Free servers: 50 audience members
- Boost Tier 2: 150 audience members
- Boost Tier 3: 300 audience members
With Tier 3 boosts, you can add more seats—30 per extra boost—up to 10,000 total.
Heads up: If your crowd gets bigger than the video limit, speakers can’t turn on cameras or share screens. Plan ahead and enable video early if you think you’ll need it.
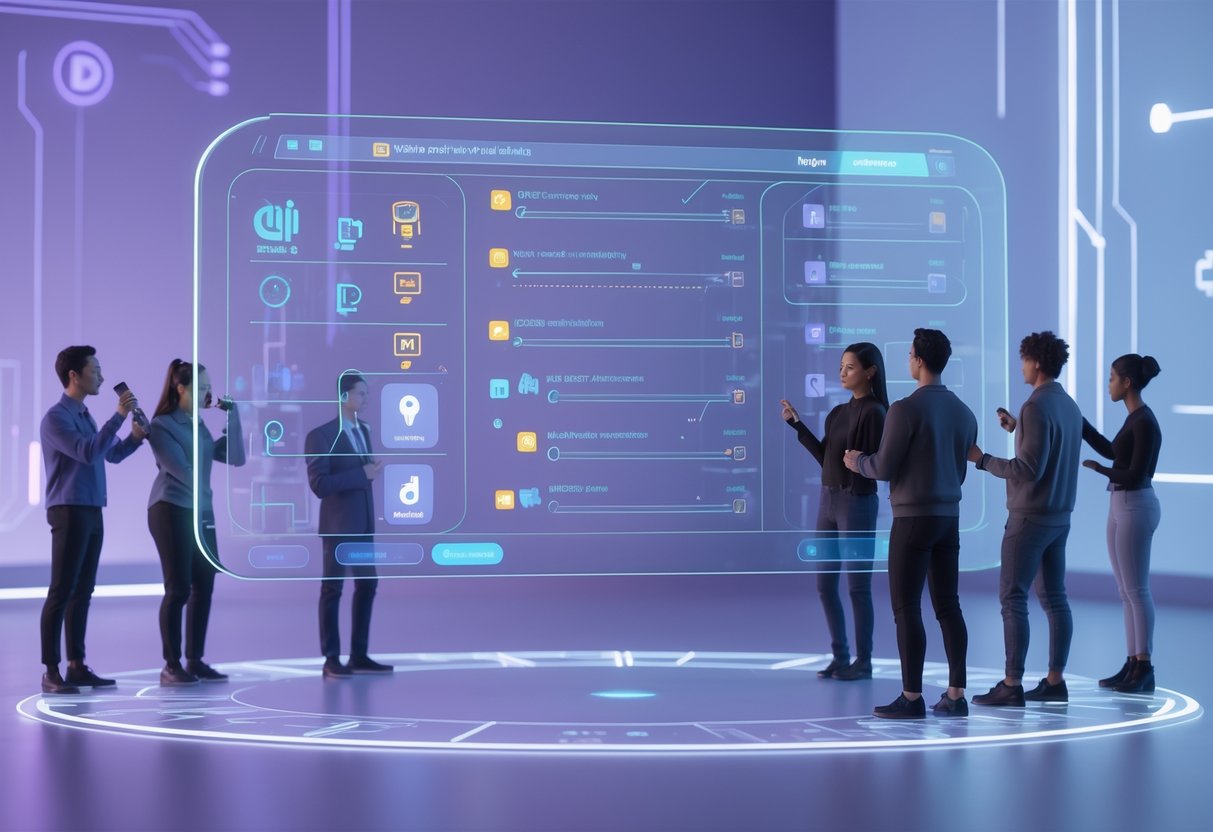
Creating a Stage Channel
To set up a stage channel, your server needs community features turned on and the right permissions in place. You’ll go into server settings, create the channel, and pick moderators who can help keep things on track.
Prerequisites and Permissions
First, make sure your Discord server is a community server. That’s non-negotiable for stage channels.
You’ll need Manage Channels and Manage Roles permissions to get everything working. Without those, you can’t set up or moderate the channel.
Here’s what you need:
- Community status enabled
- Server verification level set
- Rules and community updates channels picked
To turn on community features, just go to Server Settings > Enable Community. Discord walks you through setup, including the channels and guidelines.
Once you’ve done that, stage channels show up in your channel options. If you skip these steps, you won’t see them.
Step-by-Step Creation Process
Go to your server, right-click the category where you want the stage, and hit Create Channel.
Pick Stage Channel from the list. That option only appears if you’ve enabled community features.
Set up your channel:
- Name your stage channel
- Set permissions for speakers and listeners
- Decide which roles can request to speak
- Choose who can move others to speakers
Click Create Channel when you’re done. Discord adds the new stage with its own icon.
Before your first event, test your mic and audio. Stage channels run on audio, so you want everything working.
You can change settings later in the channel menu if you need to tweak permissions or rename it.
Assigning Stage Moderators
Stage moderators keep things running, manage speakers, and handle the crowd. Assign a few trusted people to this role before your event.
Make a Stage Moderator role in your server settings and give it the right permissions. Moderators should be able to move and mute members, plus manage the stage.
Give them these permissions:
- Move Members
- Mute Members
- Manage Channel (for the stage)
- Priority Speaker (so they can jump in)
Pick folks who know your community rules and can handle technical stuff. For big events, try to have at least 2 or 3 moderators.
Moderators can invite people to speak, remove troublemakers, and end the event if needed. Brief them on your event rules before going live.
Rotating moderator duties can help avoid burnout and give more people a chance to help out.
Configuring Stage Channel Settings
After you create your stage channel, you need to set up permissions and the topic. These steps decide who can moderate and how your event looks to the server.
Channel Permissions
You’ll need Manage Channels and Manage Roles permissions to handle stage channel access. Start with the basics before your first event.
Stage Moderator Permissions:
- Manage Channels
- Mute Members
- Move Members
Assign these to roles or specific members. Lots of servers make a “Stage Host” role to keep it simple.
To change permissions after setup, click Edit Channel and then Channel Permissions. You’ll see which roles already have server-level access.
Pro tip: Set up your moderators ahead of time instead of scrambling right before you go live.
Setting the Stage Topic
The stage topic sits at the top of your channel and gets pinned when the stage is open. It’s what grabs attention.
When you’re ready, hit Open the Stage at the bottom. You get three choices:
- Start the Stage—goes live right away with your topic
- Create Event—lets you schedule for later
- Continue without starting—moderators can prep without alerting everyone
Keep your topic short and interesting. It’s the first thing people see, so make it count.
Quick warning: Once you open the stage and set the topic, everyone on the server can see it. Double-check everything before you go live.
Roles in a Stage Channel
Stage channels use three main roles to decide how people join in. Each role comes with its own permissions and helps keep things on track.
Speakers and Speaker Controls
Speakers are the active participants. They show up at the top, so everyone knows who’s talking.
Speakers can mute or unmute themselves as needed. If they want, they can move themselves back to the audience any time.
To turn on video or share screens, speakers need the Video permission through a server role or the stage channel. Up to five speakers can have cameras on at once, and only one person can screen share.
Speakers who aren’t moderators have to wait for an invite or use the hand-raise button to request to speak. Once a moderator says yes, they can talk like any other speaker.
Audience Members and Participation
Everyone joins as an audience member by default. Mics are off, and you’re just there to listen—unless you ask to speak.
Audience members can raise their hand to request to speak. Moderators get a ping and can approve or decline. It keeps things from getting messy while still letting people chime in.
Audience size depends on video use. Audio-only stages can hold up to 10,000 listeners. With video or screen sharing, it’s 50 for free servers, 150 for Tier 2, and 300 for Tier 3.
People can leave and rejoin stage channels as much as they want, and there aren’t any annoying join or leave noises. That makes it easy to pop in and out of events.
Stage Moderators’ Responsibilities
Stage moderators play a big role in shaping the whole stage experience. They set topics, open stages, and decide who gets to join the conversation.
Moderators use tools like moving speakers to the audience, inviting people up, or even kicking out anyone causing trouble. They can turn the request to speak feature on or off if they want to control how people join in.
To do all this, moderators need certain permissions: Manage Channels, Mute Members, and Move Members. Server owners hand out these permissions through channel settings, either to individuals or whole roles.
When the last moderator leaves, Discord ends the stage automatically. But the channel itself sticks around, ready for the next event and a new topic.
Moderation and Management Tools
Stage moderators get a lot of control over who talks and when. They can remove users entirely if needed. These powers focus on three things: managing moderator roles, muting speakers, and moving people between audience and speaker spots.
Granting and Removing Moderator Permissions
Adding moderators means giving someone both “Manage Channels” and “Manage Roles” permissions. You can do this when you set up the stage channel, or later through the channel settings.
Head to your stage channel settings and hit “Channel Permissions” on the sidebar. You’ll see options to add users or roles as moderators.
Essential moderator permissions:
- Manage Channels
- Mute Members
- Move Members
Honestly, it’s easier to assign moderator roles to groups you trust. That way, you only have to tweak permissions once for lots of events.
Removing moderators is just as simple. Go back to channel permissions and untick the moderator box next to whoever you want to remove.
Quick tip: Give moderator permissions a test run before a big event. You don’t want last-minute surprises.
Using Mute and Move Functions
Moving speakers to the audience stops them from talking right away. Just right-click their name and select “Move to Audience.”
Inviting audience members to speak is the opposite. Right-click an audience member and pick “Invite to Speak.” They’ll get a notification and can accept if they’re up for it.
The “Show Requests” button lets you see who’s raised their hand. You can approve or dismiss requests one by one.
Removing disruptive users boots them from the stage channel. Right-click their name and hit “Disconnect from Stage.” They’re out.
Mobile users can do all this by tapping on profiles to bring up the action menu.
It’s a good idea to set up clear moderation rules before your event. That way, your team stays on the same page.
Managing Events on Stage Channels
If you want your events to go well, you need to plan ahead and stay hands-on during the broadcast. Schedule events early, control the flow, and keep people interested with interactive stuff.
Scheduling and Announcing Events
Try to plan events at least a week in advance so your community can get ready. Discord’s Create Event feature lets you schedule AMAs, interviews, or panels with exact topics and times.
Use your announcement channels to spread the word. Share what type of event it is, who the guests are, and what you’ll talk about.
Key things to include:
- Event date and time (add time zones!)
- Guest names and why they’re interesting
- Panel or discussion topics
- How people can join in
Pin your announcements so folks can find them easily. Many servers also send out countdown reminders 24 hours and 1 hour before the show starts.
If you run weekly panels or similar events, stick to a regular schedule. People like knowing when to show up.
Starting and Ending a Stage Session
When it’s time to start, click “Create Event.” This notifies interested members and opens the stage channel.
Add your speakers using the user management panel. For interviews, invite guests before going live so you can test audio quality.
Session control options:
- Mute or unmute speakers
- Kick out disruptive folks
- Let the audience request to speak
- Share your screen if you need to present
When you wrap up, thank everyone—participants and speakers. Hit “End Stage” to close the event for everyone, instead of just leaving.
If you want to save the audio, record it locally before starting. Discord doesn’t offer built-in recording for stage channels.
Maintaining Engagement During Events
Keep an eye on the text chat while the audio event is live. People often ask questions or react in real time.
Rotate speakers during panels so no one hogs the mic. Set time limits for answers during AMAs.
Ways to keep people involved:
- Ask the audience direct questions
- Run polls in the text channel
- Let audience members speak for a bit
- Read out interesting chat messages
If someone has tech issues—like a mic cutting out—mention it right away and help them get back on.
Stick to your topic as much as you can. It’s fine for conversation to flow naturally, but don’t let things drift too far off during structured events.
Participation and Interaction
Stage channels aren’t like regular voice channels. When you join, you’re in the audience by default—silent, mic off. Only speakers can talk, and they need permission.
Joining a Stage Channel
Joining is easy—just click or tap the channel. You’ll come in as an audience member, muted.
You’ll see speakers up top and the audience below in a separate area.
There are no join or leave sounds in stage channels. You can slip in or out without bothering anyone.
Quick win: Look for active stage channels pinned at the top. They show the current topic and number of listeners.
If video is on, you’ll see speaker camera feeds. Up to 5 people can have video, and one can share their screen.
Request to Speak and Move to Audience
Audience members can request to speak by clicking the hand icon at the bottom.
Moderators see all requests in a menu and decide who to let up.
If they approve you, you’ll move up to the speakers section and can unmute your mic.
Speakers can move themselves back to the audience anytime. Just click “Move to Audience” to go back to listening—no need for moderator approval.
Moderators can move speakers back to the audience or invite audience members up. They control who gets to speak.
Exiting Quietly and Disconnecting
Leaving a stage channel is simple. Click disconnect or close Discord—no sound plays when you leave.
You can minimize Discord and keep listening while doing other things. Stage channels are great for background listening during long events.
Moderators can remove disruptive users by right-clicking and picking “Disconnect from Stage.”
Heads up: If a moderator disconnects you, you’re out of the channel completely. You’ll have to rejoin if they let you.
When the last moderator leaves, Discord ends the stage automatically. The channel stays up for future events.
Best Practices for Stage Channel Moderation
Good moderation keeps your Stage Channel events running smoothly. When moderators communicate well and manage the audience, everyone has a better time.
Effective Communication Techniques
Set clear expectations before you start. Post the rules in announcements and remind everyone when the Stage goes live. Let people know if they’re allowed to request to speak or just listen.
Use moderation tools wisely. You can mute speakers, move people to the audience, and control who joins the conversation. Consistency makes these tools work best.
Establish a speaking queue. If a lot of people want to talk, set an order so everyone gets a turn. Ask people to raise their hand or type in chat.
Keep things on topic. Focused discussions work best. If someone goes off-topic, gently steer them back. Use chat moderators to handle side conversations.
Practice active listening. Pay attention to both speakers and chat. People notice when moderators actually care and respond.
Managing Large Audiences
Add extra moderators as your event grows. Big audiences need more hands—someone to watch chat, another to manage speaker requests, and so on. A good rule is one moderator per 50-100 audience members.
Use permissions smartly. Set up roles that control who can speak without permission. This stops chaos when hundreds join.
Watch chat closely during busy events. Big crowds mean lots of messages. Assign chat moderators who aren’t also running the Stage.
Have backup plans for tech issues. More people means more chances for something to break. Be ready to restart the Stage or move to a backup channel.
Keep speaker time short with big groups. Limit people to 2-3 minutes so more can participate. It keeps things lively.
Integrating Stage Channels with Your Discord Server
Stage channels work best when you blend them into your server’s structure. Link them up with your text and voice channels, and make the most of server boosts for bigger events.
Combining with Text and Voice Channels
Set up a dedicated text channel for stage events—maybe call it #stage-announcements or #event-discussion. This gives people a place to chat during the event without interrupting speakers.
Put your stage channel near related voice channels. If it’s a gaming event, keep it close to your gaming voice channels. People find it easier to navigate that way.
Check your channel permissions. Let most members join as audience, but only allow moderators and invited speakers to talk. Adjust your community server settings to make switching between channels smooth.
Group everything in an “Events” category. Include your stage channel, announcement text channel, and any related voice channels for post-event chats.
Utilising Server Boosts for Larger Events
Server boosts mean better audio and more listeners for your stage channels. Level 1 boosts bump audio to 128kbps—really handy for pro presentations.
Level 2 boosts let more people join your stage channels. That’s a must for big events or guest speakers.
Plan boosts ahead of time. If you run monthly AMAs or big events, keep boost levels steady. For one-off events, ask your community to boost temporarily.
Keep an eye on your boost status before events. It’s a pain when audio drops because boosts ran out mid-show.
Accessibility and Platform Support

Discord stage channels work a bit differently on each device. The desktop app gives you the most features, while mobile apps cover the basics. You can join stages from anywhere, but your experience might change depending on what you’re using.
Desktop App vs Mobile Experience
The desktop app gives you the full stage channel experience. You get all the video sharing, screen sharing, and text chat features.
Up to five members can use video at the same time on desktop. Screen sharing works great for presentations or demos.
The desktop version lets you control audio quality better. You can adjust speaker volumes and mess with advanced audio settings.
Mobile apps don’t offer as much as desktop. You can join stages as an audience member without any trouble.
But mobile users run into limits with video features. Most mobile versions don’t allow screen sharing.
The mobile experience is fine for listening and basic participation. Text chat works as expected, so you can talk with other audience members.
Battery drain can sneak up on you during long stage sessions on mobile. You might want to keep your device plugged in for longer events.
Cross-Platform Compatibility
Stage channels work on all Discord platforms. You can join the same stage using Windows, Mac, iOS, or Android.
Audio features sound the same on every device. Everyone hears the same thing, no matter what they’re using.
Text chat stays in sync between platforms. Messages pop up instantly for everyone.
Video viewing works on most devices, though the quality might drop on mobile or smaller screens.
Permission systems don’t change between platforms. Your roles and speaking privileges come with you.
Some advanced features need certain platforms. You’ll need the desktop app for things like screen sharing or high-quality video.
Community servers with higher capacity (150-300 viewers) work everywhere. Video limits still depend on your device, though.
Frequently Asked Questions
Stage channels can feel a bit overwhelming at first. Most questions are about setup, participation limits, or technical stuff like screen sharing and music.
How can I set up a Stage Channel in Discord on my mobile device?
You need the same permissions on mobile as on desktop: “Manage Channels” and “Manage Roles” in a Community server.
Open Discord on your mobile device and tap the plus icon next to your server’s channel list. Pick “Create Channel” from the menu.
Choose “Stage Channel” as your channel type. Add roles or members who can moderate the stage.
The setup feels just like desktop, but you use touch controls instead of a mouse.
What are the participant limits for a Discord Stage Channel?
Audio-only stage channels let up to 10,000 people listen with no cap on speakers. These numbers change a lot when you turn on video features.
If you use video and screen sharing, free servers allow 50 audience members. Boosted servers bump this up to 150 at Tier 2 and 300 at Tier 3.
Only five people can have their cameras on at once. Screen sharing allows just one stream during video stages.
Each boost above Tier 3 adds 30 more seats, up to a max of 10,000 audience members.
Why isn’t the Stage Channel option appearing for me on Discord?
Stage channels only show up in Community servers. Regular servers don’t have this feature.
You also need the right permissions: “Manage Channels” and “Manage Roles” in the server.
Check your server settings to make sure Community mode is on. Server owners can enable it in Server Settings under the Community section.
If you don’t have Community status and the right permissions, you won’t see the stage channel option.
Can I play music in a Discord Stage Channel, and if so, how?
Discord plays background music automatically when people join a stage before it starts. This music sets the mood while moderators get ready.
Users control this music for themselves with the music note button. Server admins can’t manage this background music for others.
If you play copyrighted music during a stage, you have to follow Discord’s Community Guidelines. You’re responsible for making sure any shared audio follows copyright rules.
Music bots work differently in stage channels than in regular voice channels. Check your bot’s documentation for details.
Is it possible to share my screen whilst in a Stage Channel?
You can share your screen in stage channels, but only speakers with the right permissions can do it. You need the “Video” permission for the server or that specific stage channel.
Only one person can share their screen at a time during a stage. This keeps the focus on the main presenter.
To share your screen, click the screen share button and pick “Share Your Screen.” It works just like in regular voice channels.
Screen sharing lowers your audience capacity, depending on your server’s boost level.
What are the steps to exit a Stage Channel on Discord when using a mobile phone?
Leaving a stage channel on your phone feels pretty much like leaving any voice channel. Just tap that phone icon with a line through it at the bottom of your screen.
You can also swipe down to minimize the stage view. Then tap “Leave Stage” right from the channel interface.
Discord actually set up stage channels so joining and leaving wouldn’t be a hassle. You won’t hear any exit sounds in stage channels, so nobody gets interrupted when you leave.
Honestly, that makes it easy to come and go whenever you want. The stage keeps going after you leave, unless you’re the last moderator left.
