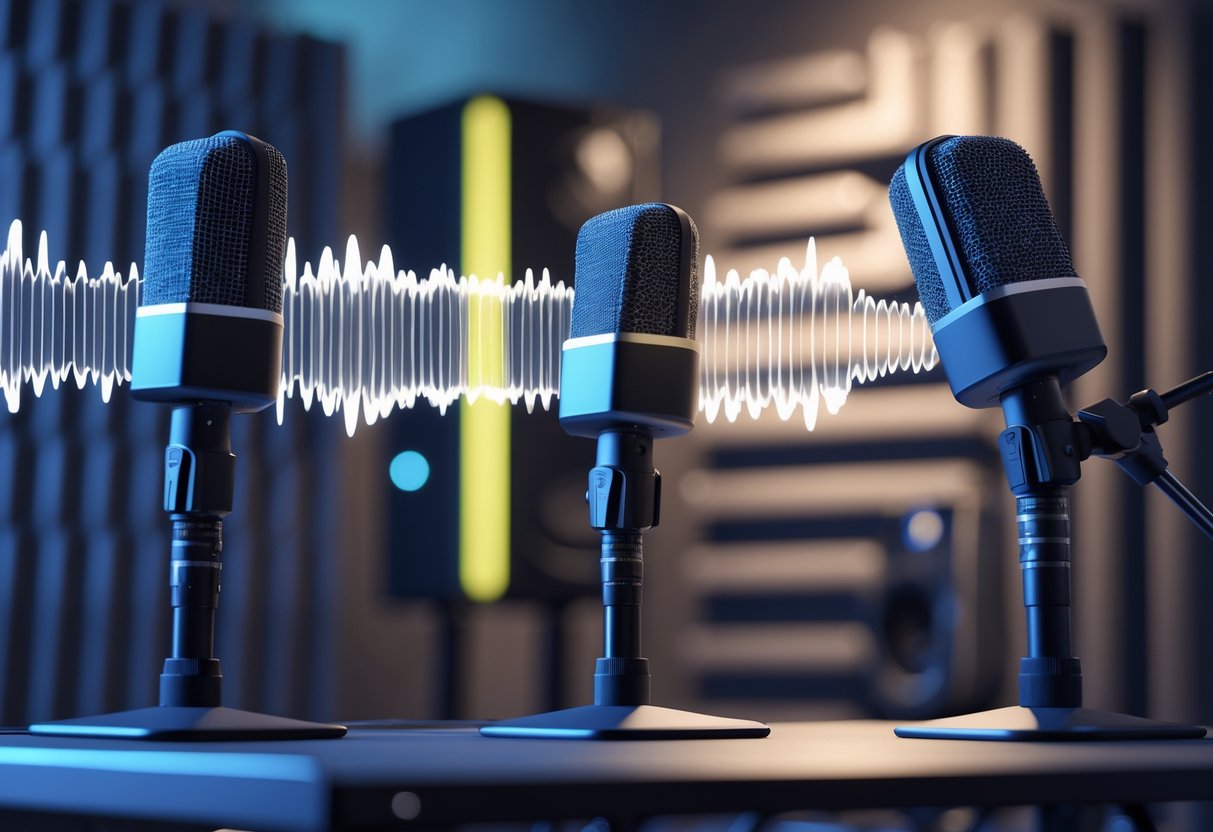
Microphone Placement: Essential Techniques for Optimum Sound
Updated On: November 13, 2025 by  Aaron Connolly
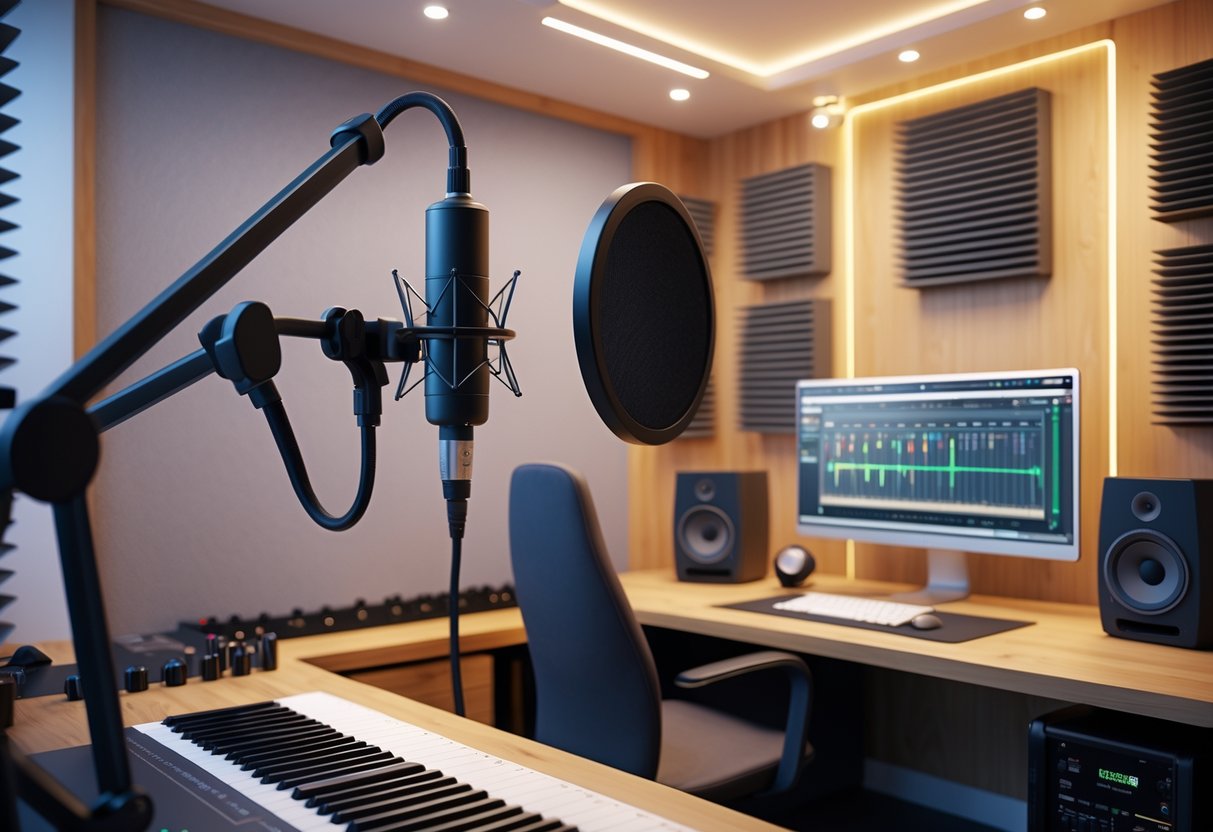
Fundamentals of Microphone Placement
Getting your microphone positioning right shapes about 20% of your recording’s total sound quality. It’s honestly one of those skills you just have to get down if you want your audio to sound pro.
If you understand distance, angles, and your microphone’s quirks, you’ll hear a massive difference. Suddenly, your audio jumps from “meh” to “wow.”
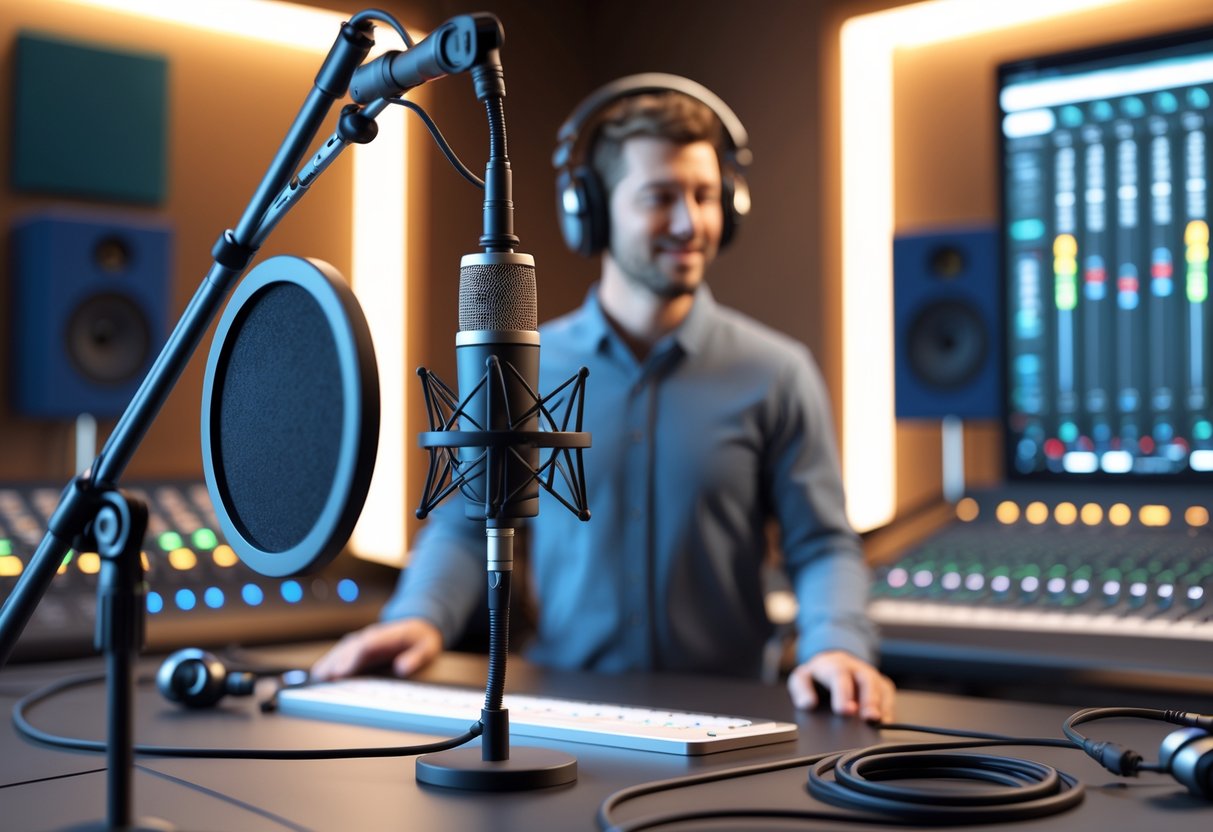
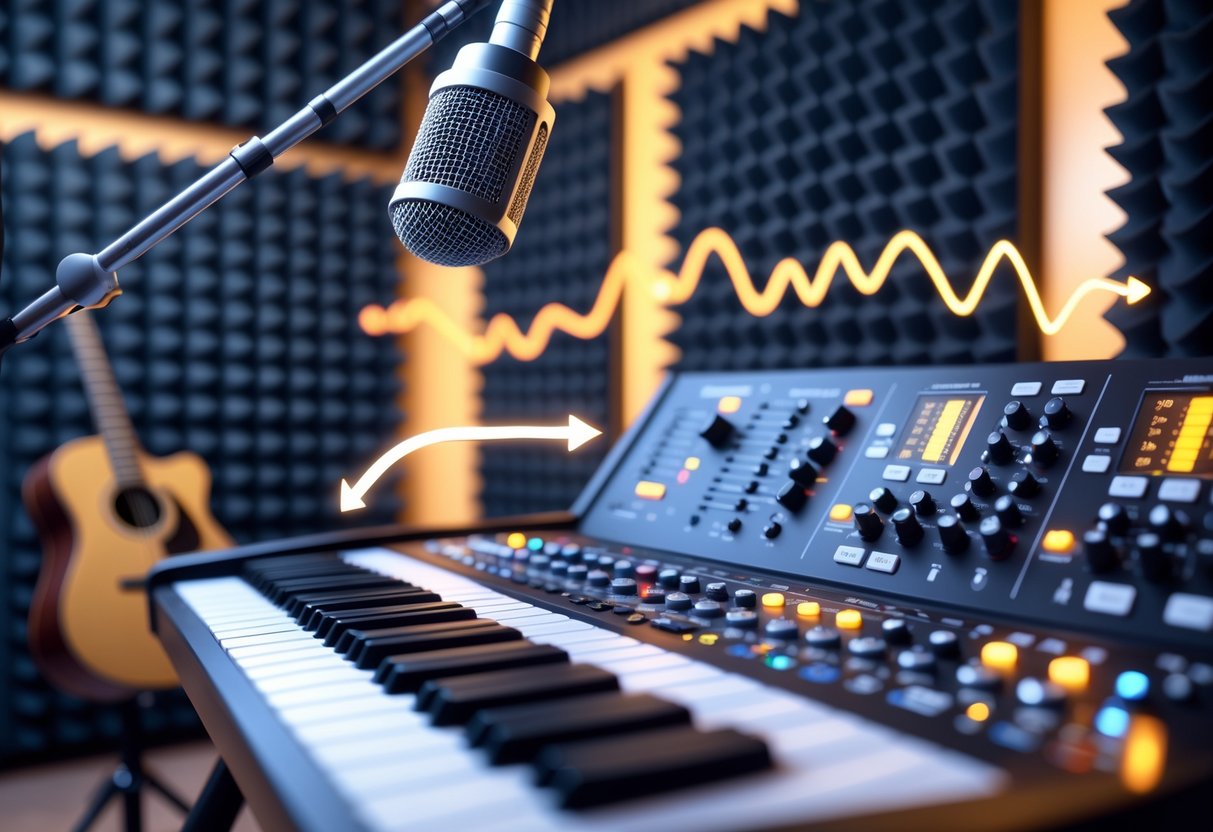
Why Microphone Placement Matters
Even if you have the best gaming setup, poor microphone placement can totally wreck your sound. We’ve all heard streams where the mic picks up everything but the actual voice.
When you set up your mic in the wrong spot, you end up with background noise, muffled speech, and that echoey, hollow vibe that just sounds cheap.
Distance really matters. If you shove your mic too close, your voice gets boomy and muddy. Go too far, and you’ll catch keyboard clacks, fans, and way too much room echo.
The proximity effect comes into play when you’re closer than 30cm. That’s when the low-end gets boosted—a cool trick for singing, but not so great if you’re after crisp game commentary.
Angle changes everything. If you speak right into the mic, you’ll get those nasty pops from “p” and “b” sounds. Angle it just a bit off to the side, and you can keep your voice clear without all that popping.
A lot of streamers lose viewers because their audio quality stinks. People will forgive blurry video, but if your sound is echoey or distorted, they’ll just leave.
Key Terminology in Mic Placement
Polar patterns show how a microphone picks up sound from different directions. Knowing this helps you get your mic in the right spot.
| Pattern Type | Sound Pickup | Best For |
|---|---|---|
| Cardioid | Front only | Gaming, streaming |
| Omnidirectional | All directions | Group calls |
| Bidirectional | Front and back | Interviews |
The sweet spot is that magic position where your mic just nails your voice. It’s different for every mic, so you’ll need to experiment a bit.
Proximity effect means your sound gets bassier as you get closer to a directional mic. You’ll start to notice it when you’re within 30cm.
Off-axis placement is just putting your mic at an angle instead of right in front of your mouth. It’s a simple trick that helps cut down on those harsh consonants.
Ambient sound is all the stuff you don’t want—keyboard taps, mouse clicks, random room noise, or even traffic outside.
Fundamental Principles for Beginners
Start with the 6-12 inch rule. Put your mic about 15-30cm from your mouth for most gaming or streaming. That distance gives you clear vocals without sucking in all the room noise.
Find your mic’s sweet spot by trying different positions. Cup your hand around one ear and move while talking—it’s a bit silly, but you’ll hear where your voice is most balanced. That’s where your mic should go.
Check your polar pattern. Cardioid mics like sound from the front, while omnidirectional ones grab it from everywhere. Look up your mic’s manual if you’re not sure.
Tame your environment before you even touch your mic. Shut windows, kill noisy fans, and scoot away from loud PC cases. A quieter space makes everything easier.
Try the off-axis move to dodge plosives. Instead of talking straight into the mic, turn it just a little to the side of your mouth. You’ll be amazed how much this helps.
Monitor as you adjust. Always pop on headphones while testing. Sometimes what sounds fine in the room actually picks up all sorts of junk through the mic.
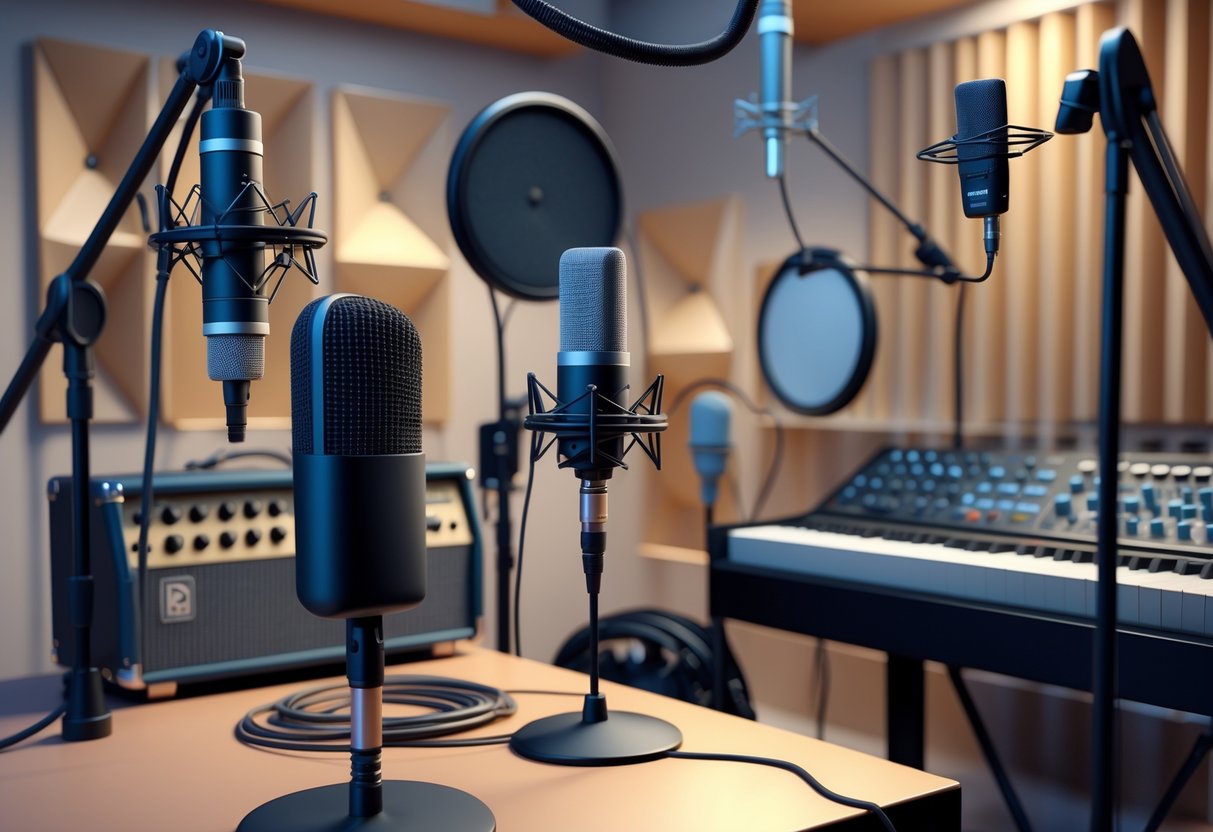
Understanding Microphone Types and Characteristics
Different microphones capture sound in their own way, and this totally changes how you should place them. Dynamic and condenser mics each have their quirks, and things like diaphragm size and sensitivity really matter for how close or far you set up.
Dynamic vs. Condenser Microphones
Dynamic microphones work a bit like backward speakers. They use a moving coil, so they’re tough and can handle loud sounds.
You’ll want to get dynamic microphones up close to your sound source since they aren’t super sensitive. That’s why they’re awesome for guitar amps or drums—you can stick them right up there.
Most dynamic mics use the cardioid pattern, so they listen to what’s in front and ignore the rest. This lets you get them pretty close without catching all the room noise.
Dynamic mics don’t freak out at loud sounds. If your placement isn’t perfect, they’ll usually forgive you, which is great if you’re just getting started.
Condenser microphones work differently—they use a thin diaphragm and charged plates. This design makes them way more sensitive to every little sound.
With condensers, you can back off a bit and still get all the details. They’re great for capturing those little nuances in vocals or acoustic instruments.
But be warned: condenser mics will pick up everything, including the air conditioner or traffic outside, if you don’t place them carefully.
Diaphragm Size and Sensitivity
Large-diaphragm mics (over 25mm) give you a warmer, fuller sound, but they’re touchy about placement because they’re sensitive to proximity effects.
If you put a large-diaphragm mic too close, you’ll get a big bass boost. Usually, keeping it 15-30cm away hits the sweet spot.
Small-diaphragm mics (under 25mm) are more precise and don’t have as much of a bass problem when close. They react quickly to sound changes, so they’re perfect for things like percussion or acoustic guitar picking.
Microphone sensitivity is about how much signal your mic spits out for a given sound level. High-sensitivity mics need less boost but grab more of the room.
Low-sensitivity mics need more gain from your preamp, but you get more control over what actually gets recorded. This definitely changes how you place them.
Impact on Recording Quality
Microphone choice really shapes your placement and sound. If you use the wrong mic for the job, no amount of clever placement will save you.
A condenser mic in the right spot captures vocals that just pop. Put it in the wrong place, and it might sound thin, boomy, or pick up every room reflection.
Dynamic mics love being close to loud sources. If you put them too far away, they’ll sound muffled or just weak. Their lower sensitivity means you’ve got to stay in their zone.
Room acoustics play off each mic type differently. Condenser mics will show off every room flaw, while dynamic mics can hide a lot thanks to their focused pickup.
Your space really decides what matters most. If you’ve got a treated studio, go wild with sensitive condensers. In a regular room, a dynamic mic might actually work better.
| Microphone Type | Optimal Distance | Best Applications | Sensitivity to Room |
|---|---|---|---|
| Dynamic | 5-15cm | Vocals, guitar amps, drums | Low |
| Large Condenser | 15-30cm | Studio vocals, piano | High |
| Small Condenser | 10-25cm | Acoustic instruments, overhead mics | Medium-High |
The Role of Polar Patterns in Microphone Placement
A polar pattern basically shows which directions your mic listens to. When you decide where to put your mic, the pattern you pick changes how much background noise sneaks in and how clear your main sound will be.
Cardioid and Hypercardioid Patterns
Cardioid microphones have a heart-shaped pickup pattern. They love sound from the front and mostly ignore what’s behind.
This makes cardioid mics perfect for close-up recording. You can place them 6-12 inches from your mouth. They’ll block out room noise and background sounds behind them.
Hypercardioid patterns get even more focused. They really zoom in on what’s in front but have a tiny sensitive spot right behind.
We grab hypercardioid mics when we need control—like recording one person in a noisy room or isolating an instrument in a band. They’re also handy for podcasts with a few people.
When we use these mics, we aim them right at the sound source. Keep the person or instrument in the main pickup area, and let the “dead zones” handle the noise you don’t want.
Omnidirectional and Figure-8 Patterns
Omnidirectional mics pick up everything in a full circle. They’re great if you want to catch the natural sound of a room.
We use omnidirectional mics for things like recording a group around a table, capturing ambient sound, or when we want that open, spacious feel.
But be careful—these mics grab all the echoes and background noise, so you need a decent-sounding room.
Figure-8 patterns (bidirectional) pick up sound from the front and back, but not the sides. They’re a bit special.
We reach for figure-8 mics to record two people facing each other, block out side noise, or do stereo recordings with two mics.
Placement is everything here. Put your main sound sources in front and behind the mic. Side noises just get ignored.
Choosing the Right Pattern for the Environment
In treated rooms with good acoustics, you’ve got more freedom. Cardioid works well for solo speakers. Omnidirectional lets you capture the room’s vibe.
In noisy or untreated spaces, you want something directional. Cardioid and hypercardioid patterns help you focus on the good stuff and block out the rest.
For live stuff like interviews or events, cardioid is usually the safest bet. They handle movement and cut down on feedback if you’re using speakers.
Distance matters for every pattern. Cardioid likes it close. Omnidirectional can work further away, but only if your room is quiet.
Don’t forget what’s around your mic. Hard surfaces can bounce sound back, making things messy. Directional patterns help keep those reflections out of your recording.
What you’re recording also matters. Voice-overs love tight cardioid patterns, while music might sound better with a roomier, omnidirectional setup.
Finding the Microphone Sweet Spot
Every microphone has that one spot where it just sounds right. The sweet spot changes depending on your mic’s frequency response and the sound of your voice or instrument.
Identifying the Optimal Microphone Position
The sweet spot is where your mic gives you the most natural, balanced sound. It’s where your voice or instrument shines and the frequency response just clicks.
Most mics sound best when you’re 6 to 8 inches away. That’s just a starting point though—your mic type and pattern might need something different.
Cardioid microphones usually sound warmest right at 6 inches. You get up-close vocals but not too much room tone.
Dynamic microphones can handle being super close. You can get as near as 2-4 inches without things getting too bassy.
Omnidirectional microphones are flexible with distance. They keep a steady sound even if you’re just an inch away.
Angle matters, too. Face the mic capsule head-on, not from the side. Stay within about 45 degrees of the center if you’re using a cardioid mic.
Methods for Locating the Sweet Spot
Honestly, your ears are your best tool for finding the sweet spot. Try cupping your hands around your ears and move around the sound source—it’s surprisingly effective.
For cardioid microphones:
- Cover one ear with your hand and cup the other.
- Listen carefully with the open ear.
- Move around until you hear the most balanced sound.
- Place the mic right where your cupped ear was.
For omnidirectional patterns:
- Plug one ear completely.
- Listen with the other ear.
- Move methodically around the sound source.
- Mark the spot where the sound quality feels just right.
For bidirectional patterns:
- Cup both ears with your hands.
- Move around until you hear a balanced tone.
- This mimics the figure-8 pickup pattern.
Test a few distances between 4 and 12 inches. Record quick samples at each spot, then listen back with headphones to compare.
Adapting to Different Sound Sources
Different voices and instruments need their own sweet spot strategies. The source’s frequency response really shapes where you’ll want to put the mic.
Vocals usually sound better with the mic slightly off to the side. This cuts down on plosives but keeps things clear. Try placing the mic about 6 inches away and angle it up about 15 degrees from your mouth.
Acoustic guitars have several sweet spots. The 12th fret gives you a balanced tone, while the sound hole brings out more bass. Try moving between these spots and see what fits the song.
Percussion instruments need a bit more space. Start with the mic about a foot away to avoid overloading, then tweak it based on how punchy you want the sound.
Room acoustics matter too. In untreated rooms, move the mic closer to cut down on ambient noise. If your space is treated, you can back off a bit and still get clean audio.
Getting closer to the mic boosts bass—this is the proximity effect. Use it to fatten up thin sources, or back off and EQ if things get too boomy.
Distance, Angle, and Proximity Effect
Dialing in the right distance and angle can turn muddy audio into something professional. The proximity effect is a big deal—it can warm up your sound or just make it a mess if you’re not careful.
Effects of Distance on Sound Quality
Distance changes everything about how your mic hears sound. For most situations, aim for 6 to 12 inches from your mouth. That spot gives you clear audio without sucking in all the room noise.
Close miking (2-6 inches) nails the direct sound and keeps background noise out. It’s perfect for vocals and podcasts. You’ll get crisp audio that stands out.
Distant miking (12+ inches) lets in more room sound and balances the tone naturally. This works great for acoustic instruments when you want some air in the recording.
Mic type matters here:
- Dynamic mics: You can get super close with no problem.
- Cardioid mics: At 6 inches, you’ll get a warm, intimate sound.
- Omnidirectional mics: Even at 1 inch, they’ll stay clear.
Get too close and you’ll hear plosives and too much bass. Too far away, and you’ll end up with echo and background noise that ruins the take.
Managing the Proximity Effect
Move closer to a directional mic and the bass jumps up—this is the proximity effect. It’s strongest between 200-600Hz, which is why radio voices sound so rich.
Bidirectional mics exaggerate this effect the most. Cardioid mics do it moderately, and omnis barely do it at all.
You can play with proximity effect:
- Move in for warmth and intimacy.
- Back off to clear up muddy bass.
- Change distance during a take for different feels.
But watch out—go too close and your vocals get boomy and muffled. If you sound like you’re in a tunnel, you’re too close.
Pop filters, set about 4 inches from the mic, help you hold a steady distance. They also remind you not to lean in too much when you get emotional.
Microphone Angles and Off-Axis Placement
A slight angle on your mic can fix a lot of issues. Point it at your mouth, but tilt it 15-30 degrees to dodge plosives.
On-axis picks up everything—bright, direct, but also every breath and mouth click. Off-axis smooths out harshness but keeps things clear.
Try these angles:
- Above the mouth, pointing down: Cuts sibilance.
- To the side at mouth level: Keeps tone, fewer pops.
- Below, pointing up: Good for deeper voices.
With acoustic guitar, aim at the 12th fret instead of the sound hole. That way, you avoid boomy lows but keep the sparkle.
If you’re stuck, just cup your hands around your ears and walk around the source. Where it sounds best to you is probably where your mic should go. It’s a weirdly reliable trick.
Techniques for Vocal Recording
Getting a solid vocal recording means you need to control distance, tame unwanted sounds, and put your mic in the right spot. Those three things make all the difference.
Close-Miking for Vocals
Close-miking puts the mic within 2-6 inches of the singer’s mouth. This gets you clear vocals and blocks out room noise and reflections.
Distance shapes your tone a lot. If you move the mic closer, you’ll trigger the proximity effect, which boosts the bass and adds warmth to thinner voices.
Close-miking is great for:
- Live shows with loud bands
- Home studios with bad acoustics
- Dynamic mics that need a strong signal
Angle matters, too. Tilt the mic a bit off-axis from the mouth to cut harshness but keep the vocal upfront.
Start at 4 inches and adjust for the singer’s volume and style. If they’re loud, try 6 inches to avoid distortion.
Minimising Plosives and Sibilance
Plosives happen on “p” and “b” sounds—big gusts of air. Sibilance is the harsh “s” and “sh” that can sound piercing.
A pop shield 4-6 inches from the mic usually solves plosives without messing up your tone.
Mic position helps with sibilance. Angle the mic below the mouth or 15-20 degrees off to the side. This avoids direct blasts from consonants.
Other tricks:
- Ask singers to move their head on big notes.
- Use foam windscreens if you’re close-miking.
- Put the mic just above the mouth instead of right in front.
Teach singers to turn slightly away for explosive consonants. It’s a simple way to keep things smooth without breaking the vibe.
Finding the Best Mic Distance for Singing
Studio vocals usually work best at 6-12 inches from the mic. This distance gets detail but avoids picking up every breath or mouth sound.
Voice type makes a difference:
| Voice Character | Recommended Distance | Reason |
|---|---|---|
| Powerful/loud vocals | 8-12 inches | Prevents overload |
| Soft/intimate vocals | 4-8 inches | Keeps presence |
| Breathy vocals | 6-10 inches | Cuts breath noise |
Test different distances during soundcheck. Have the singer try the same line at a few spots. Listen for the place where clarity and warmth feel just right.
Room acoustics matter here. In untreated rooms, go closer to avoid reflections. In treated spaces, you can back off for a more open sound.
If the singer’s dynamics are all over the place, mark the floor with tape so they know where to stand every time.
Instrument-Specific Microphone Placement Strategies
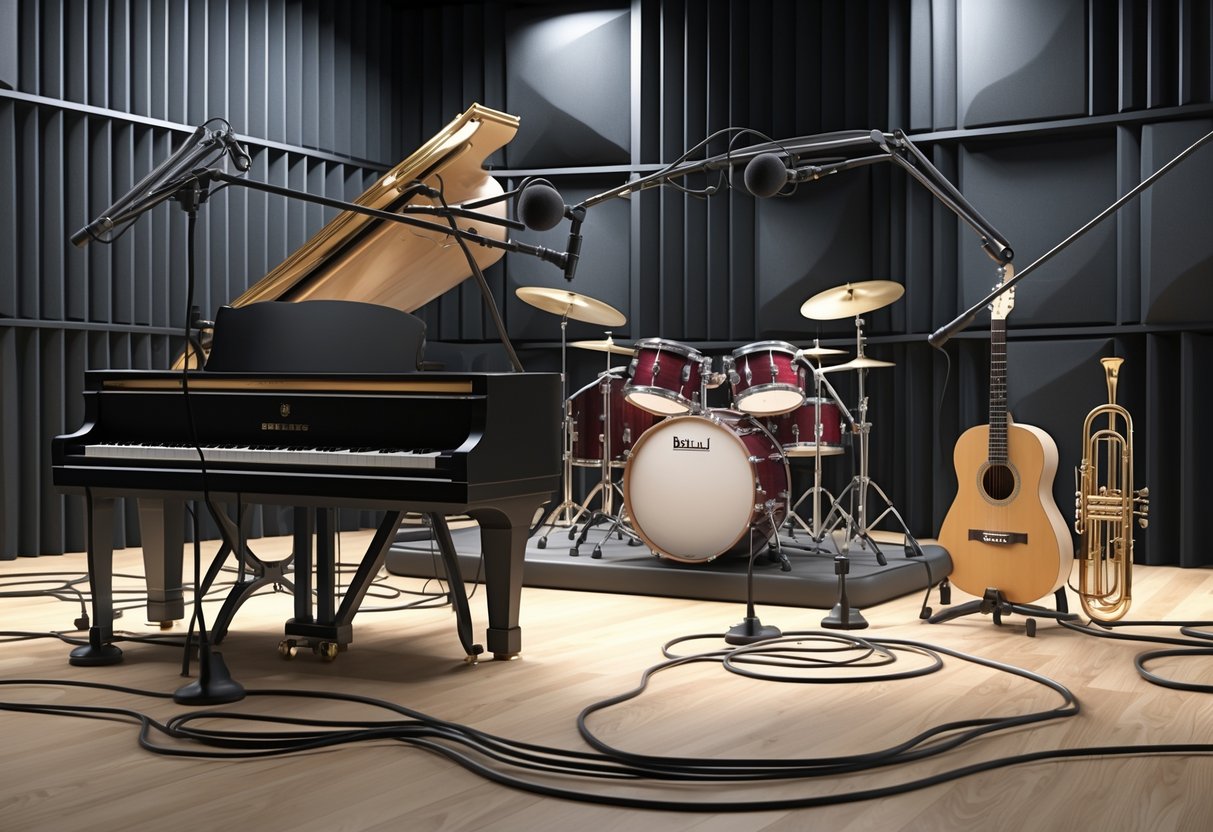
Every instrument asks for its own miking approach. You’ve got to match your mic and placement to the instrument’s natural acoustic character and the vibe you want.
Acoustic Guitar Techniques
Start with a condenser mic about 12-18 inches from the 12th fret. This spot gives you a nice blend of warmth and string clarity.
If you want a brighter sound, angle the mic toward the bridge. For more bass, move it closer to the soundhole. Keep the mic level with the guitar’s body to avoid too much finger noise.
Stereo miking can sound fantastic for acoustic guitar. Try one mic at the 12th fret and another at the soundhole, spaced 2-3 feet apart. You’ll get a wider, deeper sound.
Watch out for the proximity effect when you’re close. Dynamic mics can handle louder strumming, while condensers really shine with fingerpicking.
Drum and Percussion Miking Approaches
Kick drum placement is key for punch. Put one mic inside the drum, 6-8 inches from the beater. Add a second outside for extra low end.
For snares, place your main mic 2-4 inches above the rim, aimed at the center. A second mic under the snare grabs the buzz—just flip the phase so you don’t lose body.
For toms, keep mics close to cut down on bleed. Aim each at the drum head’s center from about 2 inches away.
Overhead mics catch the whole kit. Use a pair of condensers 3-6 feet up. XY pairs keep things tight, while spaced pairs give you a big stereo image.
Room mics add space and depth. Set them 8-15 feet from the kit to pick up your room’s vibe.
Miking for Keyboards and Strings
Pianos need a thoughtful approach. For uprights, put mics 6-12 inches from the strings with the lid open—one for bass, one for treble.
Grand pianos sound huge with the lid up. Place mics inside, about 8 inches above the strings. Closer for intimacy, further for space.
Strings like violins do well with a condenser 2-3 feet away, just above the instrument. This way, you catch both bow detail and resonance.
For electric keyboards and synths, just go direct for the cleanest sound. If you’re miking an amp, treat it like a guitar amp—close for clarity, room mics for space.
Cello and double bass need mics that catch both the strings and the big resonant body. Start about 18-24 inches away and adjust for the room.
Balancing Room Acoustics and Ambient Sound
Finding the right mix between your room’s character and unwanted noise can make or break your session. You’ve got to know how your space shapes the sound and use mic placement to either embrace or control it.
Assessing the Recording Environment
Before you even set up a mic, figure out what your room sounds like. Walk around, clap your hands, and listen to how the sound fades.
Hard surfaces—wood floors, brick, glass—bounce sound and add reverb. Sometimes that’s great, but too much muddies things up. Soft stuff like carpet, curtains, and couches soak up sound and tame reflections.
Room size really matters. Big rooms give you long, lush reverb. Small ones can sound boxy and harsh if you’re not careful.
Record yourself talking in different spots. Listen back and see where things sound best. Some areas will boom, others will feel thin or weirdly harsh.
Corners tend to build up bass. The center usually gives you a more balanced sound, especially in smaller rooms.
Positioning to Reduce Echo and Reverb
Close microphone placement gives us the best shot at controlling unwanted room sound. Just moving the mic closer to your sound source brings in more direct sound and cuts down on room reflections.
The proximity effect actually helps us here. If you keep microphones within 30 centimetres of the source, you’ll grab way more direct sound than reflections. This trick comes in handy, especially in untreated rooms.
Try changing the mic height to find the right balance between direct and ambient sound. Lowering the mic picks up more floor reflections. Raising it helps capture less room sound, though you might lose a bit of warmth.
Cardioid and other directional microphones naturally block sound from behind. Aim the back of the mic at the wall or noise you want to avoid.
Stick with the 3:1 rule for multiple microphones. Put your secondary mics at least three times farther from the source than your main mic. This helps you dodge phase issues and that weird hollow sound.
Capturing or Minimising Room Sound
Sometimes, a bit of room sound actually makes your recordings feel more alive. Natural ambience can add space and vibe to vocals or instruments. The trick is to catch the good room sound, not the nasty reflections.
If you want ambience, put your room mics 2-4 metres from the source. Omnidirectional mics will pick up more of the room’s character since they grab sound from every direction.
If you want minimal room sound, try these:
- Place the mic super close to your source
- Use directional mics pointed away from reflective stuff
- Record in the least echo-prone part of your room
- Add soft furnishings to soak up sharp reflections
The 2:1 rule helps you figure out how much room sound you’ll get. Cardioid mics need to be twice as far from a source as omni mics to pick up the same amount of ambience.
Change your recording position to control room sound, not just the mic placement. Getting closer to curtains or moving away from parallel walls often fixes problems better than fancy mic tricks.
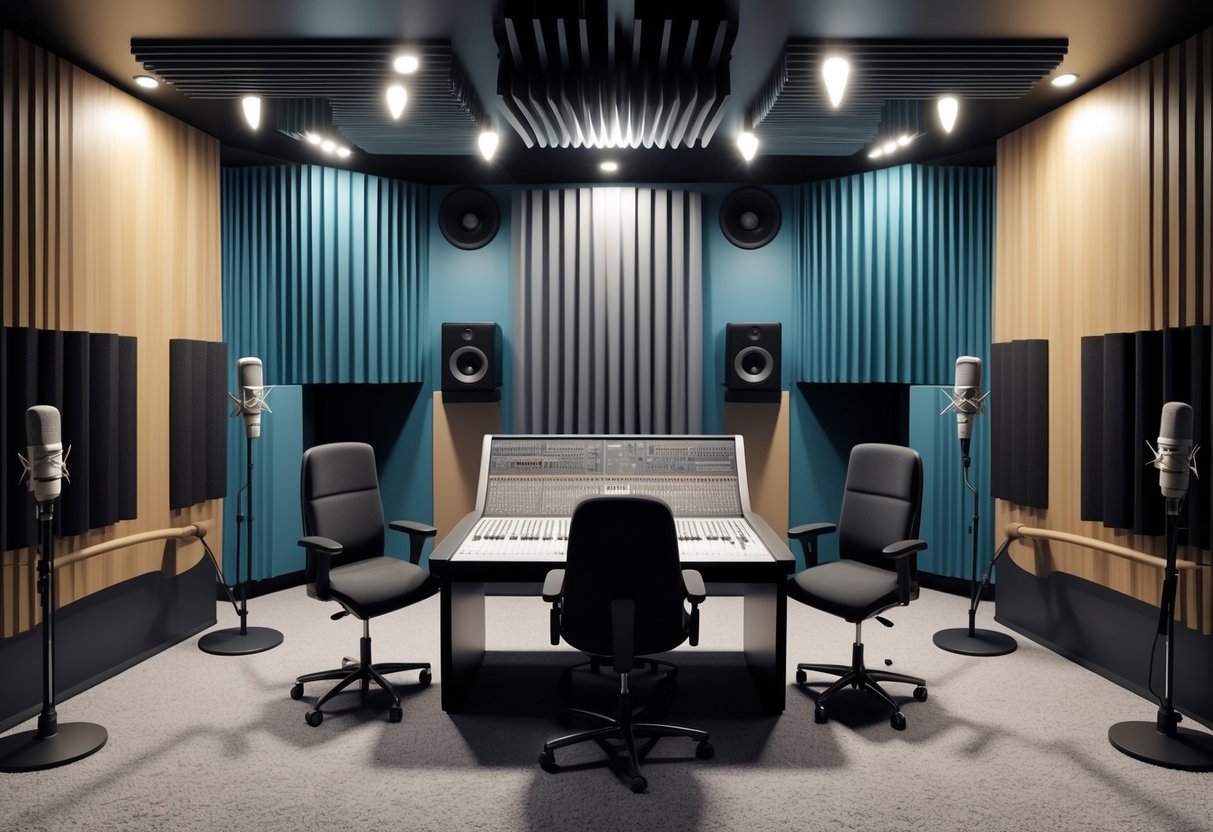
Acoustic Treatment and Home Studio Considerations
Your recording environment shapes your sound just as much as mic placement. Proper acoustic treatment helps control reflections and noise, and honestly, even simple DIY fixes can make a huge difference in tricky spaces.
Essential Types of Acoustic Treatment
Absorption panels should be your first move against unwanted reflections. These panels soak up sound before it bounces back to your mic.
Foam panels handle higher frequencies pretty well. Stick them on the walls near your recording spot. If you want better results, try rockwool or fibreglass panels wrapped in fabric.
Bass traps tackle low-end problems that foam just can’t handle. These thick panels belong in the corners, where bass likes to pile up.
Stack bass traps floor to ceiling in at least two corners behind where you record. This keeps your vocals from turning muddy.
Diffusion panels scatter sound instead of soaking it up. They let you keep some natural room vibe while taming harsh echoes.
Put diffusion on the wall behind your mic setup. This prevents your recordings from sounding too lifeless but still cuts down on nasty echoes.
Try to cover 25-50% of your wall surfaces for good results. Mix up where you put panels so you don’t just create new reflection problems.
DIY Solutions for Reflection Control
Heavy blankets and duvets can be lifesavers for vocals. Hang them on stands around your mic to make a quick vocal booth.
Moving blankets work especially well since they’re extra thick. Put them behind the singer and to the sides of the mic.
Mattresses against walls soak up mid and high frequencies. Stick one behind your recording spot to keep reflections away from the mic.
Bookshelves full of books work as natural diffusers. The uneven book spines break up sound waves and help reduce flutter echoes.
Place bookshelves along the side walls of your recording area. Make sure your books are different sizes and pushed in at random depths for best results.
Rugs and carpets on hard floors keep sound from bouncing up into your mic. This simple fix can make a big difference.
Big area rugs under and around your recording space work best. Don’t bother with thin rugs—they won’t help much.
Improving Sound in Untreated Spaces
Put your mic close to the source to catch more direct sound and less reflection. Try 6-8 inches from vocalists instead of the usual 12.
Dynamic microphones naturally reject more room sound than condensers, so they work especially well for this.
Record in smaller spaces like wardrobes or under stairs. These spots leave less room for sound to bounce around.
Walk-in wardrobes packed with clothes make fantastic natural absorbers. All those hanging fabrics break up reflections nicely.
Take advantage of directional mic patterns. Point cardioid mics away from windows and bare walls.
Set yourself up so the mic’s null points face the worst surfaces in your room. This reduces unwanted reflections automatically.
Record when it’s quiet outside. Early mornings or late evenings usually mean less traffic and neighbourhood noise.
Shut your windows and doors tight. Turn off anything noisy—AC, fans, whatever—so your mic doesn’t pick up hums and rattles.
Choosing and Adjusting Microphone Placement with EQ
Always try to nail your mic placement before you start messing with EQ. Moving the mic usually fixes most frequency issues without any digital tweaks.
Using EQ as a Last Resort
We always say: get your mic placement right before reaching for EQ. Even shifting your mic a few centimetres can get rid of harshness or bring out warmth, no plugins needed.
Try these moves first:
- Move closer to get rid of room noise and add presence
- Angle the mic off-axis to tame harsh “S” sounds
- Adjust the height for different tones
- Change your distance from walls to lower reflections
Keep EQ gentle. If you find yourself cutting or boosting more than 6dB, you probably need to move the mic instead.
When to use EQ:
- Tiny frequency tweaks after you’ve placed the mic
- Fixing room acoustics you just can’t change
- Matching mic tones in multi-mic setups
- Cutting out specific annoyances like AC hum
Heavy EQ can cause phase weirdness and make your audio feel fake. Natural placement always sounds more real than digital fixes.
How Placement Affects Frequency Response
Where you put your mic changes which frequencies pop out or disappear. Knowing these patterns helps you pick the right spot before touching any EQ.
Close placement (5-15cm):
- Boosts bass because of the proximity effect
- Adds presence and clarity
- Cuts down room reflections
- Might need a high-pass filter under 80Hz
Medium distance (30-60cm):
- Gives a more balanced sound
- Captures some natural room ambience
- Reduces proximity effect
- Usually needs less EQ
Far placement (1+ metres):
- Picks up lots of room sound
- Can sound distant or hollow
- Might need a boost around 2-5kHz
- Needs good room treatment
Angle matters too:
- On-axis grabs the full frequency range
- Slightly off-axis (15-30 degrees) can soften harshness
- Too much angle kills high-end clarity
Most home setups sound best with medium placement. You get a natural vibe without needing much EQ.
Correcting Common Placement Problems
Sometimes, even after careful setup, you need a little EQ to fix things—especially in untreated rooms or when you can’t get the mic where you want.
| Problem | Frequency Range | EQ Solution | Better Placement |
|---|---|---|---|
| Muddy sound | 100-300Hz | Cut 2-4dB | Move away from walls |
| Harsh vocals | 2-4kHz | Cut 1-3dB | Angle mic off-axis |
| Lack of presence | 3-8kHz | Boost 1-2dB | Move closer to source |
| Room echo | 400-800Hz | Cut problem frequencies | Use closer placement |
Proximity effect fix:
Recording up close boosts the bass a lot. Add a gentle high-pass filter at 80-120Hz and cut 2-3dB around 200-400Hz if things get boomy.
Sibilance fix:
If backing away doesn’t tame harsh S sounds, cut a little around 6-8kHz. De-esser plugins usually do a better job than static EQ here.
Quick placement test:
Record the same line from three spots—close, medium, far. Listen back and notice how placement changes the sound before touching EQ.
Most of the time, moving the mic solves problems more naturally than EQ ever could. Use EQ lightly and only when you really need to.
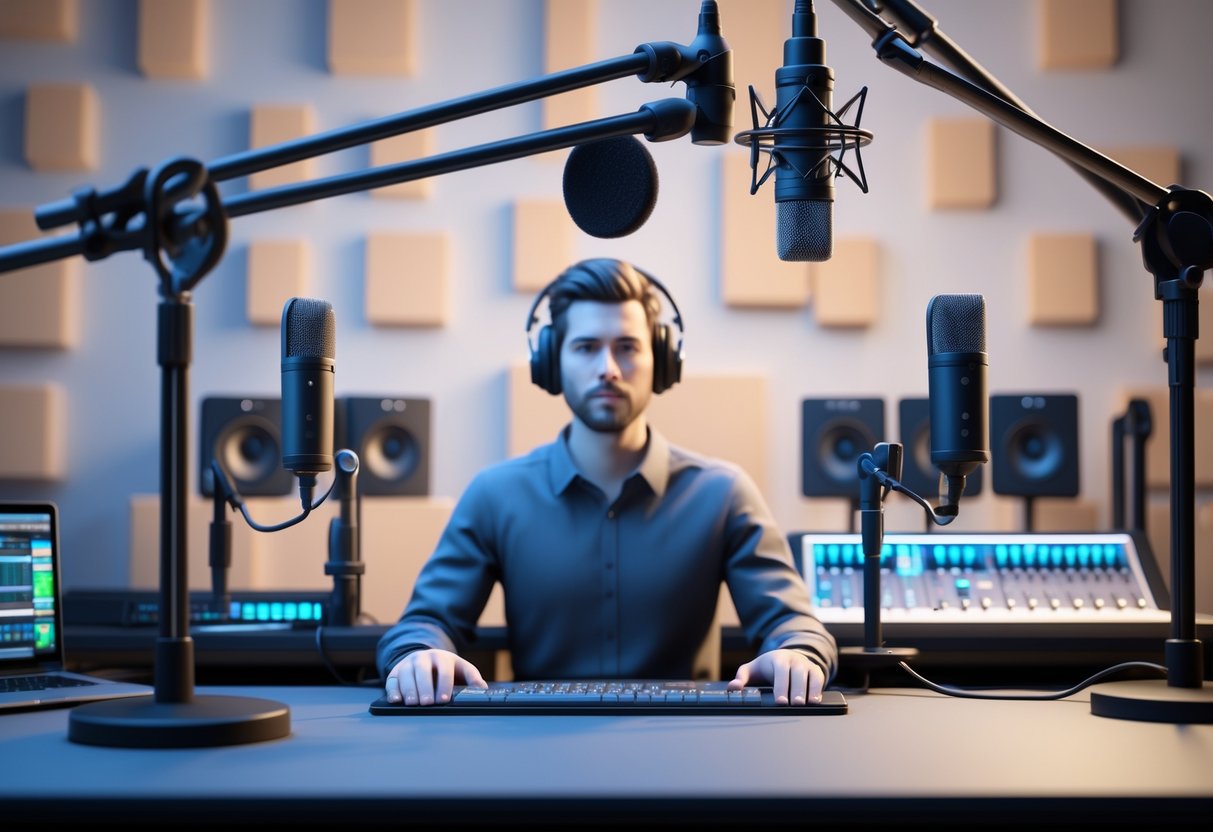
Experimentation and Advanced Placement Tips
Getting great mic sound usually means trying out different positions and really listening. The best engineers test setups and tweak placements during recording sessions.
Trial and Error for Different Scenarios
Always try a few mic spots before you hit record. One position might suit a singer but sound awful on guitar.
Start with a basic setup. Then nudge the mic left, right, up, or down. Listen closely to each change on your headphones.
For vocals, do these quick checks:
- Move the mic 15cm closer, then 15cm further away
- Angle it a bit off-axis (not straight at the mouth)
- Raise or lower it by 10cm
Rooms change everything. What sounds great in your bedroom might be a mess in the kitchen.
Quick tip: Record 30 seconds in each spot, then compare. Trust your ears.
Lots of beginners just stick with their first mic position. Don’t fall into that trap. Testing three or four spots only takes five minutes and can totally change your sound.
Creative Use of Multiple Microphones
Using two or more mics can give you a richer sound, but you have to plan to avoid phase problems.
The X/Y technique is great for beginners. Place two mics close together, angled at 90 degrees. You’ll get a nice wide stereo image and everything stays in phase.
For podcasts or interviews, try mid-side:
- One mic faces forward (mid)
- One mic faces sideways (side)
- Mix them for adjustable stereo width
Heads up: Always check for phase issues with multiple mics. If your sound turns thin or hollow, one mic might be cancelling the other.
Room mics add natural reverb and space. Place a third mic 2-3 metres from your main source and blend it in for depth.
Start simple with two mics. Once you nail dual-mic setups, you can try more complex arrangements.
Listening and Adjusting During a Session
Smart engineers tweak things as they go. What sounded good at the start might need a little fix later on.
Wear closed-back headphones and listen while recording. Notice if things get too bright, muddy, or just lose their spark.
Common tweaks mid-session:
- Move the mic closer if the voice starts sounding distant
- Angle it away if S and T sounds get harsh
- Raise it if things feel too nasal
Keep an eye on your recording levels. If your performer gets excited and louder, pull the mic back a bit.
Quick tip: Have your performer do a sound check every 20-30 minutes. People’s voices change as they warm up or get tired.
Don’t be shy about stopping to adjust the mic. A quick fix now saves you hours of editing later. Most performers actually appreciate your attention to detail.
Frequently Asked Questions
Getting your mic placement right can make or break your audio, whether you’re recording vocals, streaming, or gaming. Here are answers to the most common questions about mic positioning for different situations.
What are the best techniques for positioning a microphone during vocal recording?
Try placing your mic about 6-12 inches from your mouth. This usually captures your voice well and keeps out most room noise.
Pop filters help a lot—set one about 4 inches in front of the mic. Those sudden “p” and “b” sounds? A pop filter blocks them before they reach your recording.
Angle the mic just a bit off to the side, aiming toward your chin instead of straight at your lips. That way, you’ll cut down on breathy noises.
Keep the mic at your mouth’s height or just a touch lower. If you look down, your voice changes, and honestly, nobody wants that.
Wear headphones and try out different distances. If you want a warmer, closer sound, move in a bit; for a more natural vibe, back off.
How should one arrange a mic for optimal sound quality when streaming?
Keep your mic about 8-12 inches from your mouth while streaming. This gives you room to move around without dropping in volume.
Set the mic off to the side of your monitor, not smack between you and the screen. That way, it won’t pick up every keyboard tap or mouse click.
A boom arm really helps with placement. Desk stands just never seem to get the mic in the right spot.
Dial in your mic gain so your voice peaks at about 70% volume. That way, if you get excited or loud, you won’t distort.
Make sure a cardioid mic points right at your mouth. These mics pick up best from the front and ignore most noise from behind you.
Could you suggest microphone positioning strategies for voice-over work?
Set your mic around 6-8 inches from your mouth for voice-over. This close distance brings out that pro, intimate sound clients love.
Try to deaden your recording space as much as you can. Hang up blankets, use foam, or even record in a closet to kill off room reflections.
Put your script up at eye level next to the mic. Looking down can mess with your tone and even add unwanted paper noises.
Use a shock mount if you can. Desk bumps or little vibrations can sneak into your audio otherwise.
Record a few test lines at different distances. Voice-over work usually needs more control than podcasting or streaming.
What would be the ideal microphone setup for gaming to ensure clear communication?
Put your gaming mic about 2-4 inches from the corner of your mouth. It’s close enough for clarity but won’t catch your breathing.
If you’re using a headset, keep the mic just below your mouth level. That way, your breath won’t hit the mic directly.
Swing the boom so it sits at the mouth’s corner, not right in front of your lips. You’ll avoid blocking your view and reduce breath noise.
Try push-to-talk if your mic catches keyboard sounds. This gives you total control over what your teammates hear.
Test your mic position during quiet moments in-game. Sometimes what sounds fine when it’s calm gets way too sensitive in the heat of battle.
Could you offer advice on how to secure a headset mic for clear audio pickup?
Bend the boom so the mic sits 1-2 inches away from the corner of your mouth. Headset mics are built to work best up close like this.
Make sure the mic stays put when you turn your head. A loose boom will cause your voice to fade in and out, which gets annoying fast.
Point the mic toward your mouth, not away. It’s surprisingly common to accidentally aim it backwards and end up with loads of room noise.
Adjust your headset until it feels snug but not too tight. If it slides around, your mic will too, and your sound will suffer.
Check that the mic isn’t brushing your face or beard. Any contact creates those scratchy sounds listeners hate.
What are some professional tips for microphone placement when performing live?
Hold a handheld microphone about 2-4 inches from your mouth when you’re on stage. That distance usually keeps your vocals clear and helps prevent annoying feedback.
Try to keep the mic at the same distance the whole time you’re singing or speaking. If you move it closer or farther away, your audience will notice those sudden volume changes.
Point the microphone a bit away from the monitor speakers on stage. That small adjustment can really cut down on feedback, which nobody wants blasting through the sound system.
If you need to grip the mic, cup your hand around the grille, not up by the head where the capsule sits. Covering the capsule with your hand will just muffle your sound, and honestly, it never sounds good.
Practice your microphone technique before you perform. Good mic handling isn’t just about sound—it actually shapes your whole stage presence.
