Acoustic Panels Placement: Optimise Sound Quality With Proper Positioning
Updated On: November 13, 2025 by  Aaron Connolly
Understanding Acoustic Panel Placement
Getting acoustic panel placement right can boost sound absorption by up to 50%. This can make a huge difference in audio quality.
You need to understand how sound waves travel and focus on specific reflection points, not just stick panels everywhere.
How Acoustic Panels Improve Sound Quality
Acoustic panels absorb sound waves that would otherwise bounce around your room. When sound hits hard surfaces like walls or ceilings, it reflects back and creates echoes.
This bouncing makes audio muddy in recording spaces. It also makes speech tough to understand in offices.
Well-placed panels catch these sound waves before they can bounce back. Inside the panel, friction in the material turns sound energy into a bit of heat.
Cleaner audio and less background noise are the result. You’ll hear clearer dialogue in home cinemas and get better recordings in studios.
Different spaces need different strategies:
- Home theatres: Focus on speaker reflection points.
- Recording studios: Target where your voice bounces.
- Offices: Put panels at conversation height, usually 4-7 feet.
People often say their ears feel less tired in treated rooms. Maybe it’s because they don’t have to work so hard to filter out all the echoes.
The Science of Sound Absorption
Acoustic panels absorb sound by turning sound wave energy into heat. The fibrous materials inside the panels create friction as sound passes through.
Key factors that affect absorption:
| Factor | Impact |
|---|---|
| Panel thickness | Thicker panels absorb lower frequencies better |
| Material density | Medium density works best for most frequencies |
| Air gap behind panel | Increases low-frequency absorption by 20-30% |
| Surface area coverage | More coverage = better overall control |
Sound waves travel in straight lines until they hit something. When they hit a panel, the porous material makes air molecules vibrate and rub against the fibres.
This friction turns kinetic energy into heat. The sound wave loses energy and doesn’t bounce back into the room.
High frequencies are easier to absorb, so you can use thinner panels for those. Low frequencies need thicker panels or an air gap behind them.
Common Mistakes in Panel Placement
People often stick panels randomly on walls, thinking more is always better. That’s not true, and it wastes money.
The biggest mistakes:
Placing panels too high or low – Sound travels at ear level, so you should target where sound is made. For standing conversations, aim for 5-7 feet high. For seated work, put them at 4-5 feet.
Ignoring reflection points – In home theatres, trace where sound from each speaker hits the walls. Put panels at those spots, not just wherever looks good.
Using panels that are too thin – Thin foam panels only absorb high frequencies. This leaves the sound feeling hollow or boomy.
Clustering all panels together – Spread panels around the room’s perimeter. Don’t group them on one wall.
Skipping the air gap – Mounting panels right against walls makes them less effective. Leave a 2-3 inch gap behind panels if you can.
Target specific problem areas instead of covering entire walls. Start with fewer panels in the right spots and add more if you need them.
Assessing Your Room for Acoustic Treatment
Every room is different. Understanding your space is the first step to placing panels properly.
Room size changes how sound travels and bounces. Your listening position decides where you’ll need panels most.
Analysing Room Size and Shape
Room size and shape really affect how sound behaves. Larger rooms let sound waves spread out more, which can help reduce reflections.
Small rooms (under 150 square feet) usually have more sound bouncing around. You’ll need fewer panels, but placement matters a lot.
Medium rooms (150-400 square feet) work well for most homes. Sound has space to develop but won’t get lost.
Large rooms (over 400 square feet) need more panels because sound spreads out. At least you get more wall space to work with.
Square rooms cause the most acoustic headaches. Sound hits opposite walls at the same time, causing standing waves.
Rectangular rooms break up these patterns better.
High ceilings (over 9 feet) help sound dissipate. But they also mean more surface area for reflections, especially if you play loud music or movies.
Evaluating Listening Position
Your listening position really matters for acoustic treatment. Most people sit near the centre, but that’s not always the best place for sound.
Distance from walls is key. If you sit too close to a wall (within 3 feet), early reflections hit your ears quickly and muddy the sound.
The triangle setup works best for stereo. Your head and two speakers should form an equal triangle, with speakers angled toward you.
Multiple listeners make things trickier. If several people need good sound, you’ll need broader coverage.
Desk setups for gaming or recording need panels right around your head. Place them 2-4 feet in front and to the sides.
Think about how much you move around while listening. If you stay put, precise panel placement works. If you move, you’ll need more coverage.
Identifying Reflection Points
Reflection points are where sound bounces off surfaces before it reaches your ears. These are the spots that need panels to stop echoes.
The mirror method makes finding reflection points simple. Have someone hold a mirror against the wall while you sit where you listen. Wherever you see your speakers in the mirror, that’s where you need a panel.
Primary reflection points are most important. These are on the side walls between you and your speakers, usually 2-4 feet from your seat.
Secondary reflections happen when sound bounces more than once. The rear wall behind you often needs panels, especially for surround sound.
Ceiling reflections cause problems in rooms with low ceilings (under 8 feet). Sound bounces down fast, muddying vocals and instruments.
Floor reflections usually get absorbed by carpets and furniture. If you have hard floors and notice bass problems, try rugs or panels.
Different speakers create different reflection patterns. Bookshelf speakers need panels placed one way, floor-standing speakers another.
Identifying First Reflection Points
Finding these key spots helps you see where sound bounces off walls before it hits your ears. The mirror trick is super simple, and it really helps you place panels well.
Using the Mirror Trick
The mirror method is the easiest way to find first reflection points. You just need a friend, a mirror, and a few minutes.
Sit where you usually listen. Have your friend hold the mirror flat against the wall and move it slowly along.
Watch the mirror. When you see your speakers reflected, mark that spot on the wall. That’s where sound bounces on its way to you.
Quick steps:
- Sit in your listening spot
- Move the mirror until you see both speakers
- Mark each spot with tape
- Do both side walls first
- Check ceiling and floor if you want
Most rooms have reflection points halfway between your speakers and your seat. The exact spot depends on your room and speaker setup.
Why First Reflection Points Matter
These spots cause the biggest acoustic problems in any room. Sound bouncing off them reaches your ears just after the direct sound from your speakers.
This timing difference creates phase issues. Your brain gets the same sound twice, but with a tiny delay, so things get muddled.
Problems from untreated reflection points:
- Blurred stereo imaging
- Loss of detail in vocals
- Confused soundstage
- Harsh or bright sound
Treating just these spots often fixes most of your room’s acoustic issues. That’s why pros start here.
Studios always treat reflection points first. It’s the fastest way to improve sound with the fewest panels.
Effects on Sound Clarity
Sound reflections can really mess with how clearly you hear music and speech. When reflected sound mixes with direct sound, it causes comb filtering and messes with frequencies.
Specific clarity issues:
- Vocals sound hollow – Reflections cancel some frequencies.
- Instruments lose detail – Timing differences blur the attack.
- Bass gets uneven – Some frequencies boom, others vanish.
- Stereo width collapses – Reflections confuse left/right positioning.
If you sit close to walls, these effects get stronger. Hard surfaces like brick or concrete make the improvements from panels even more obvious.
Absorption panels at these spots cut out delayed reflections. You’ll finally hear just the direct sound, and all the details that were hidden before.
Strategic Panel Placement on Walls
Wall placement targets the main spots where sound bounces and creates echoes. Putting panels at ear level and spacing them right between parallel walls gives you the best control.
Treating Parallel Walls
Parallel walls cause the biggest problems in most rooms. Sound bounces back and forth, making echoes and muddying audio.
Put panels on both parallel walls to break up these reflections. You don’t need to cover everything—just focus on the centre sections where sound hits most.
Target these wall areas:
- Wall right behind your seat
- Wall opposite your speakers
- Side walls at the midpoint between front and back
Leave some wall space bare so your room doesn’t sound too “dead.”
For gaming, treat the wall behind your monitor and the wall behind your chair. This stops sound from bouncing between them during calls or streams.
Placing Panels at Ear Level
Mount panels at ear level when you’re seated. This catches the most important sound frequencies.
Measure from your seated ear height, not standing height. Most people sit 90-120cm from the floor.
Standard heights:
- Gaming chairs: 100-110cm to the panel centre
- Office chairs: 95-105cm to the centre
- Sofas: 85-95cm to the centre
If you mount panels higher, angle them down a bit. That way, they absorb sound heading toward you.
For rooms with lots of seats, use the average ear height. It’s a decent compromise.
Spacing and Coverage Recommendations
Cover 25-50% of your wall surface with panels for balanced sound. Too few panels won’t control reflections, but too many can make the room sound weird.
Space panels out instead of clumping them. Leave 30-60cm gaps between panels to spread out the treatment.
Recommended spacing:
- Small rooms (under 20m²): 30-40cm between panels
- Medium rooms (20-40m²): 40-50cm between panels
- Large rooms (over 40m²): 50-60cm between panels
Mount panels 5-10cm from the wall for an air gap. This helps with low-frequency absorption.
Start with just a few panels and add more if you need them. It’s easier to add panels than to take them down later.
Optimising Ceiling and Floor Treatment
Ceiling panels handle overhead sound reflection. Floor treatments deal with energy bouncing between surfaces.
Both surfaces have their own acoustic quirks, so you need different fixes for each.
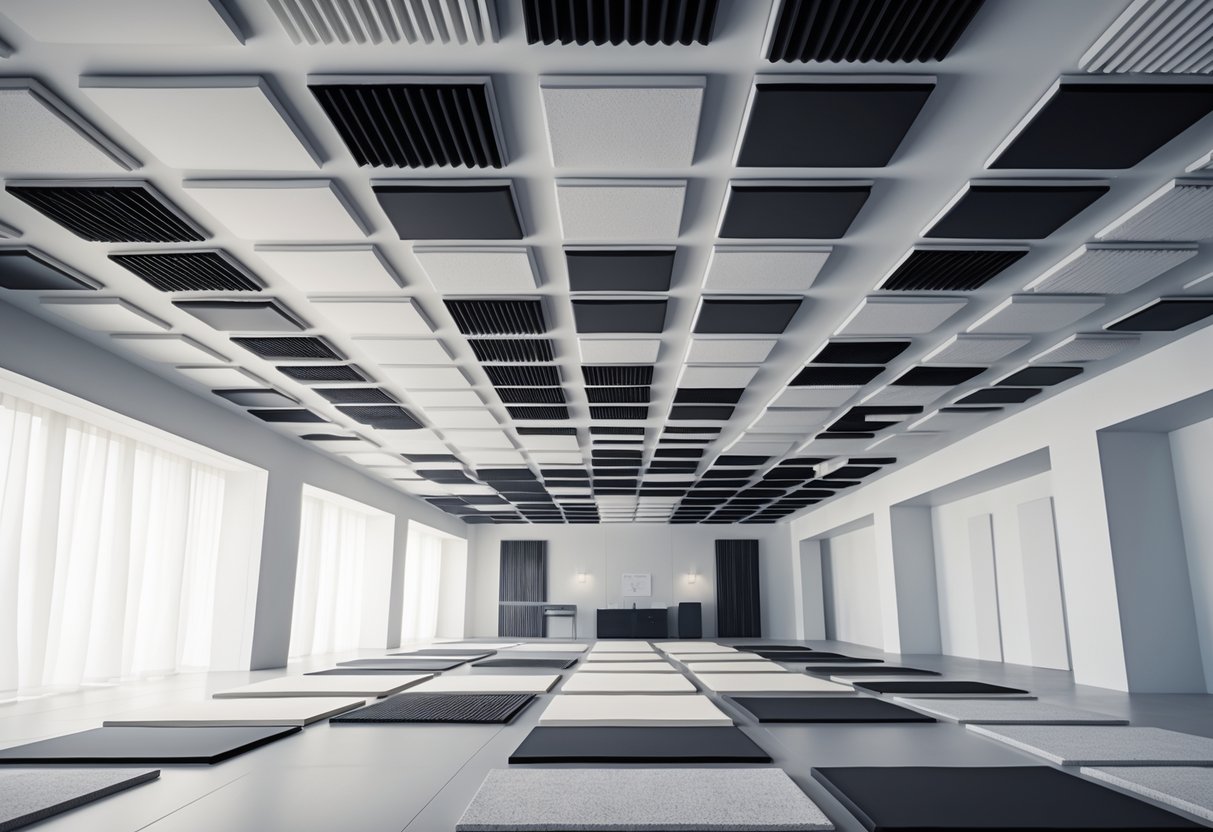
Ceiling Panel Placement
Ceiling panels cut down sound reflection from above and tame flutter echo between ceiling and floor. This helps surround sound feel more immersive in home theatres.
Put acoustic panels on the ceiling right where you usually sit. Try the mirror trick—sit in your main chair and get someone to move a mirror across the ceiling. When you spot your speakers in the reflection, that’s your panel spot.
Install ceiling panels directly above the seats first. These catch early reflections before they hit your ears.
Space panels 60-90cm apart for more even coverage.
Cloud panels are great for ceilings. Hang them 15-30cm below the surface to create air gaps that absorb more sound. This works better than putting panels flat against plasterboard.
If your room’s big, you’ll need more ceiling coverage. Start by covering about 25% above the listening area. If you still notice echoes or harshness, add more panels.
Dealing with Floor Reflections
Hard floors bounce sound reflection right up to your ears. Carpet helps by absorbing some frequencies, but timber and tile floors need extra help.
Thick rugs or carpets are the easiest fix. Place them between your speakers and your listening spot.
Persian or shag rugs do a better job than thin mats.
In home studios, removable acoustic treatment like foam tiles or interlocking carpet squares let you tweak coverage depending on what you’re recording.
You can also slide acoustic panels under furniture like coffee tables or racks. This treats floor reflections without messing up your room’s look.
Don’t go overboard with floor treatment. Too much absorption can make a room sound dead and weird. Aim for a good balance.
Addressing Room Corners and Bass Frequencies
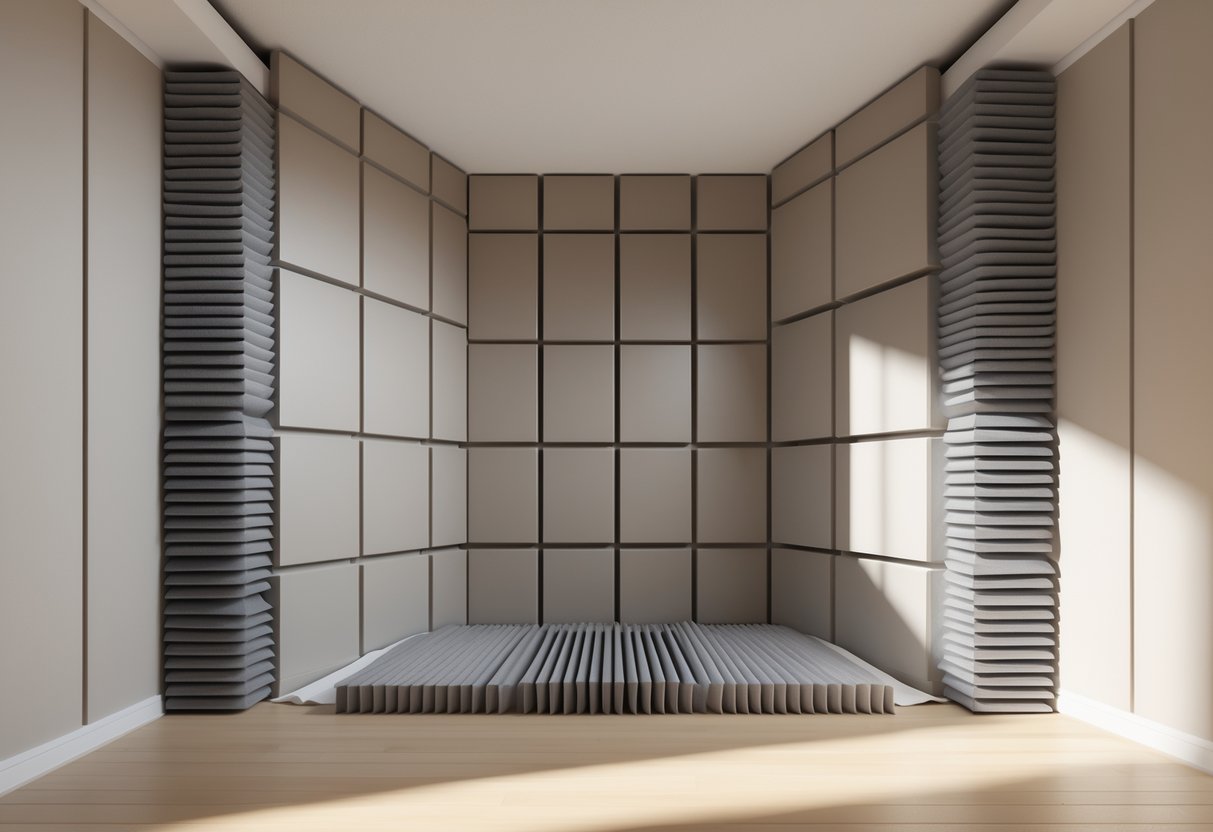
Bass loves to pile up in room corners, making your audio muddy and uneven. Bass traps help control these low-end issues, and placing them right can cut down on standing waves bouncing between walls.
Bass Trap Placement
Put bass traps in every corner of your room for the best low-frequency control.
Corners naturally gather bass energy because sound waves meet and build up there.
Floor-to-ceiling bass traps work better than tiny corner panels. They cover more area and soak up more bass frequencies.
Mount traps tight against both walls in the corner.
Key spots to focus on:
- All four vertical corners
- Wall-to-ceiling joins
- Behind your main speakers
Thicker bass traps absorb more. Go for at least 4 inches thick—some folks even use 6-8 inch traps for serious bass control.
Start with the corners behind your speakers. These usually make the biggest difference at your listening spot.
Reducing Standing Waves and Flutter Echoes
Standing waves pop up when bass bounces between parallel walls, creating spots with boomy or weak bass.
Flutter echoes show up when sound zips between hard surfaces. Clap your hands—if you hear fluttering, you’ve got the problem.
How to tackle standing waves:
- Place bass traps off-center
- Don’t put your listening spot dead center
- Use absorption panels on opposite walls
Break up parallel surfaces with different types of panels. Put bass traps on one wall and diffusion panels on the other. That stops sound from bouncing the same way over and over.
Walk around your room while playing bass-heavy music. Listen for spots where the bass booms or fades out. Add thicker bass traps or more panels to those trouble areas.
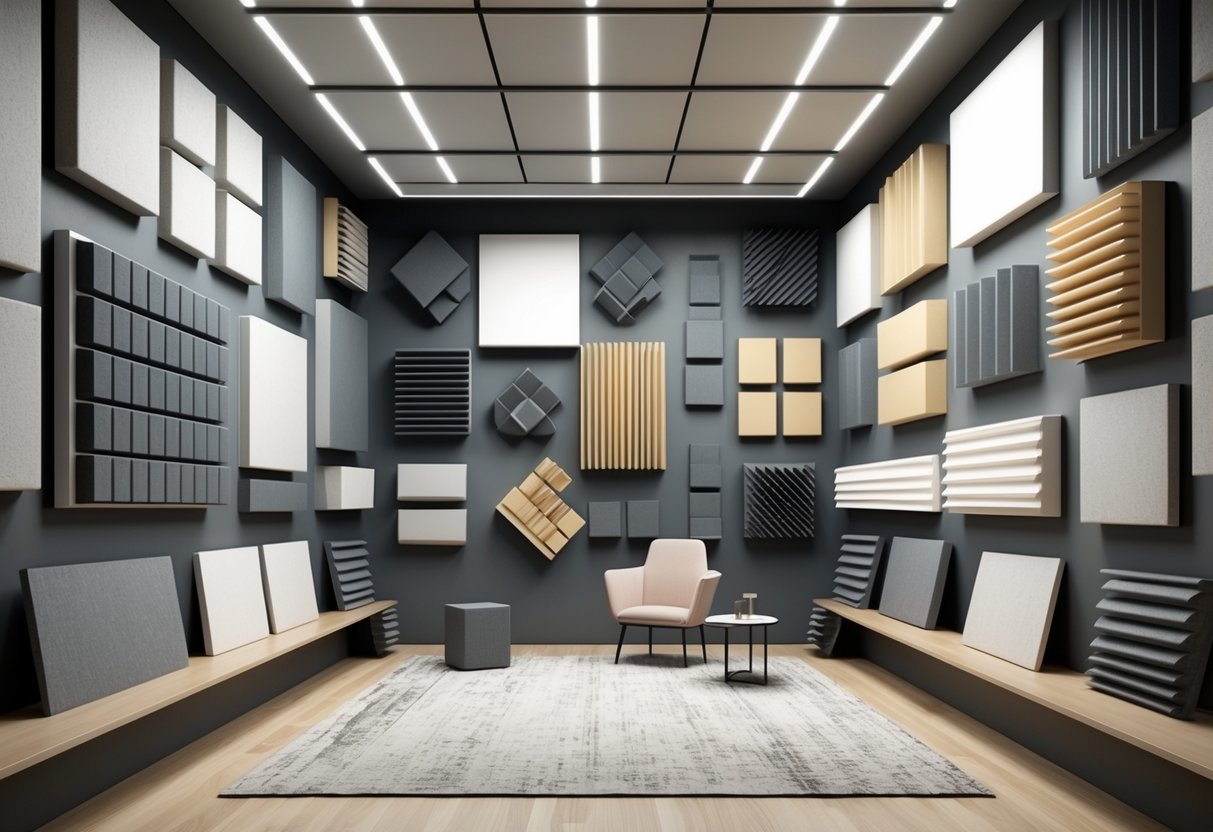
Panel Placement for Different Room Types

Every space has its own acoustic needs, depending on how you use it and what kind of sound issues pop up. Let’s look at what works best for studios, entertainment rooms, and workspaces.
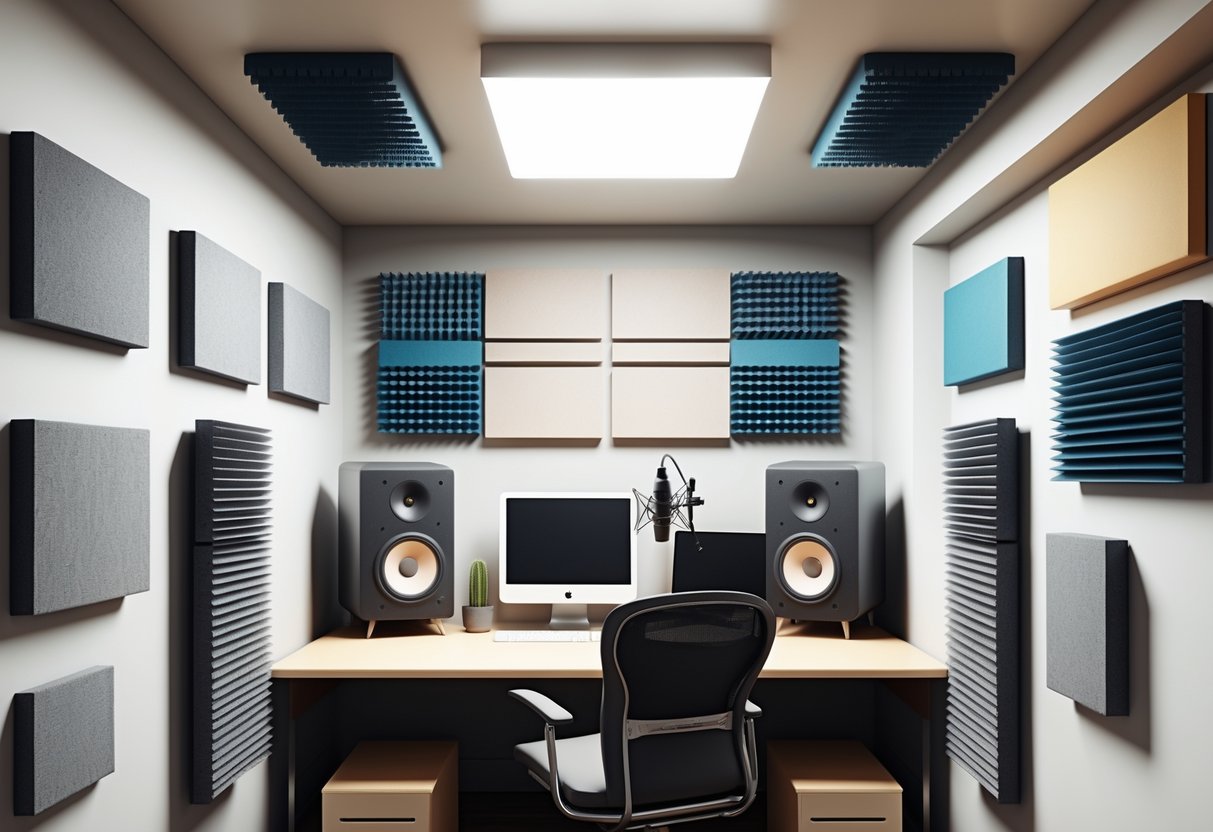
Home Studio Acoustic Treatment
Recording spaces need panels in the right spots to catch bad reflections.
Start by placing panels at the reflection points on the side walls—these are where sound from your monitors bounces straight to your ears.
Mount panels 120-150cm high behind your listening spot. This helps catch reflections that can muddy your mix.
Key spots:
- Side wall reflection points (60-90cm from monitors)
- Rear wall behind your seat
- Ceiling above the mixing desk
- Room corners for bass traps
Cover about 20-30% of your wall space to start. Add more if things still sound off.
Play music you know well and move around to test your setup. If you find dead or overly bright spots, adjust your panels.
Living Rooms and Home Theatres
Entertainment rooms need panels to reduce echo but keep some warmth.
Focus first on the wall behind your main seating area.
Place panels 150-180cm high to handle reflections from dialogue and effects.
Don’t cover more than 25% of the wall—you want some life in the room for movies and music.
Best spots:
- Wall opposite the screen or speakers
- Side walls at ear level when seated
- Ceiling between seating and the screen
Decorative acoustic panels that look like art or fabric hangings can blend in nicely.
Too many panels will make movies sound flat, so watch out for that.
Offices and Commercial Spaces
Workplaces need to cut down on distracting chatter and phone noise.
Put panels on walls near busy areas and meeting rooms.
Mount them 180-210cm high to catch standing conversation reflections.
Open offices do better with panels every 3-4 metres along main walkways.
Good panel positions:
- Walls between departments
- Above reception desks
- Meeting room walls and ceilings
- Break room areas
Ceiling panels are handy in tall offices since they catch noise from all directions without eating up wall space.
Aim for 15-20% coverage in most offices. Conference rooms might need 30-40% for clear calls and presentations.
Balancing Absorption for a Neutral Acoustic Environment
If you want a neutral acoustic environment, you need to find the sweet spot—not too much, not too little absorption. You want to avoid dead rooms but keep sound clear.
Avoiding Over-Absorption
Too many panels can suck the life out of your room. You end up with a “dead” sound that makes everything feel flat.
Most rooms only need 25-50% wall coverage with panels. More than that, and you risk losing character.
Look out for these signs:
- Voices sound muffled or far away
- Music feels dull and lifeless
- The room is uncomfortably quiet
- Sound fades too quickly
Start with fewer panels than you think you’ll need. It’s easy to add more later.
Focus first on first reflection points—those spots where sound bounces right from the speakers to your ears.
Leave some surfaces bare. Wood floors or glass windows can add a nice liveliness.
Combining Absorbers and Diffusers
A balanced sound room uses both absorption and diffusion. Diffusers scatter sound instead of soaking it all up.
Put absorbers at the main reflection points on side walls and behind your seat. These handle the worst echoes and standing waves.
Add diffusers on rear walls or the ceiling where you want to keep some energy in the room. They keep things natural while cutting harshness.
Try this layout:
- Front wall behind speakers: absorption panels
- Side walls at reflection points: absorption panels
- Rear wall: diffusers or a mix
- Ceiling: a bit of absorption or diffusion
This setup keeps your room lively but under control. You get clear sound without the space feeling sterile or dead.
Practical Tips for Installation and Adjustment
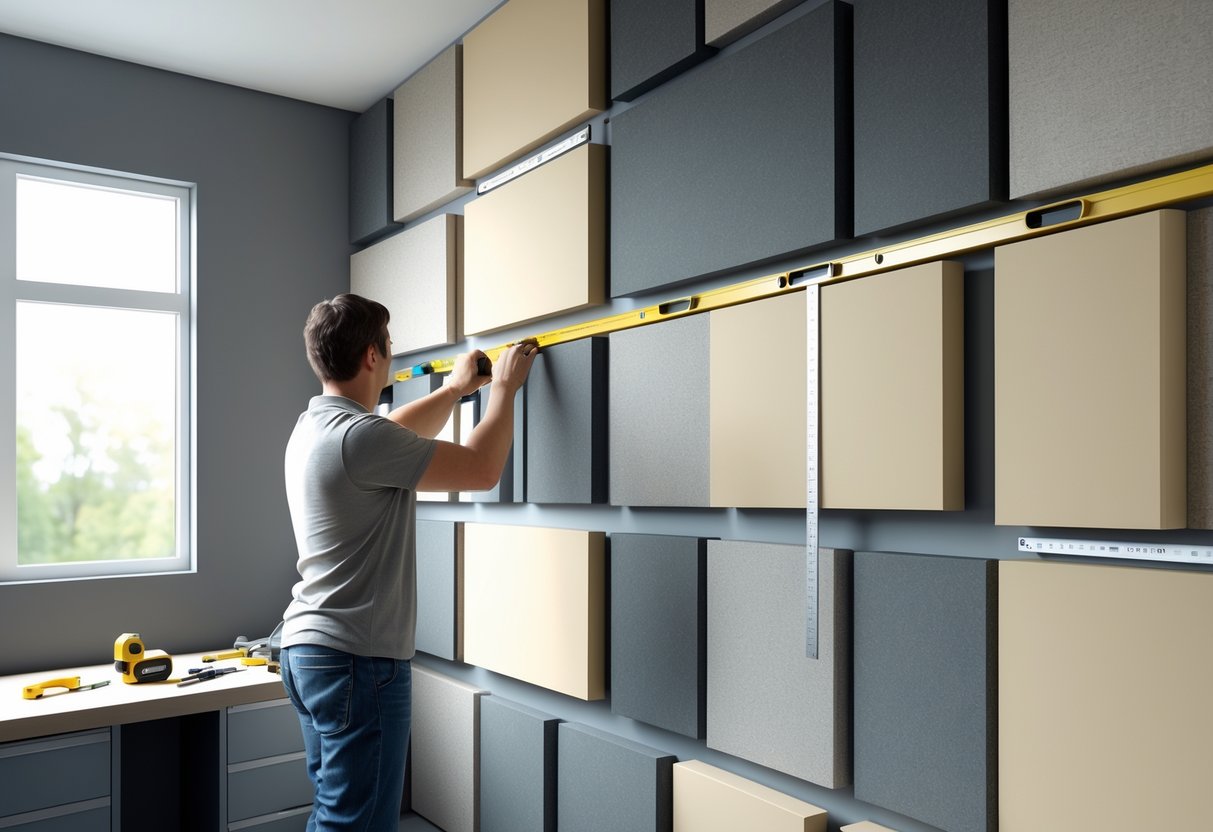
Good mounting and testing make all the difference with acoustic panels. Here are some real-world tips for putting them up and checking if they’re doing the job.
Mounting Methods
Adhesive mounting works for lightweight foam panels. Clean the wall first, then stick on strong double-sided tape or spray adhesive.
Press each panel firmly for about 30 seconds. This method is cheap but can pull off paint if you ever remove the panels.
French cleat systems are great for heavier panels. Mount one rail to the wall and the other to your panel. You can move panels around easily to try out different spots.
Command strips are perfect if you’re renting or want something temporary. Use heavy-duty strips that match your panel’s weight. Stick them along the edges and the center for bigger panels.
Screw mounting is the most secure. Use wall anchors for drywall or screw straight into studs. Pre-drill holes to avoid cracking wooden frames.
If you can, leave a 2-3 inch air gap between the panel and the wall. This actually boosts absorption.
Testing and Adjusting Placement
Before you install panels, clap your hands and listen for echoes. Pay attention to where they sound loudest—those spots need the most help.
Test small areas first. Put up just 2-3 panels in your planned spots. Play music or talk while walking around.
If you still hear echoes, move the panels up, down, or to different walls. The best spot isn’t always obvious at first.
Record yourself talking before and after you install panels. Play both recordings back. Sometimes you’ll notice problems you missed in real time.
Check that speech sounds clear from every seat. Panels should cut echo without making voices sound weird or dead.
Maintenance and Longevity Considerations
Taking care of your acoustic panels can stretch their life from 10-15 years to decades. Moving panels around as your space changes keeps sound control sharp.
Panel Care and Cleaning
Different panel materials need different cleaning routines.
Fabric-wrapped panels do best with gentle vacuuming using a brush attachment once a month. Don’t use water-based cleaners—moisture can mess up the foam inside.
Foam panels pick up dust fast but are delicate. Use a soft brush or compressed air to clean them. Never soak them with liquid.
Timber acoustic panels can handle a bit of moisture, but you should still dust them regularly. Use a slightly damp cloth for tough marks, then dry right away.
Environmental factors matter a lot:
- Keep humidity under 60% to avoid mould
- Stay out of direct sunlight to prevent fading
- Try to keep the room between 18-24°C
Check your mounting hardware every six months. Loose panels can slip, leaving gaps that hurt performance and might even fall.
Adapting Placement Over Time
You’ll probably need to move panels as your room or needs change.
Moving furniture changes how sound bounces around. If you shift your seating or add gear, test the room again and move panels as needed.
Common tweaks:
- Add panels behind new speakers or monitors
- Move panels up or down if listener height changes
- Cluster panels in new problem spots
Mark your original mounting spots with pencil dots before moving panels. That way, you can go back if the new setup doesn’t work.
Consider modular mounting systems for easy repositioning. They cost more at first but save you hassle and money if you rearrange a lot.
Try out new panel positions for at least a week before making them permanent. Sometimes trouble spots only show up after a few days.
Common Acoustic Panel Placement Challenges
Even with a good plan, some rooms just throw curveballs that make standard placement rules tough to follow.
Irregular shapes and giant glass surfaces? Yeah, those need a different approach if you want decent sound control.
Treating Irregularly Shaped Rooms
Rooms with angled walls, curves, or odd layouts can turn acoustics into a real puzzle.
We have to tweak our methods based on how sound bounces around these weird spaces.
Angled walls send sound scattering in all sorts of directions.
Put panels where the angled wall meets a flat one to catch those stray reflections.
Try the mirror trick—sit where you usually listen, and have someone slide a mirror along the angled wall until you spot your speakers.
L-shaped rooms split up the sound between two zones.
Treat each area on its own, but start with the spot where you listen most.
Stick a panel in the corner where both sections meet to keep sound from ping-ponging between the spaces.
High ceilings change how sound travels up and down.
Mount panels higher up the walls, and maybe toss a few on the ceiling above where you sit.
When the room’s bigger, echoes take longer to come back.
Curved walls are tricky; they can either focus or scatter sound depending on the curve.
Put panels in the middle of concave curves so you don’t get weird sound focusing.
For convex curves, spread panels out along the surface to break up reflections.
Dealing with Large Windows or Glass
Glass bounces sound like crazy and causes big headaches in any room.
We usually can’t just cover windows, so we have to get creative and find a balance between sound control and letting in light.
Window treatments are the simplest fix.
Heavy curtains soak up sound when closed and let you open up for sunlight.
Motorised blinds with thick fabric work well if you use the room at different times.
Strategic panel placement around windows helps keep reflections in check.
Mount panels on the wall sections between or above and below the windows.
This breaks up those big reflective surfaces.
Angled mounting can help too.
Mount panels at slight angles near windows to scatter sound away instead of just absorbing it.
This trick works when you can’t block the glass directly.
The size of your room changes how much glass messes with your sound.
In smaller rooms, window reflections hit fast and can get annoying quickly.
Frequently Asked Questions
Good acoustic panel placement starts with figuring out your room’s quirks and how sound bounces around.
Every space throws its own challenges, so you’ll need to adapt where you put panels.
What are the optimal placement strategies for acoustic panels in a bedroom to enhance sound quality?
Stick panels at the first reflection points on your side walls.
These spots should be at ear level when you’re lying on your bed.
Mount panels three to five feet from your main listening spot.
That usually gives you a nice balance for music or gaming.
Treat the wall behind your headboard with panels.
That stops sound from bouncing right back at your ears.
Put panels on the wall opposite your speakers or TV.
This keeps echoes from muddying up the sound.
Treat about 25-30% of your wall space.
Any more, and your room might start to sound weirdly dead.
How can I determine the best positions for acoustic panels in a home studio setup?
Use the mirror trick to find those sneaky reflection points.
Sit at your mixing desk, and have someone move a mirror along the wall.
Where you spot your speakers in the mirror, that’s where you need panels.
Mount panels behind where you sit.
That way, you catch sound that would bounce back and mess up your mix.
Keep panels at ear level when you’re sitting.
Most home studios need treatment between three and six feet up.
Leave a two to four inch gap behind the panels.
You’ll get way better low-frequency absorption that way.
Could you guide me on the most effective locations to install acoustic panels in an office environment?
Mount panels on parallel walls to kill flutter echoes.
Those fast echoes make conversations tough.
Put panels at conversation height—usually four to six feet from the floor.
That hits the worst of the office noise.
Place panels near busy workstations with lots of phone calls.
That helps keep sound from traveling to other desks.
Add panels to the corners of conference rooms.
Corners trap bass and can make things sound boomy.
Try using panels as desk dividers.
You’ll get a bit more privacy and less noise bouncing around.
Is there an ideal arrangement for placing acoustic panels in a living room to reduce echo and improve acoustics?
Start with the wall behind your main seating area.
That stops sound from bouncing back while you’re watching TV.
Put panels on the side walls at the first reflection points.
Use the mirror trick to find those spots.
Arrange panels around your TV or entertainment center.
That cuts down echo from all those hard surfaces.
Mount panels at four to six feet high.
That’s about ear level when you’re sitting down.
Spread panels out instead of clumping them together.
That gives you more balanced sound absorption all over the room.
Can you suggest some helpful tips for installing acoustic panels to achieve the best sound absorption?
Leave a two to four inch air gap between panels and the wall.
You’ll notice way better low-end absorption.
Make sure the fabric faces the room.
Don’t stick panels on backwards.
Use wall anchors that can handle the weight.
Most panels weigh two to five pounds, so don’t skimp.
Line your panels up straight.
Crooked panels just look sloppy and distract from the whole point.
Try out different spots before you commit.
Temporary adhesive strips let you experiment without leaving holes everywhere.
What should I consider when using acoustic wall panels to manage noise in a multi-purpose space?
Pick panels that handle a wide range of frequencies. Multi-purpose rooms really need broadband absorption, otherwise some sounds just slip through.
Try to put panels in spots where furniture won’t constantly knock into them. No one wants to keep fixing panels that get bumped all the time.
Mount them around average ear height for the kinds of activities you expect. Usually, that’s somewhere between 4 and 5 feet from the floor.
If the room’s purpose changes a lot, use mounting systems you can easily remove. Magnetic or hook-and-loop setups usually do the trick.
Add more panels near the noisiest spots. Target the areas where noise really gets out of hand.
